**Things are a little chaotic at my IRL home at the moment, so rather than neglect my virtual home (this blog) completely I’m re-posting a recipe that appeared over at Jo-Jo Bakes last year. Enjoy!**
(Originally posted 25 July 2012)
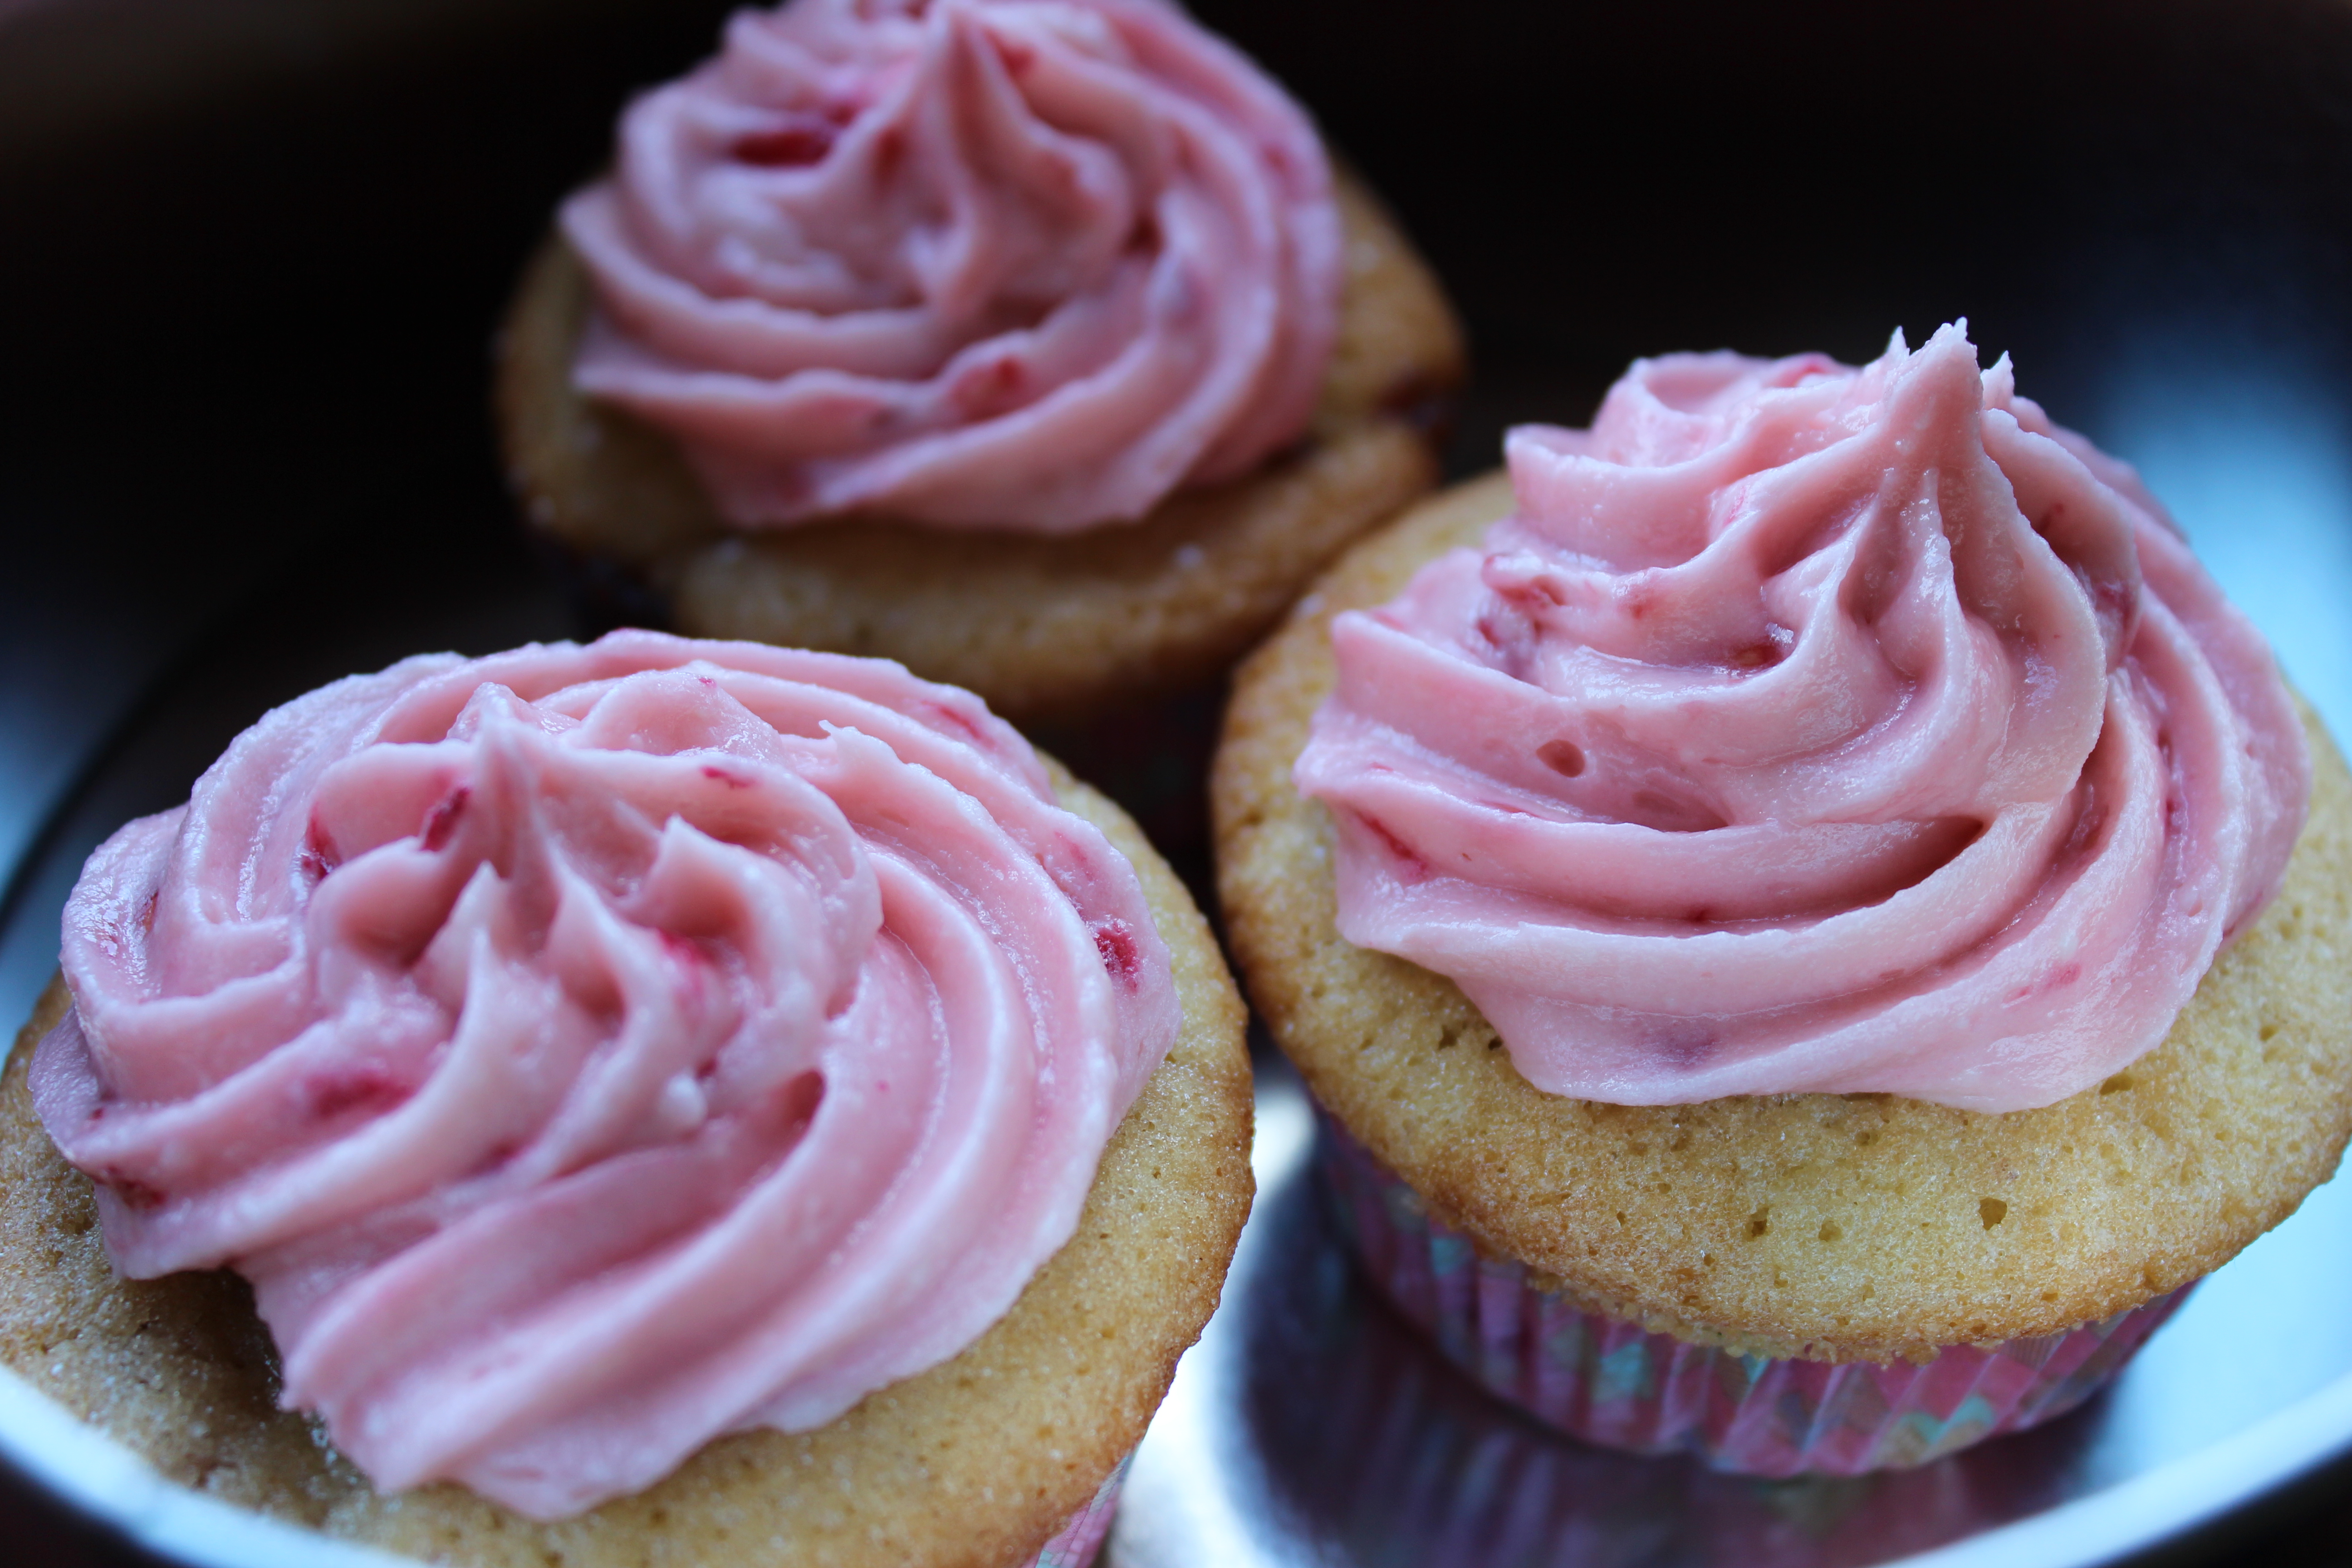
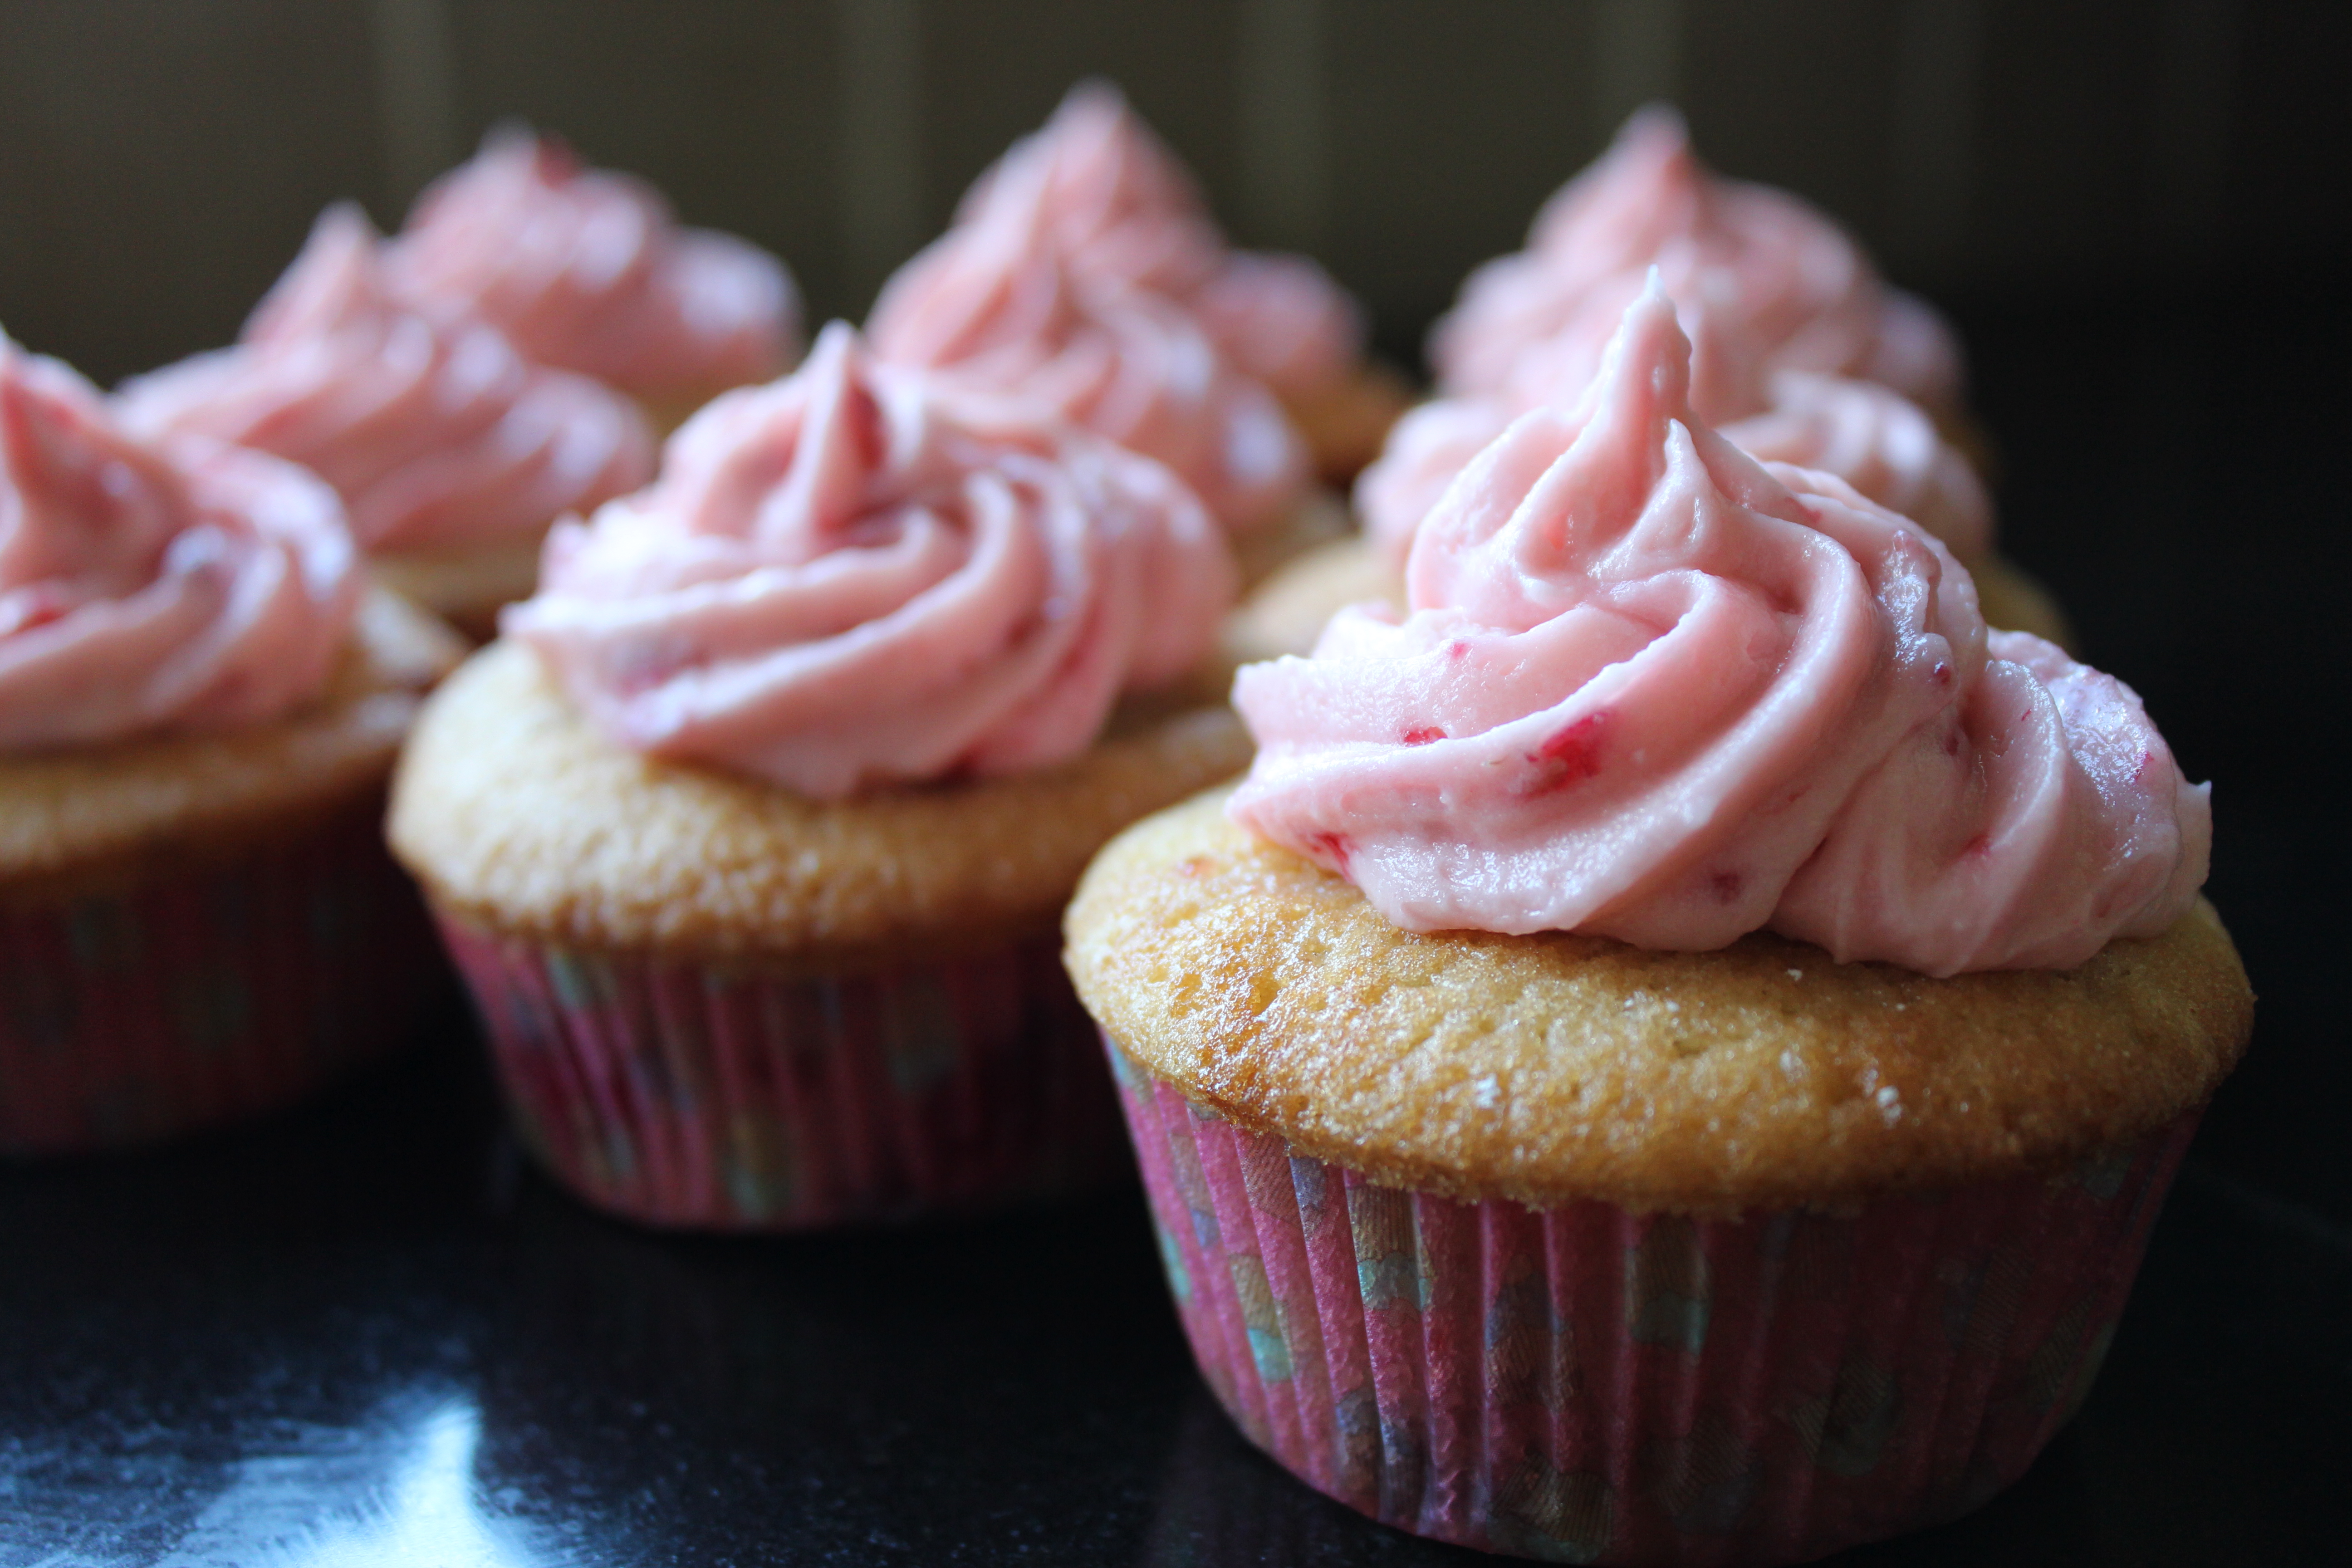
Sticky-Bottomed Raspberry Cupcakes – Makes 12
(Want to know why they’re called sticky-bottomed? Try them and find out!)
You will need:
Cake:
175g/6oz – Softened Butter or Margarine
175g/6oz – Caster Sugar
3 x Large Free-Range Eggs
1 x Teaspoon of Vanilla Extract
175g/6oz – Self Raising Flour
18 x Fresh Raspberries
12 x Teaspoons of Raspberry Jam
—————————————————
Topping:
125g/4.5oz – Softened Unsalted Butter
250g/9oz – Icing Sugar
4 x Fresh Raspberries
—————————————————
Instructions:
Pre-heat your oven to 180C/365F (electric – if fan reduce heat accordingly – I bake on 170C) or gas mark 4.
In a large bowl whisk together the 175g softened butter and the caster sugar.
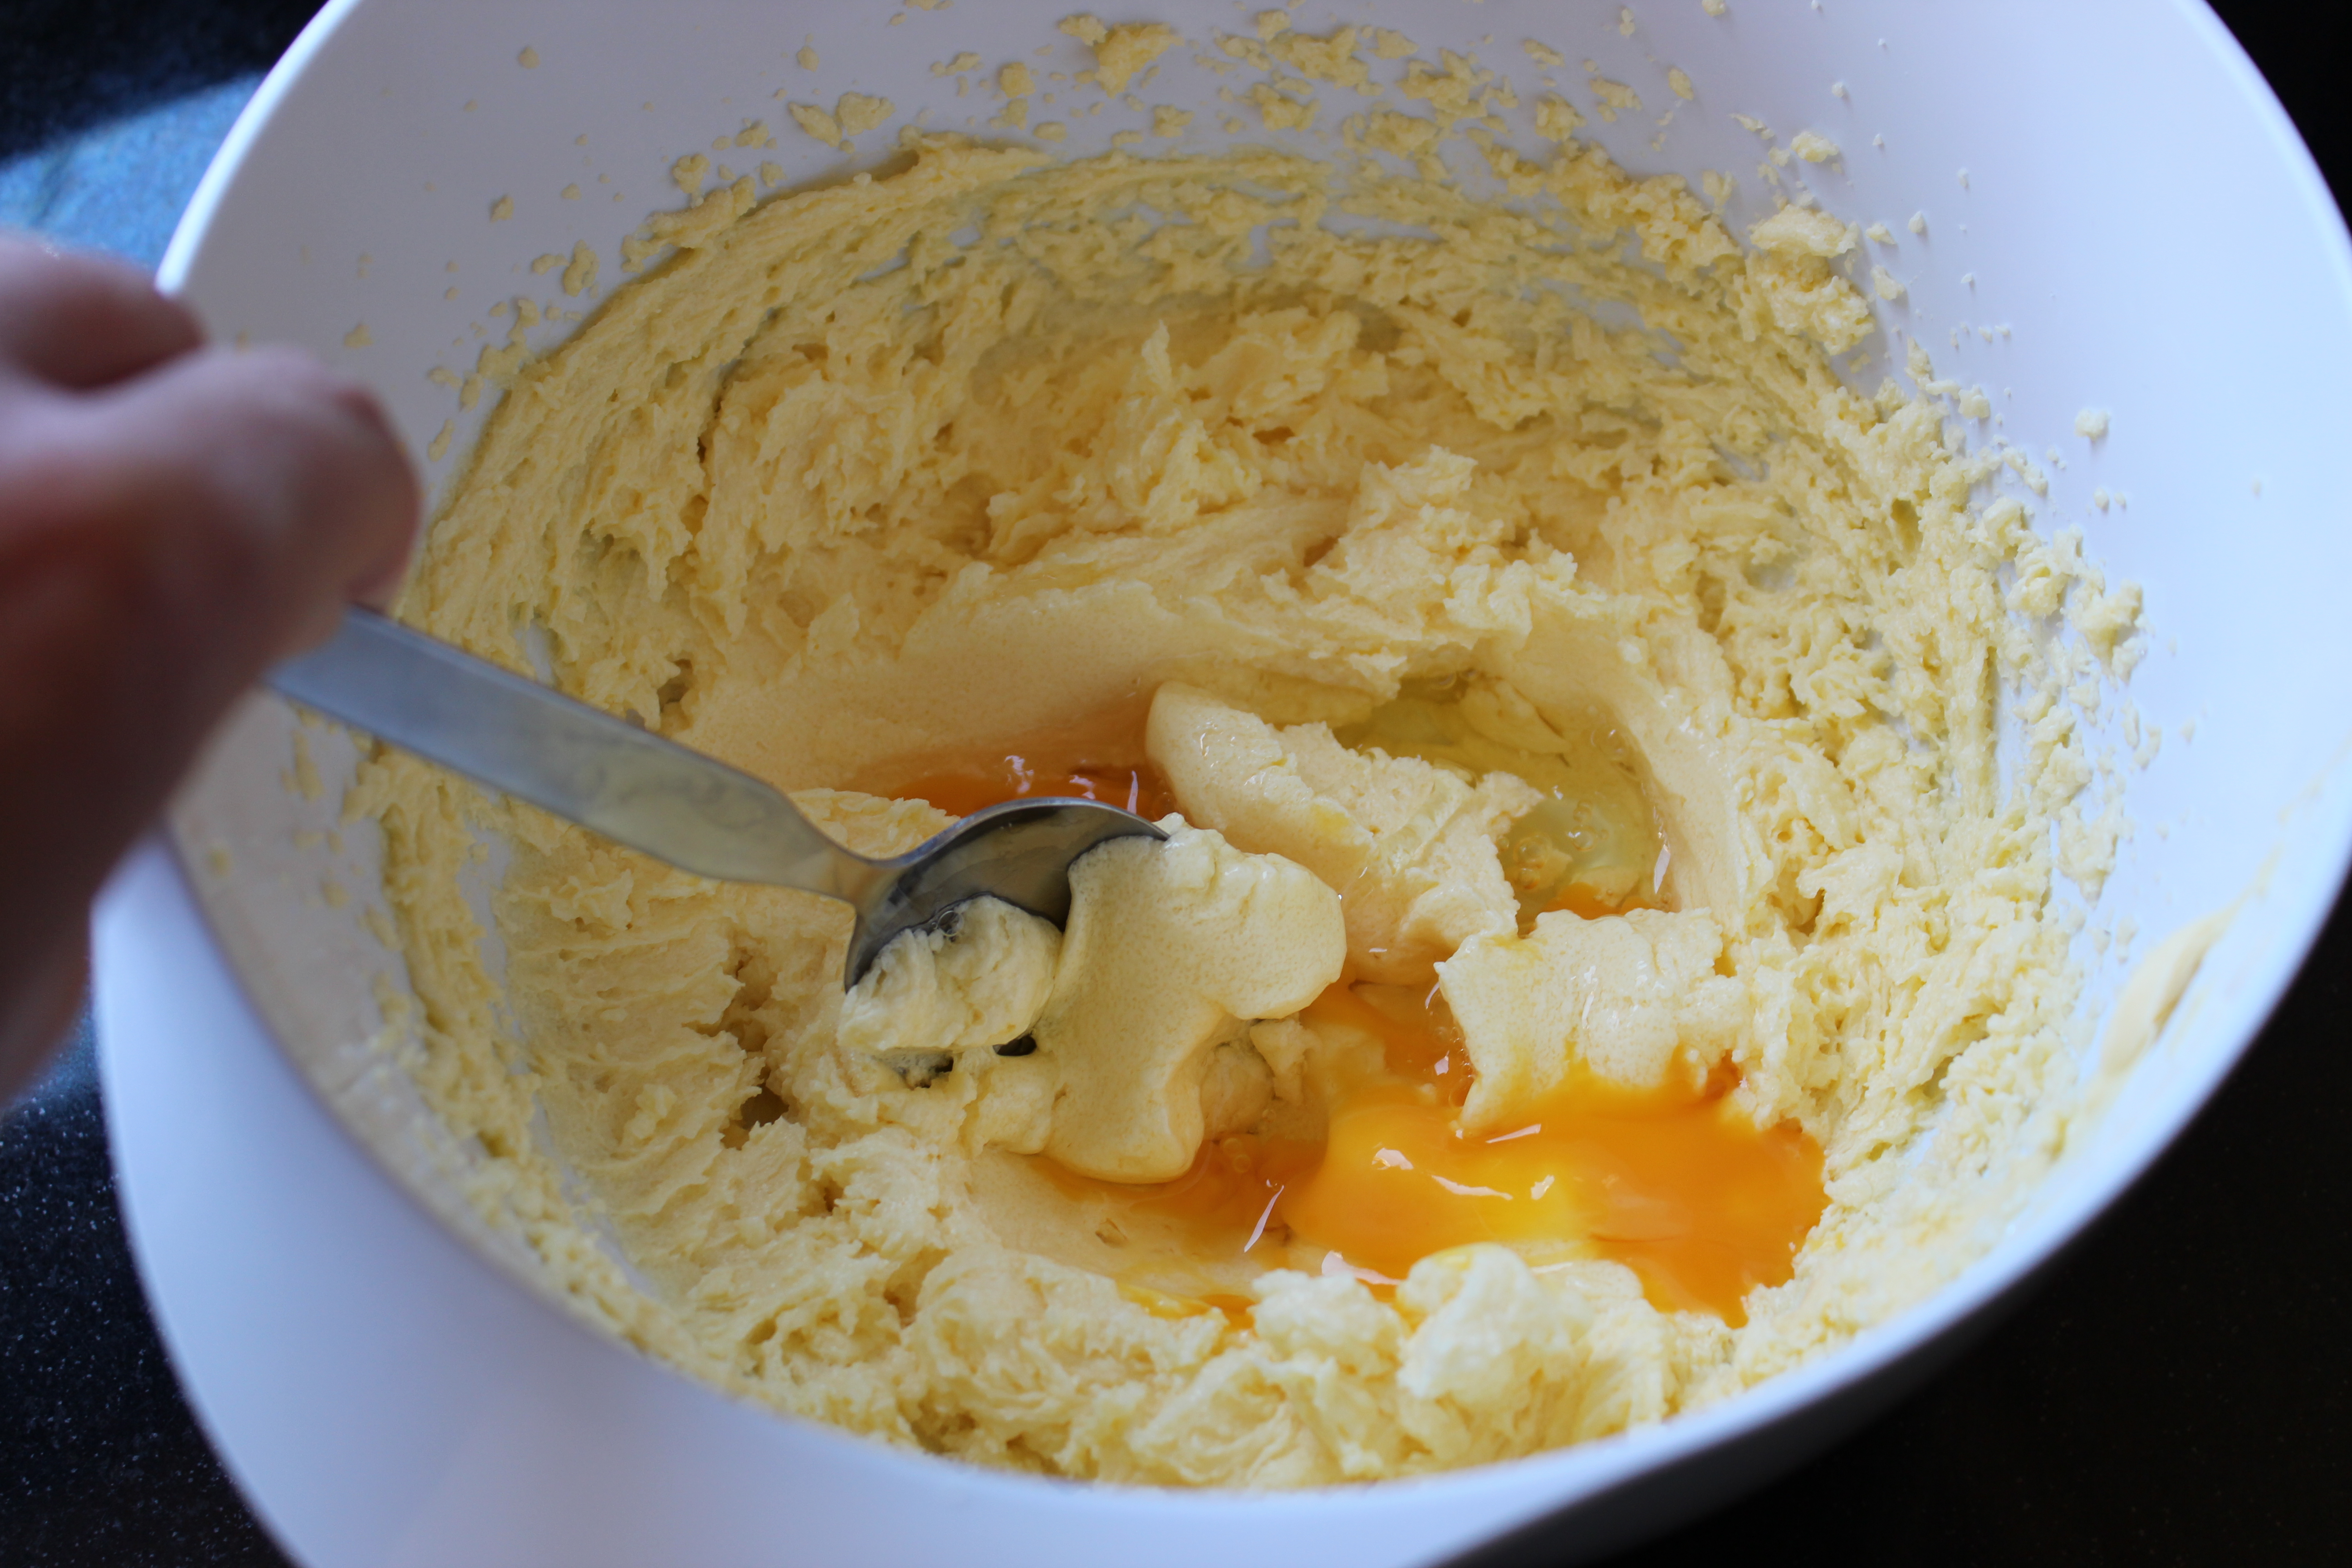
When light and fluffy add one egg at a time and stir in gently. The eggs are best when at room temperature.
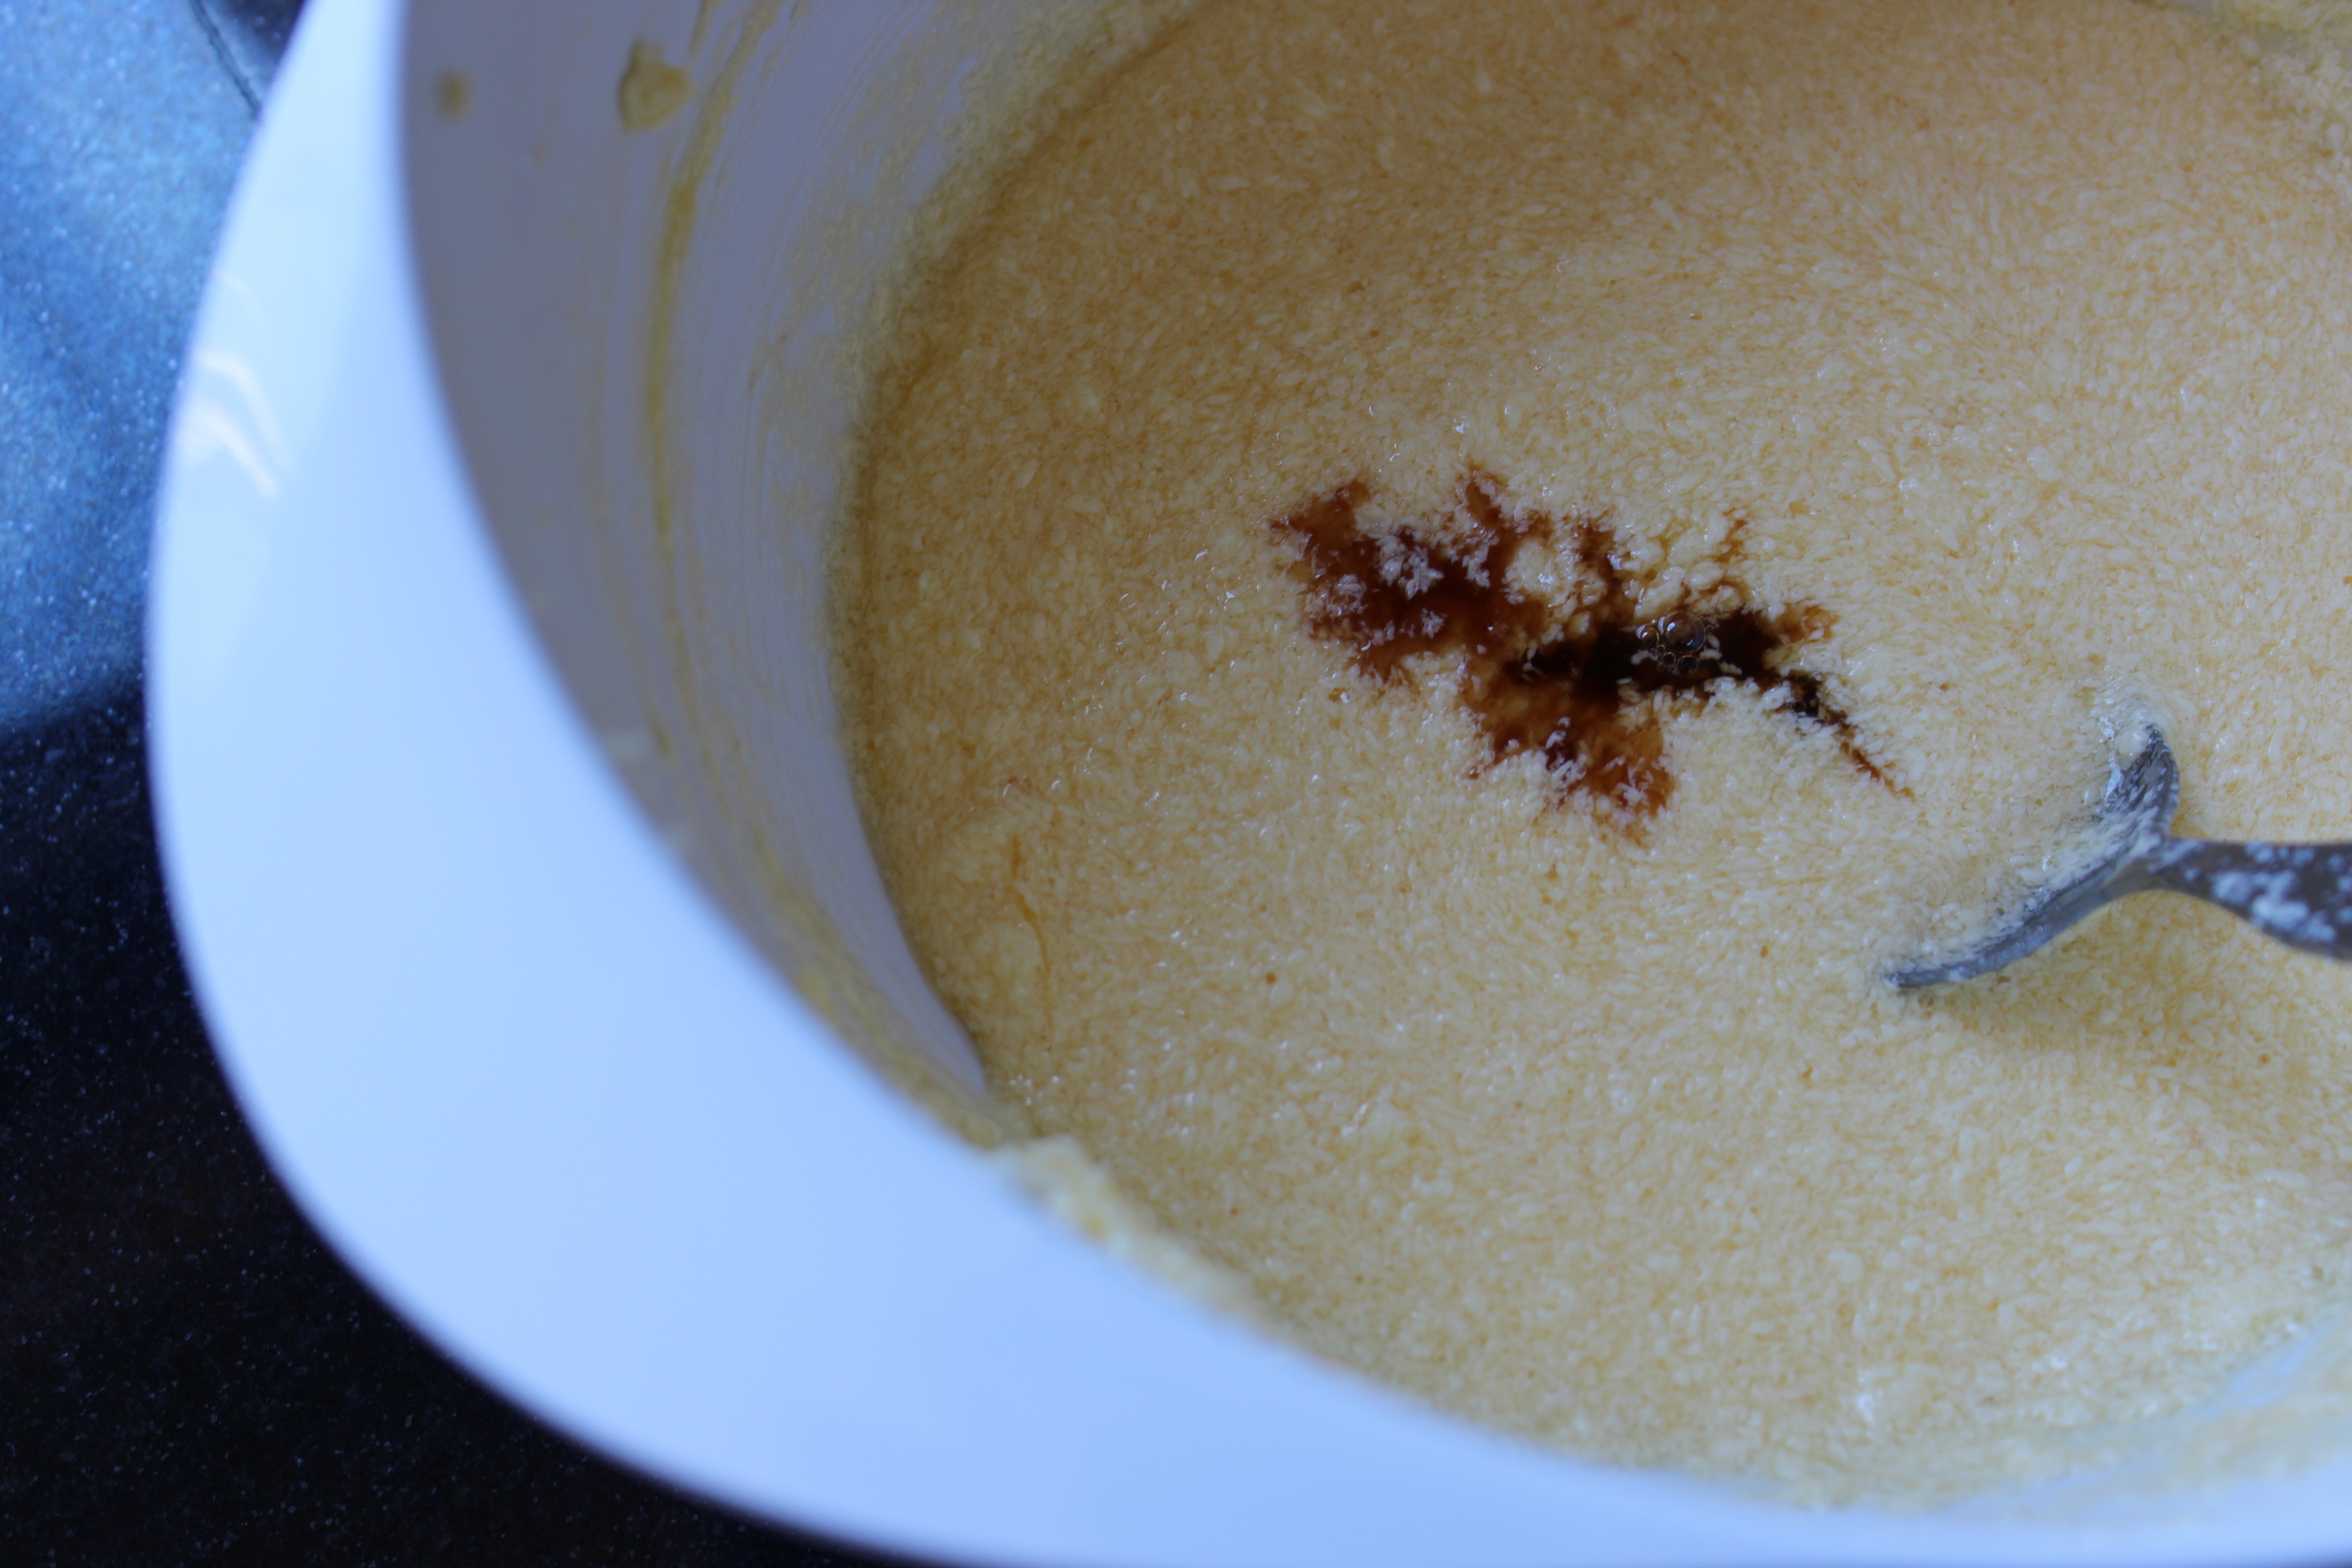
Once all combined add the vanilla extract and stir.
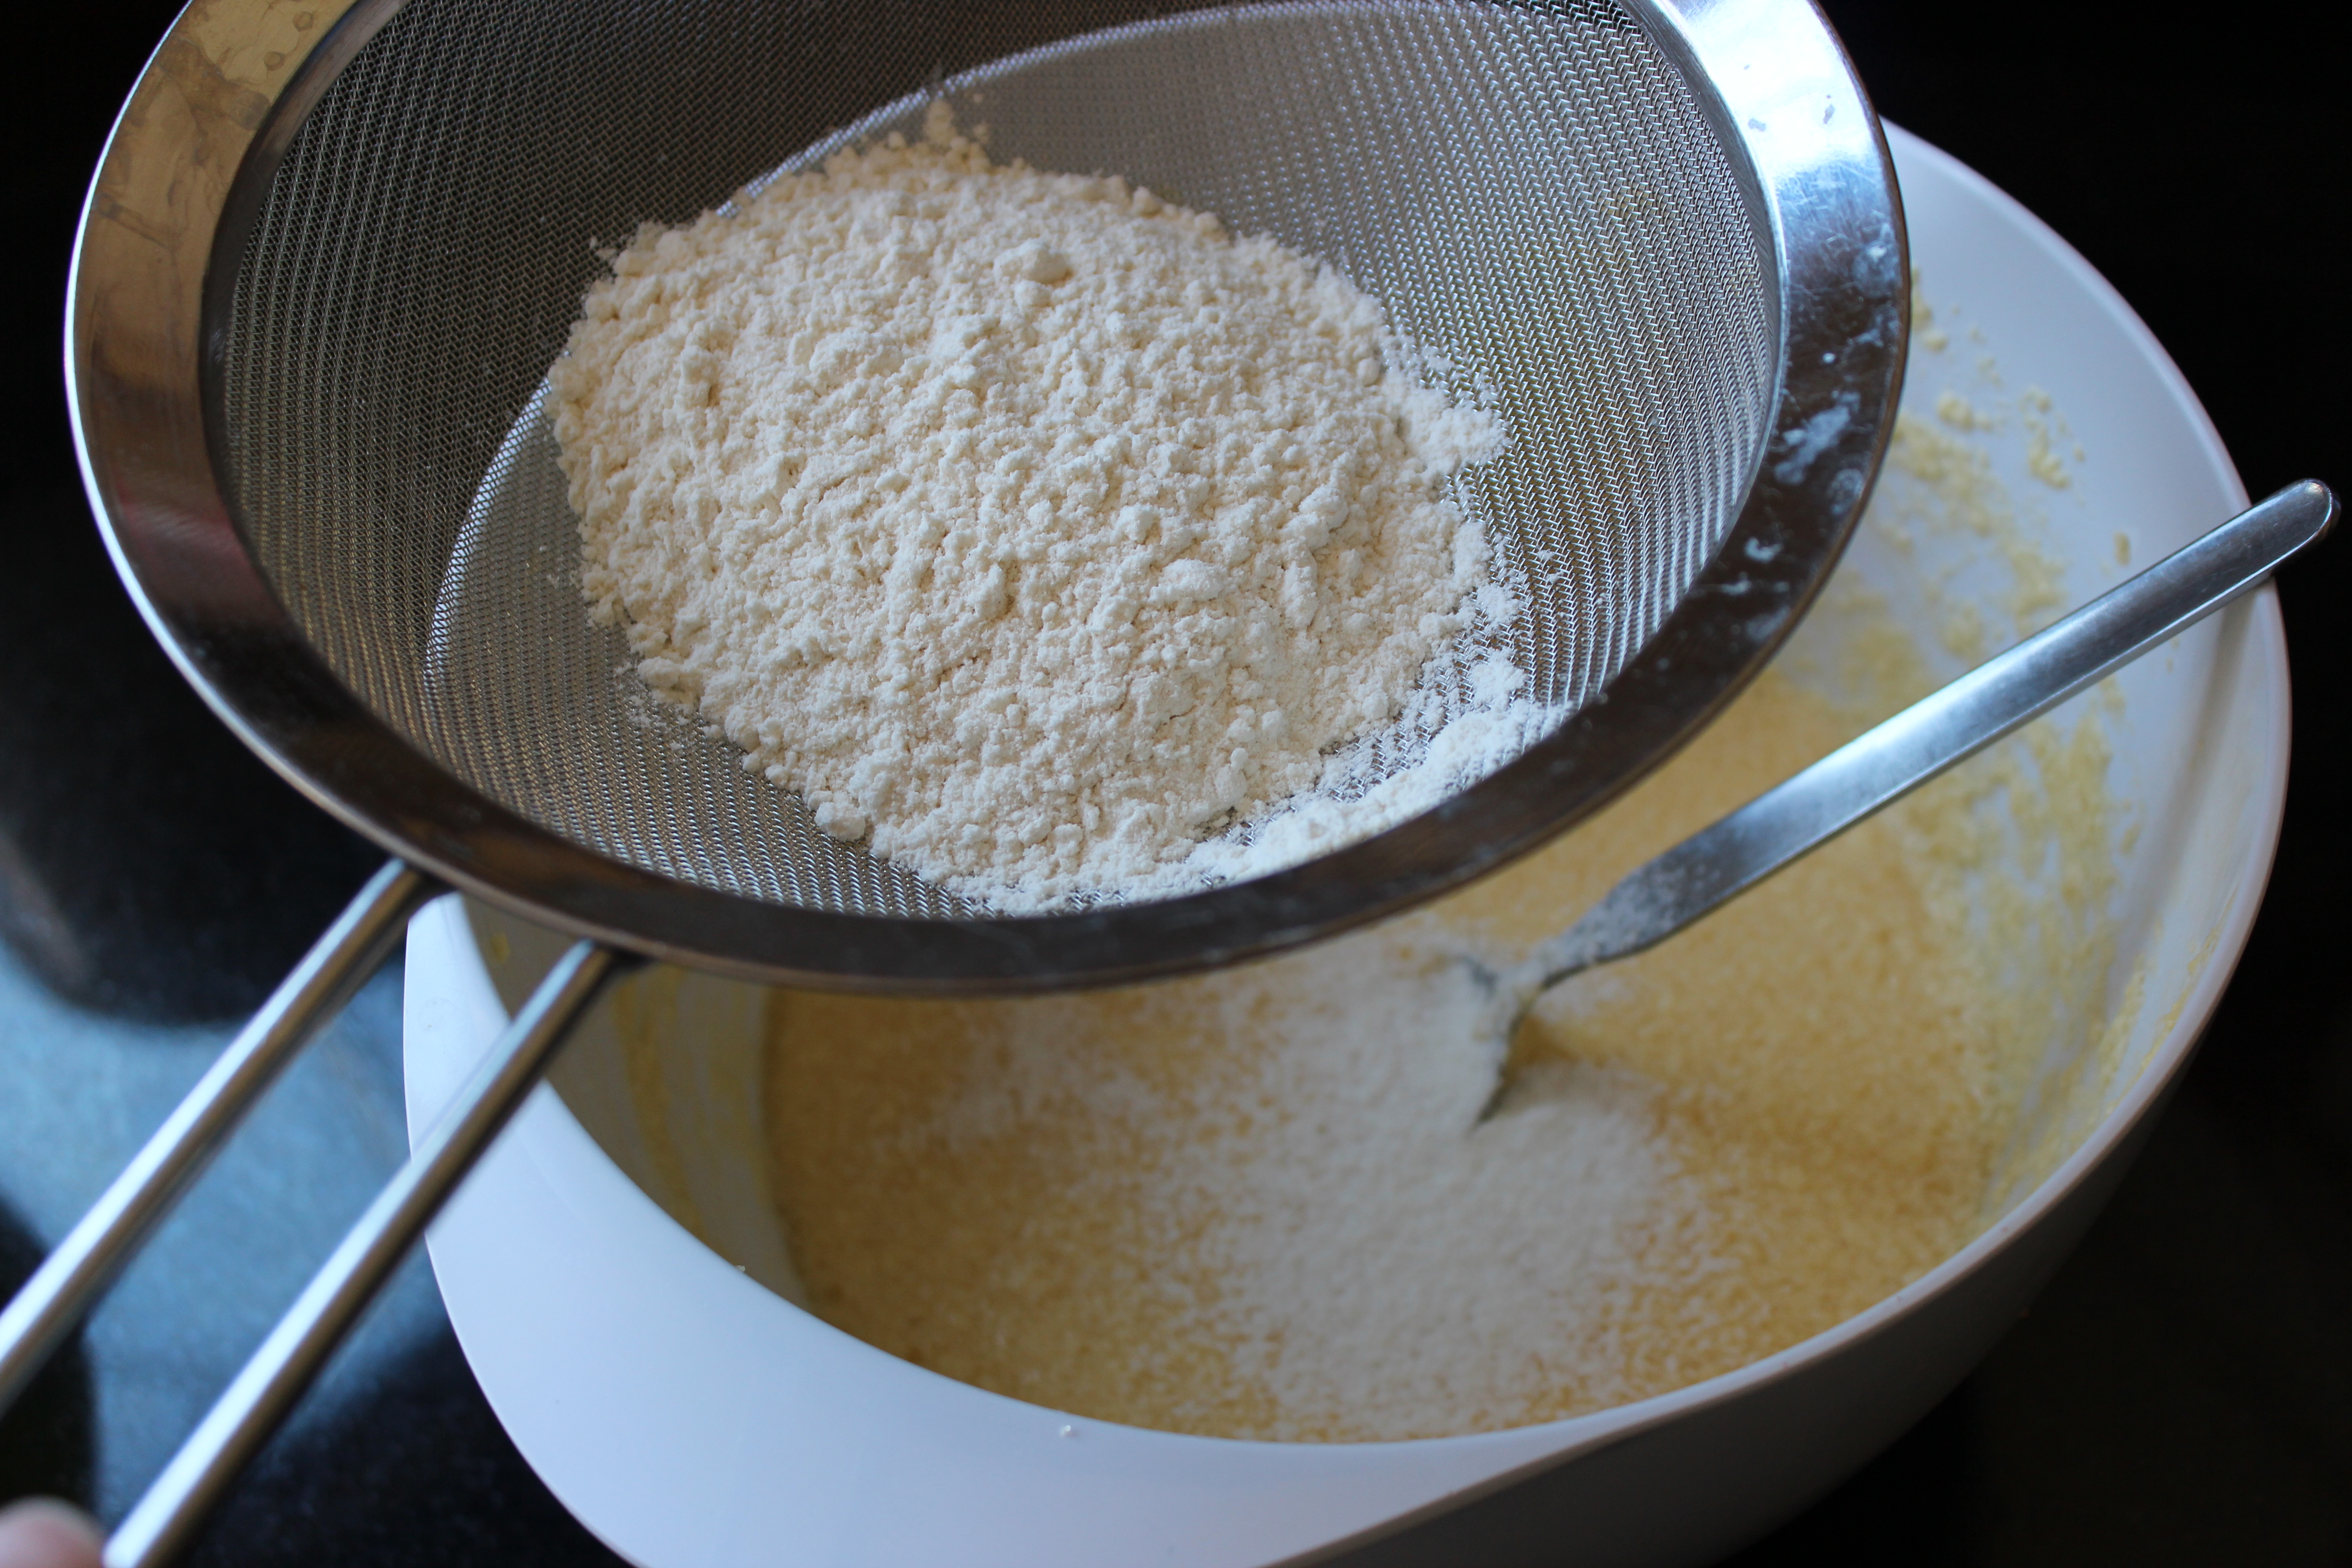
Sift in the flour – gradually. Fold each addition into the mixture gently. Don’t over mix.
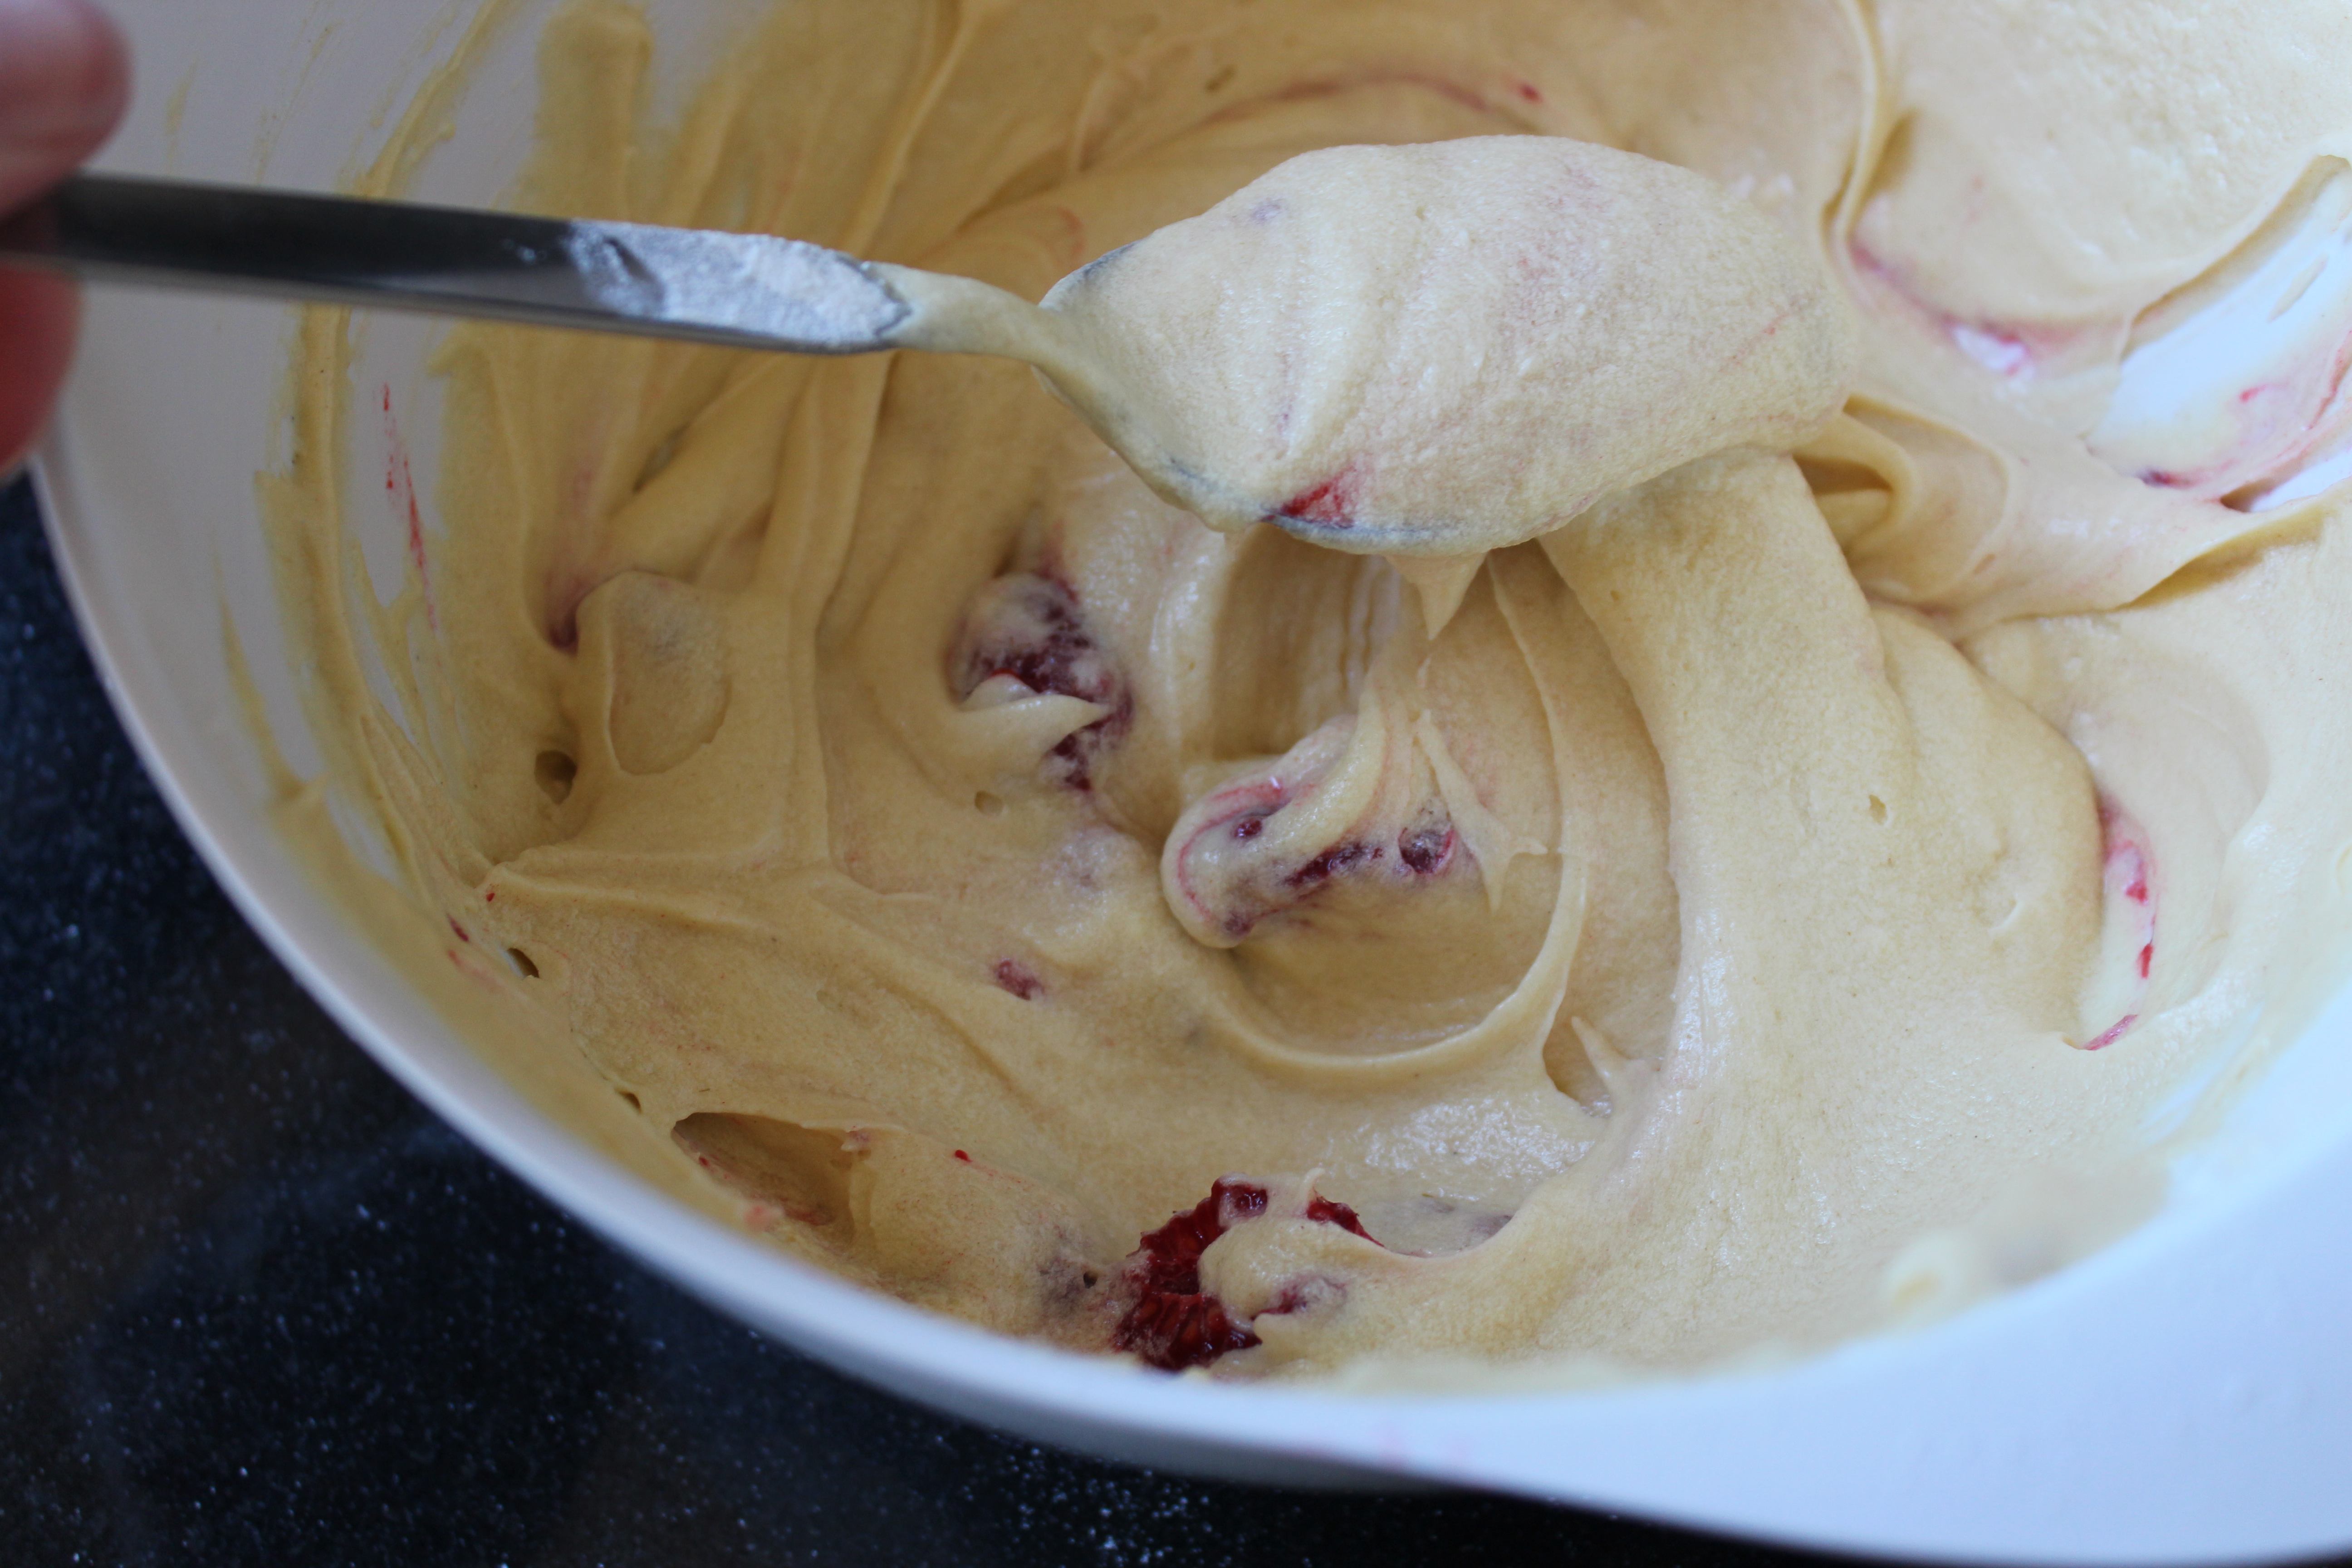
Once all combined, add the 18 raspberries to the mixture. Stir well. the raspberries will break up a little, that’s fine.
In a muffin tin place 12 large cupcake cases, or muffin cases.
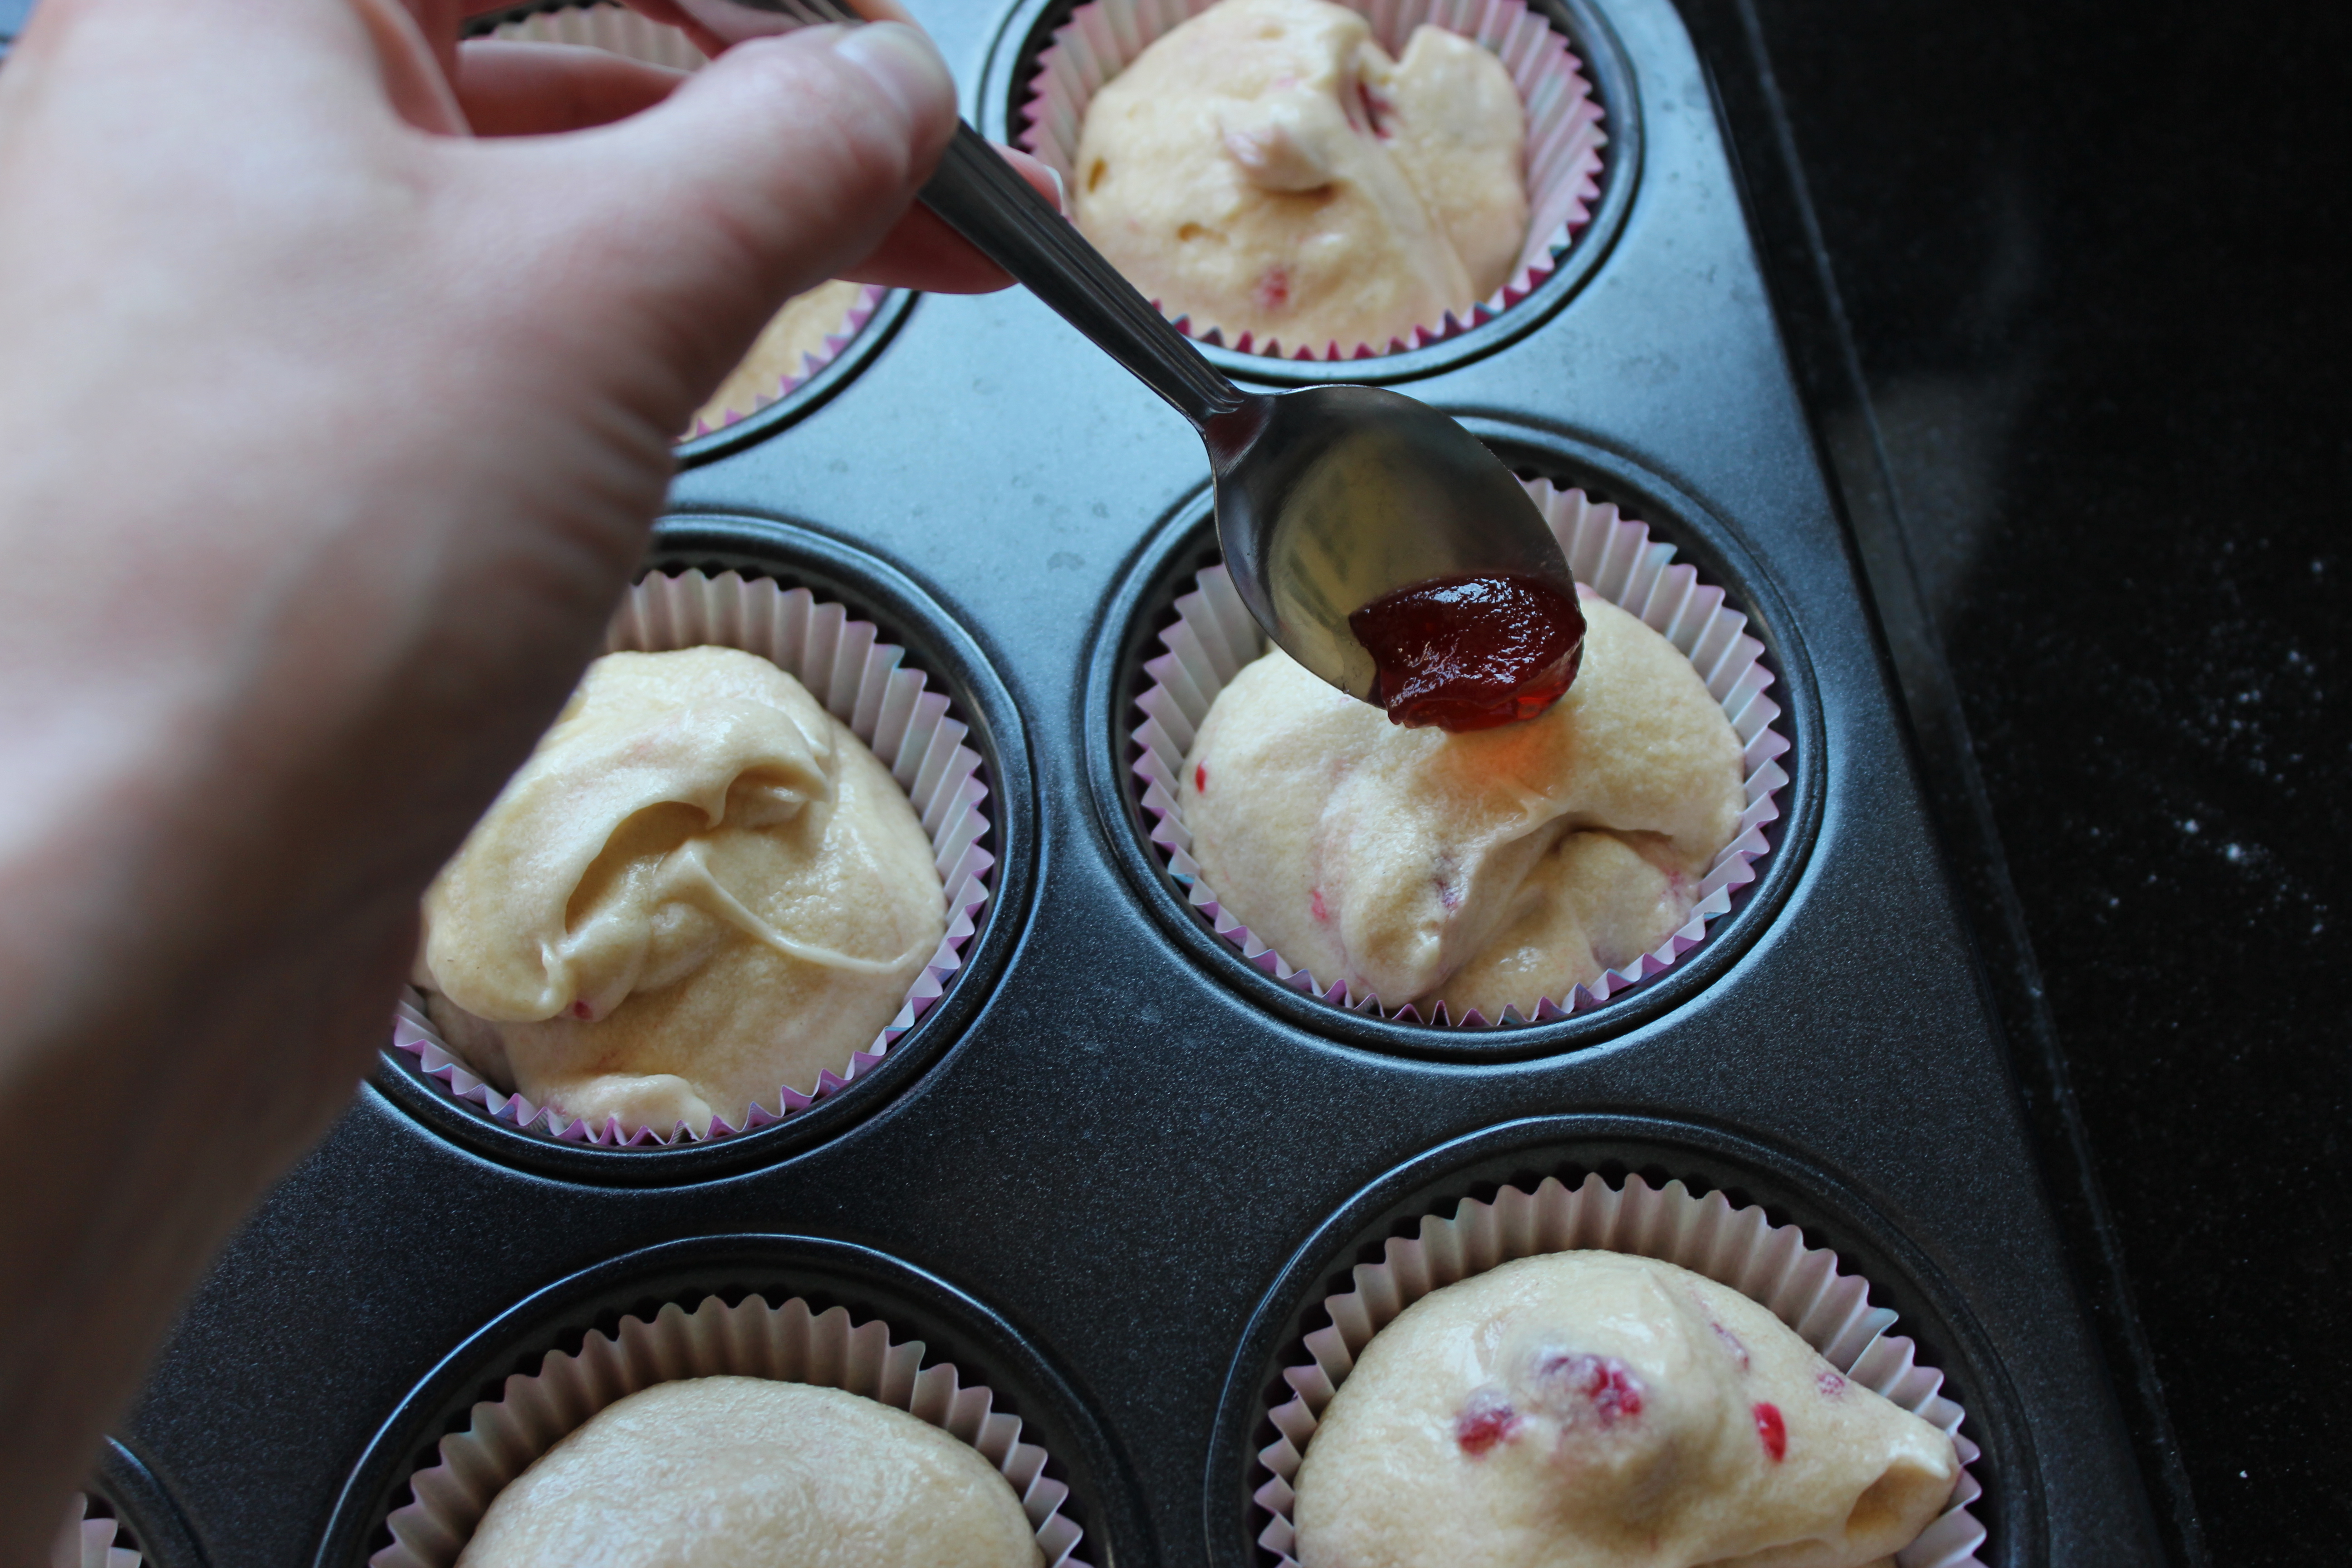
Add an equal amount of mixture to each case.
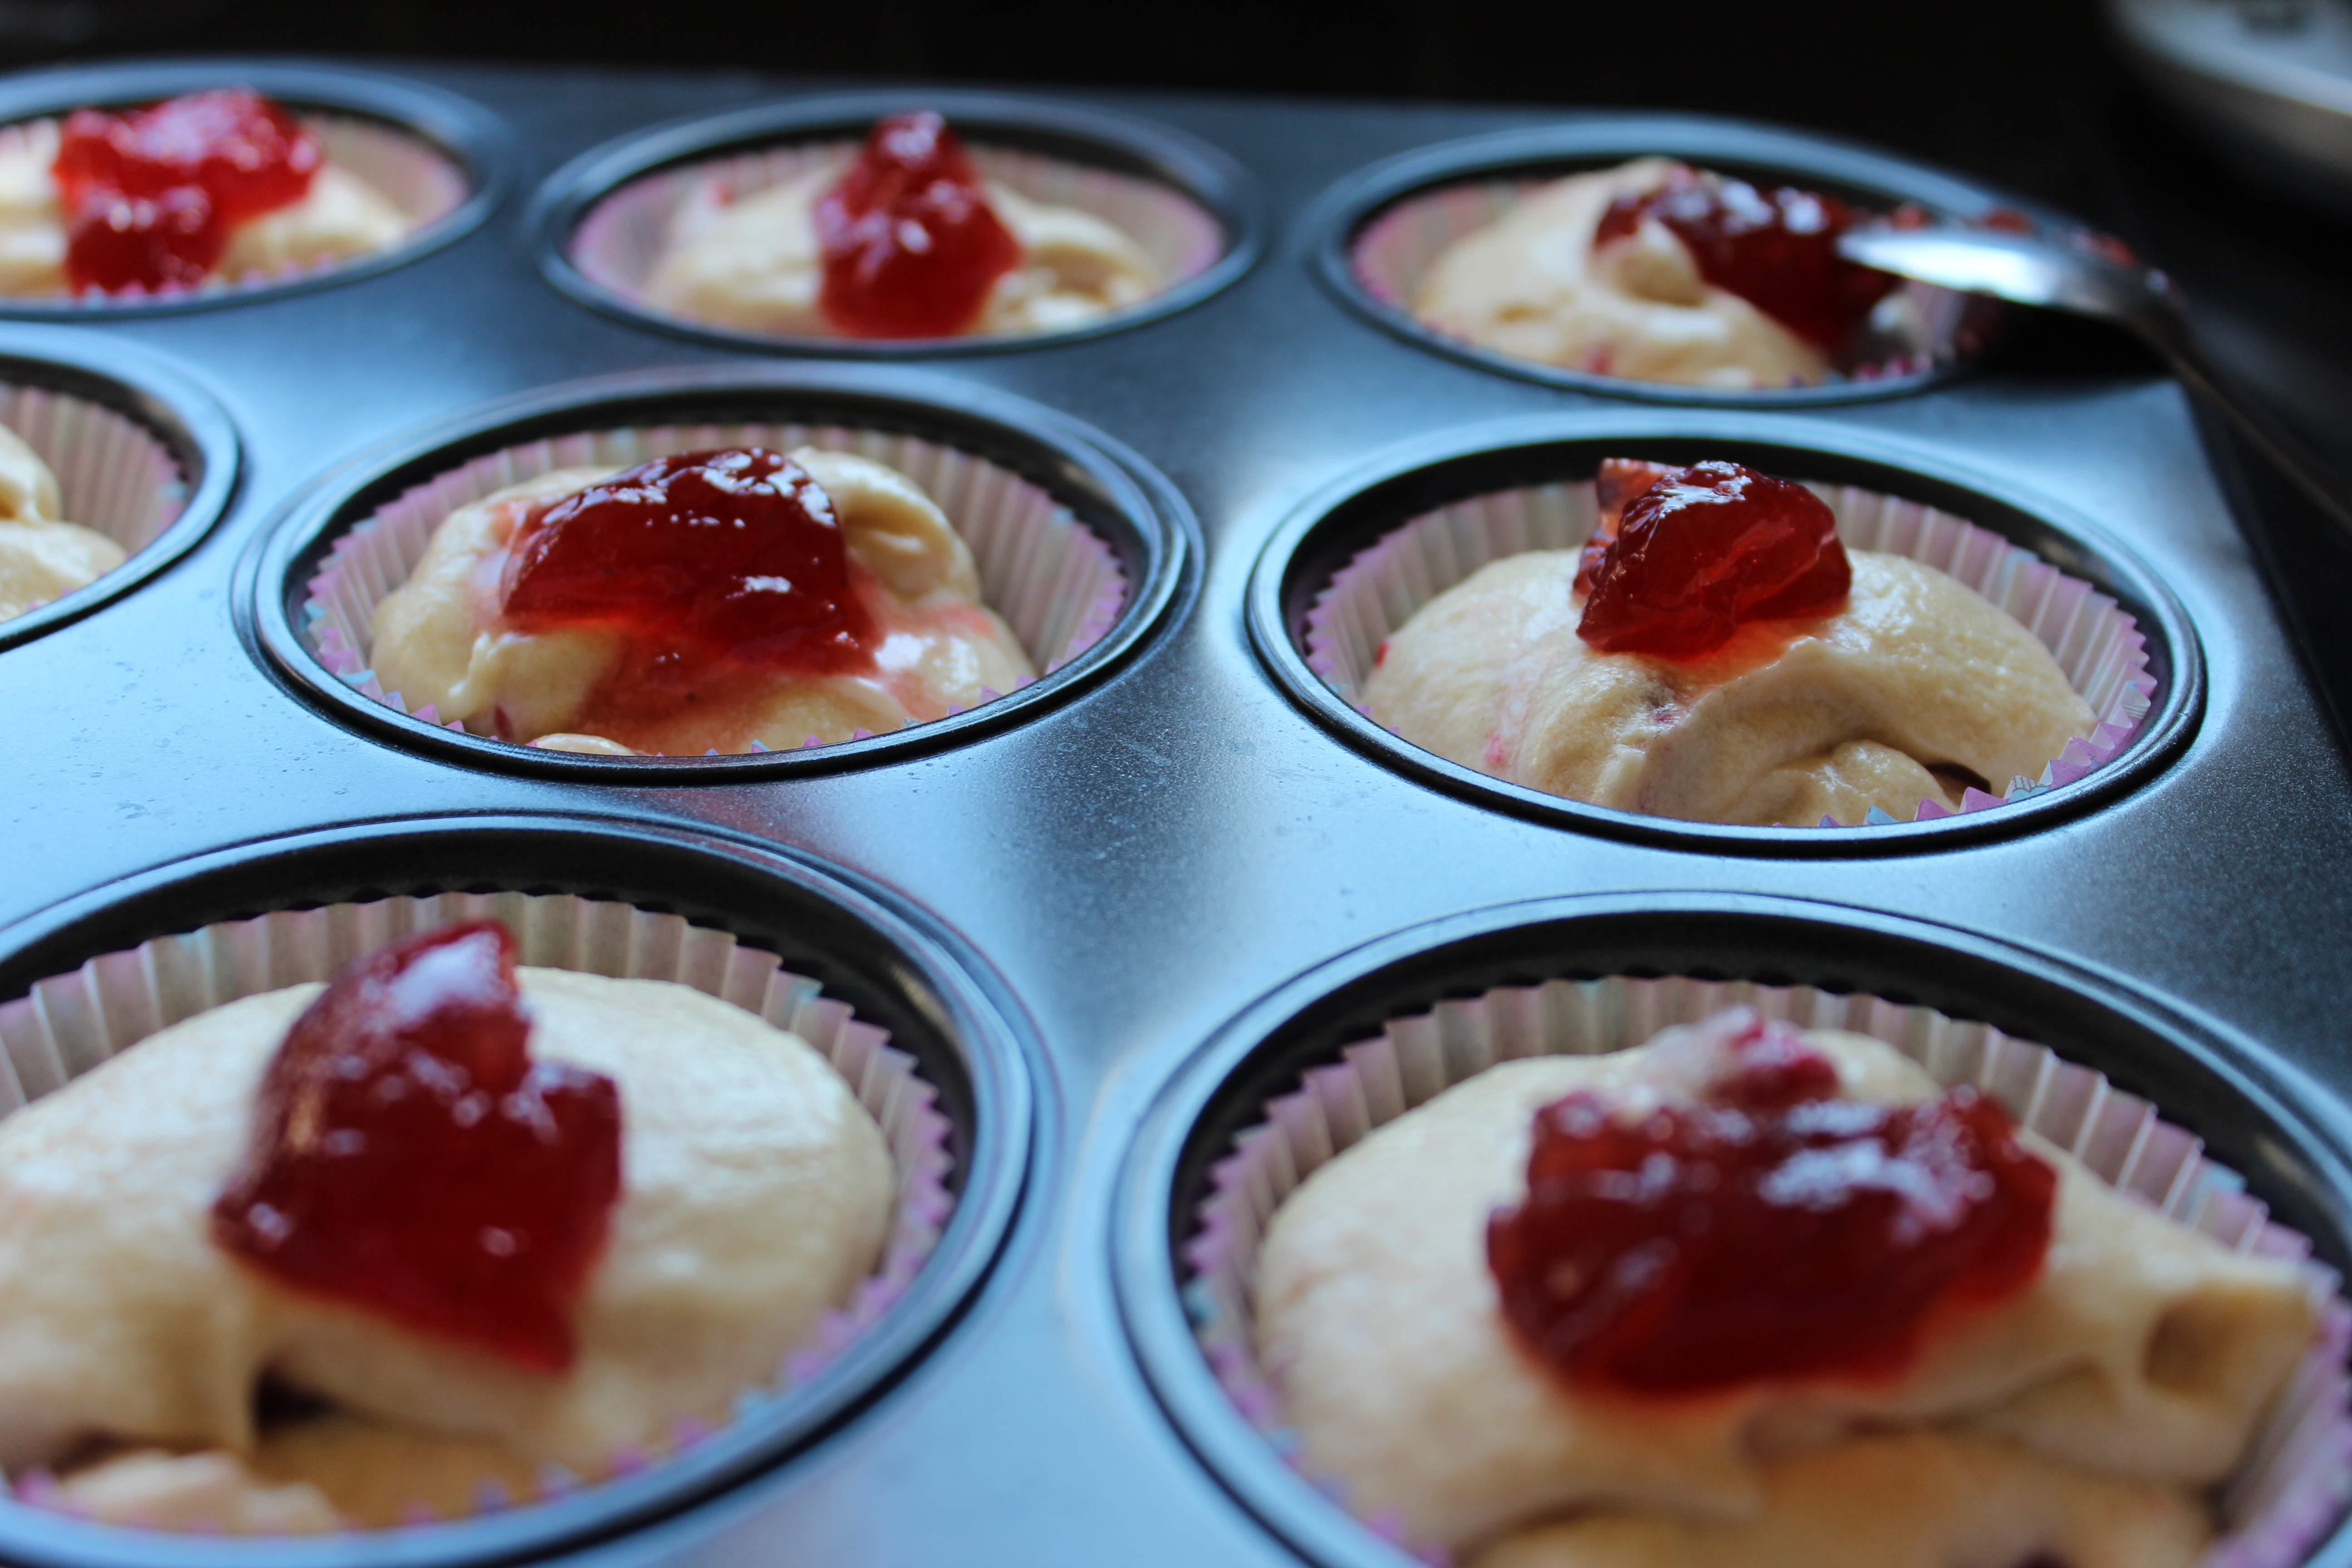
Place a dollop of jam on the top of each.
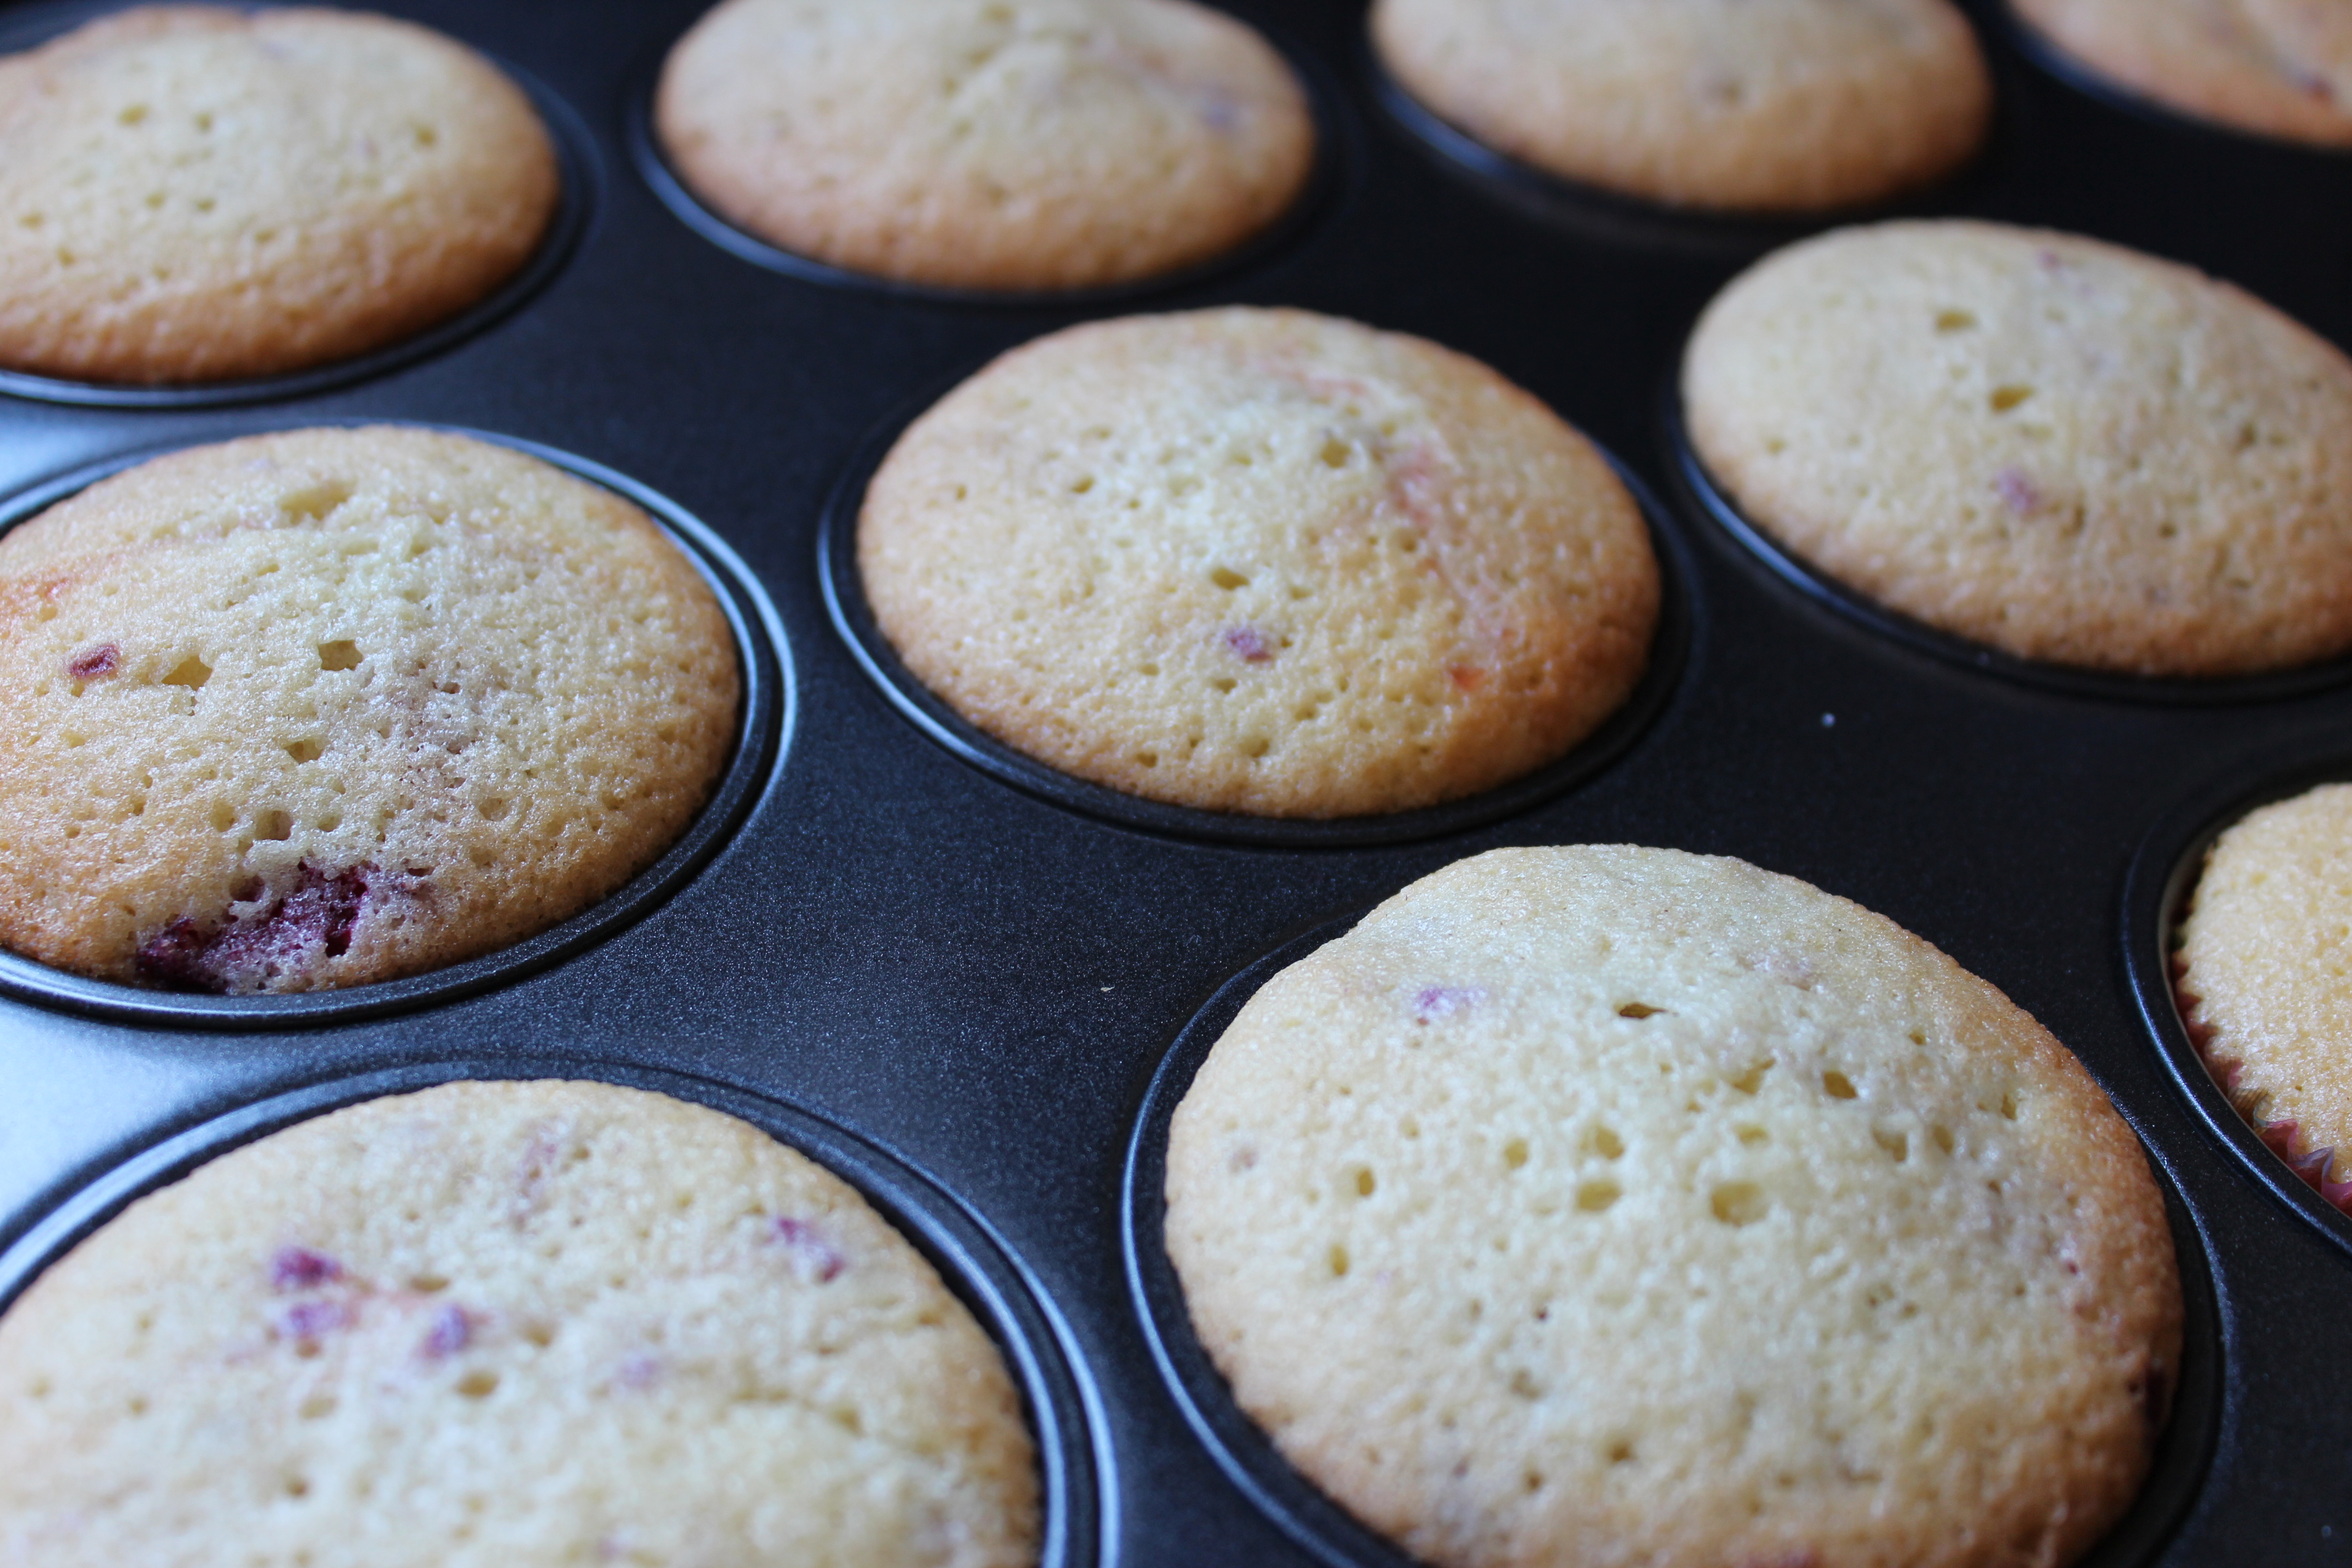
Pop the cakes in your pre-heated oven for approx. 15 minutes. Ovens do vary, so it could be short a duration as 10 minutes (but it’s unlikely). Mine took about 18 minutes in total.
Remove from oven once they are firm but springy on the top to touch. Leave to rest for a couple of minutes before placing on a cooling-rack.
When cool, make the butter cream topping.
In a bowl place the softened butter.
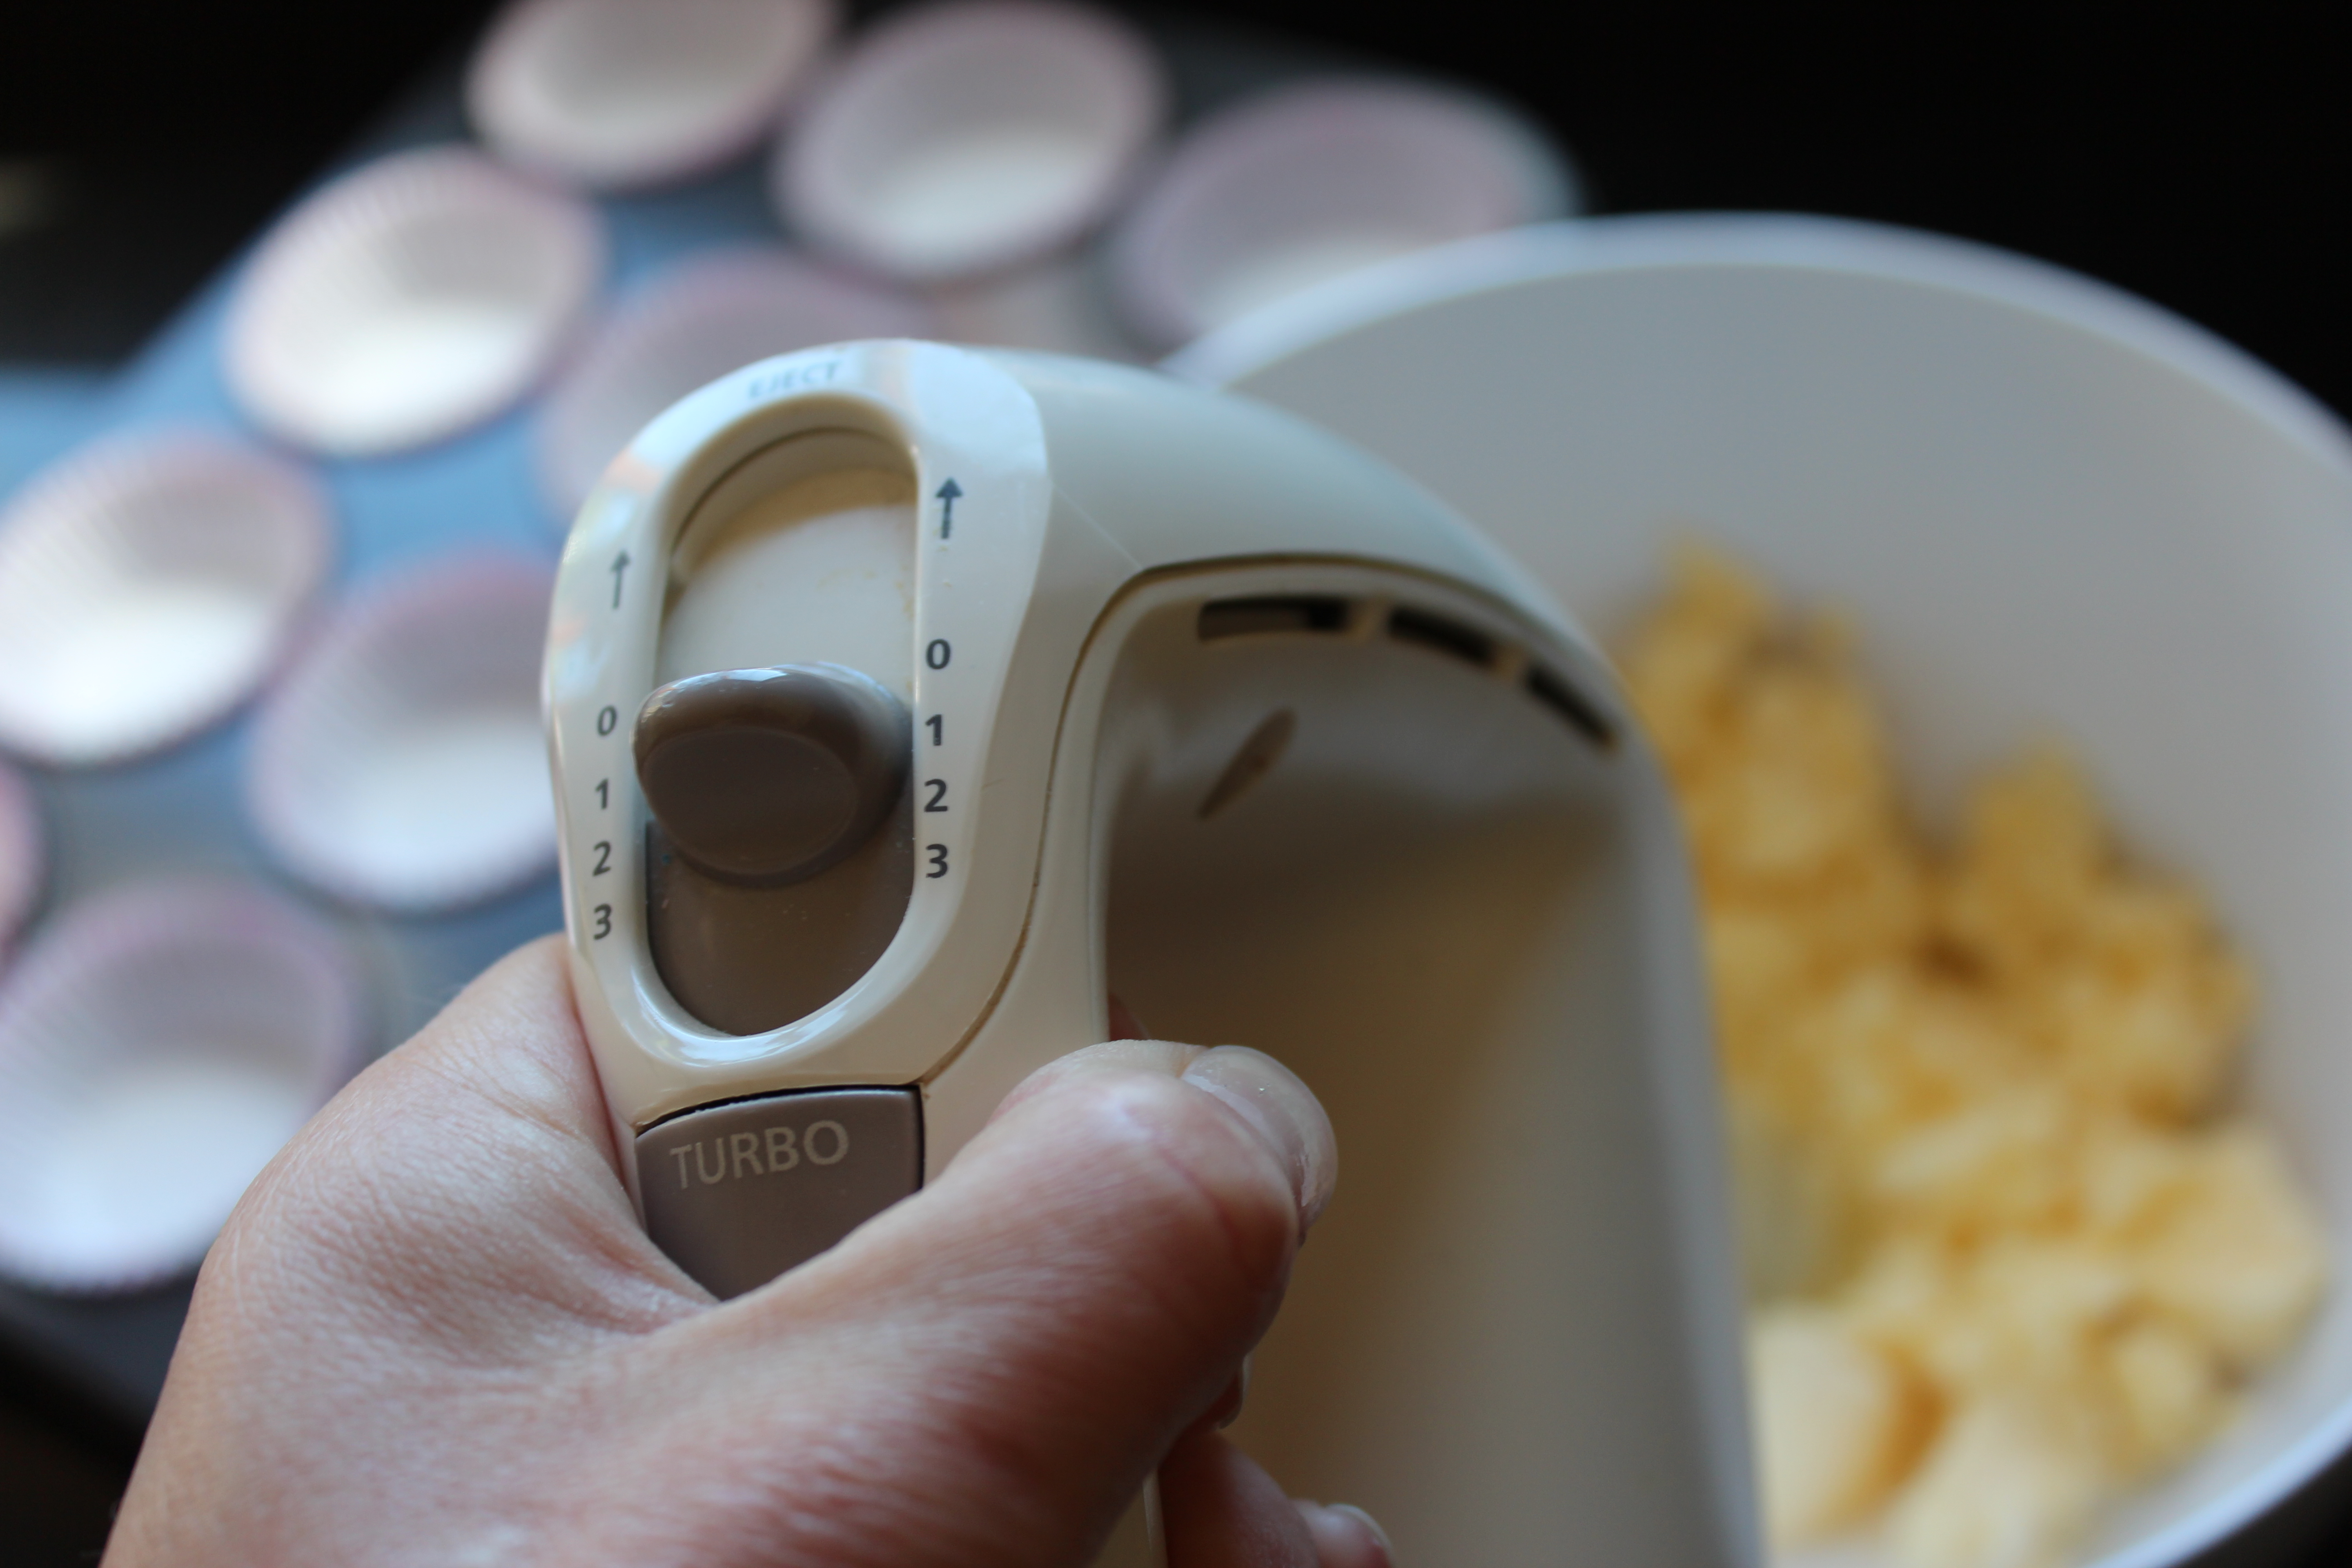
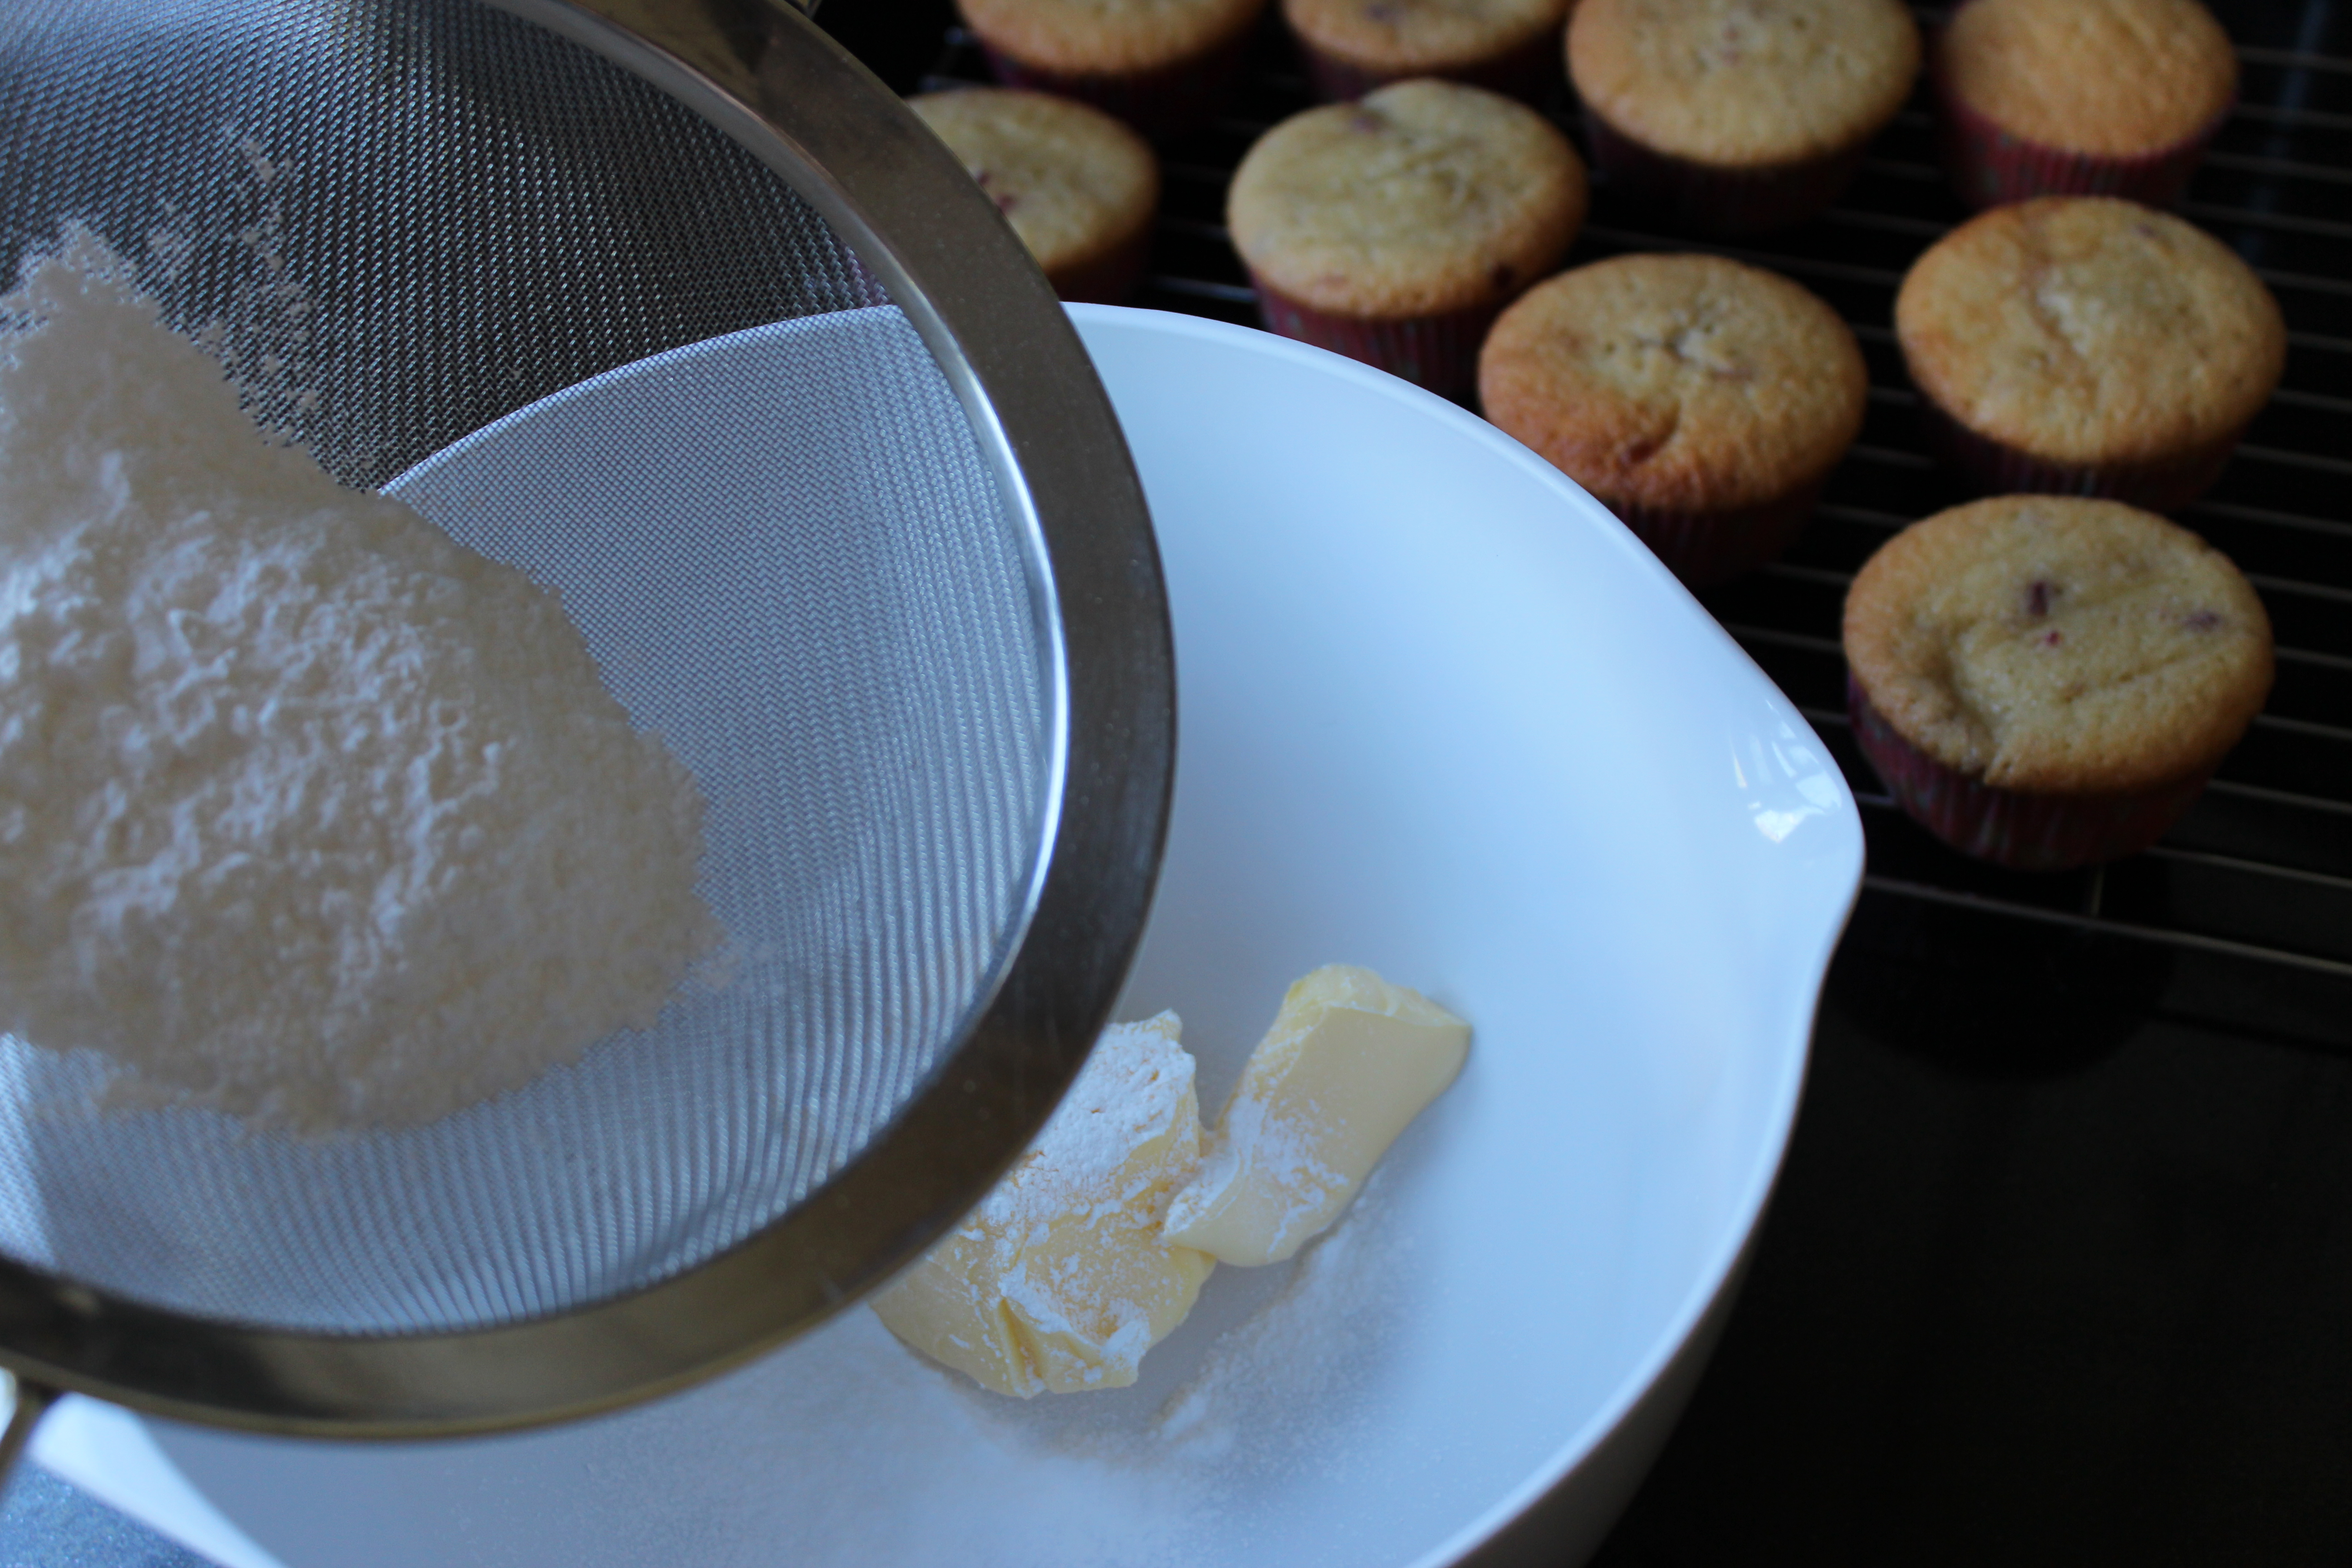
Sift in the icing-sugar and cream together – this can be done with an electric whisk.
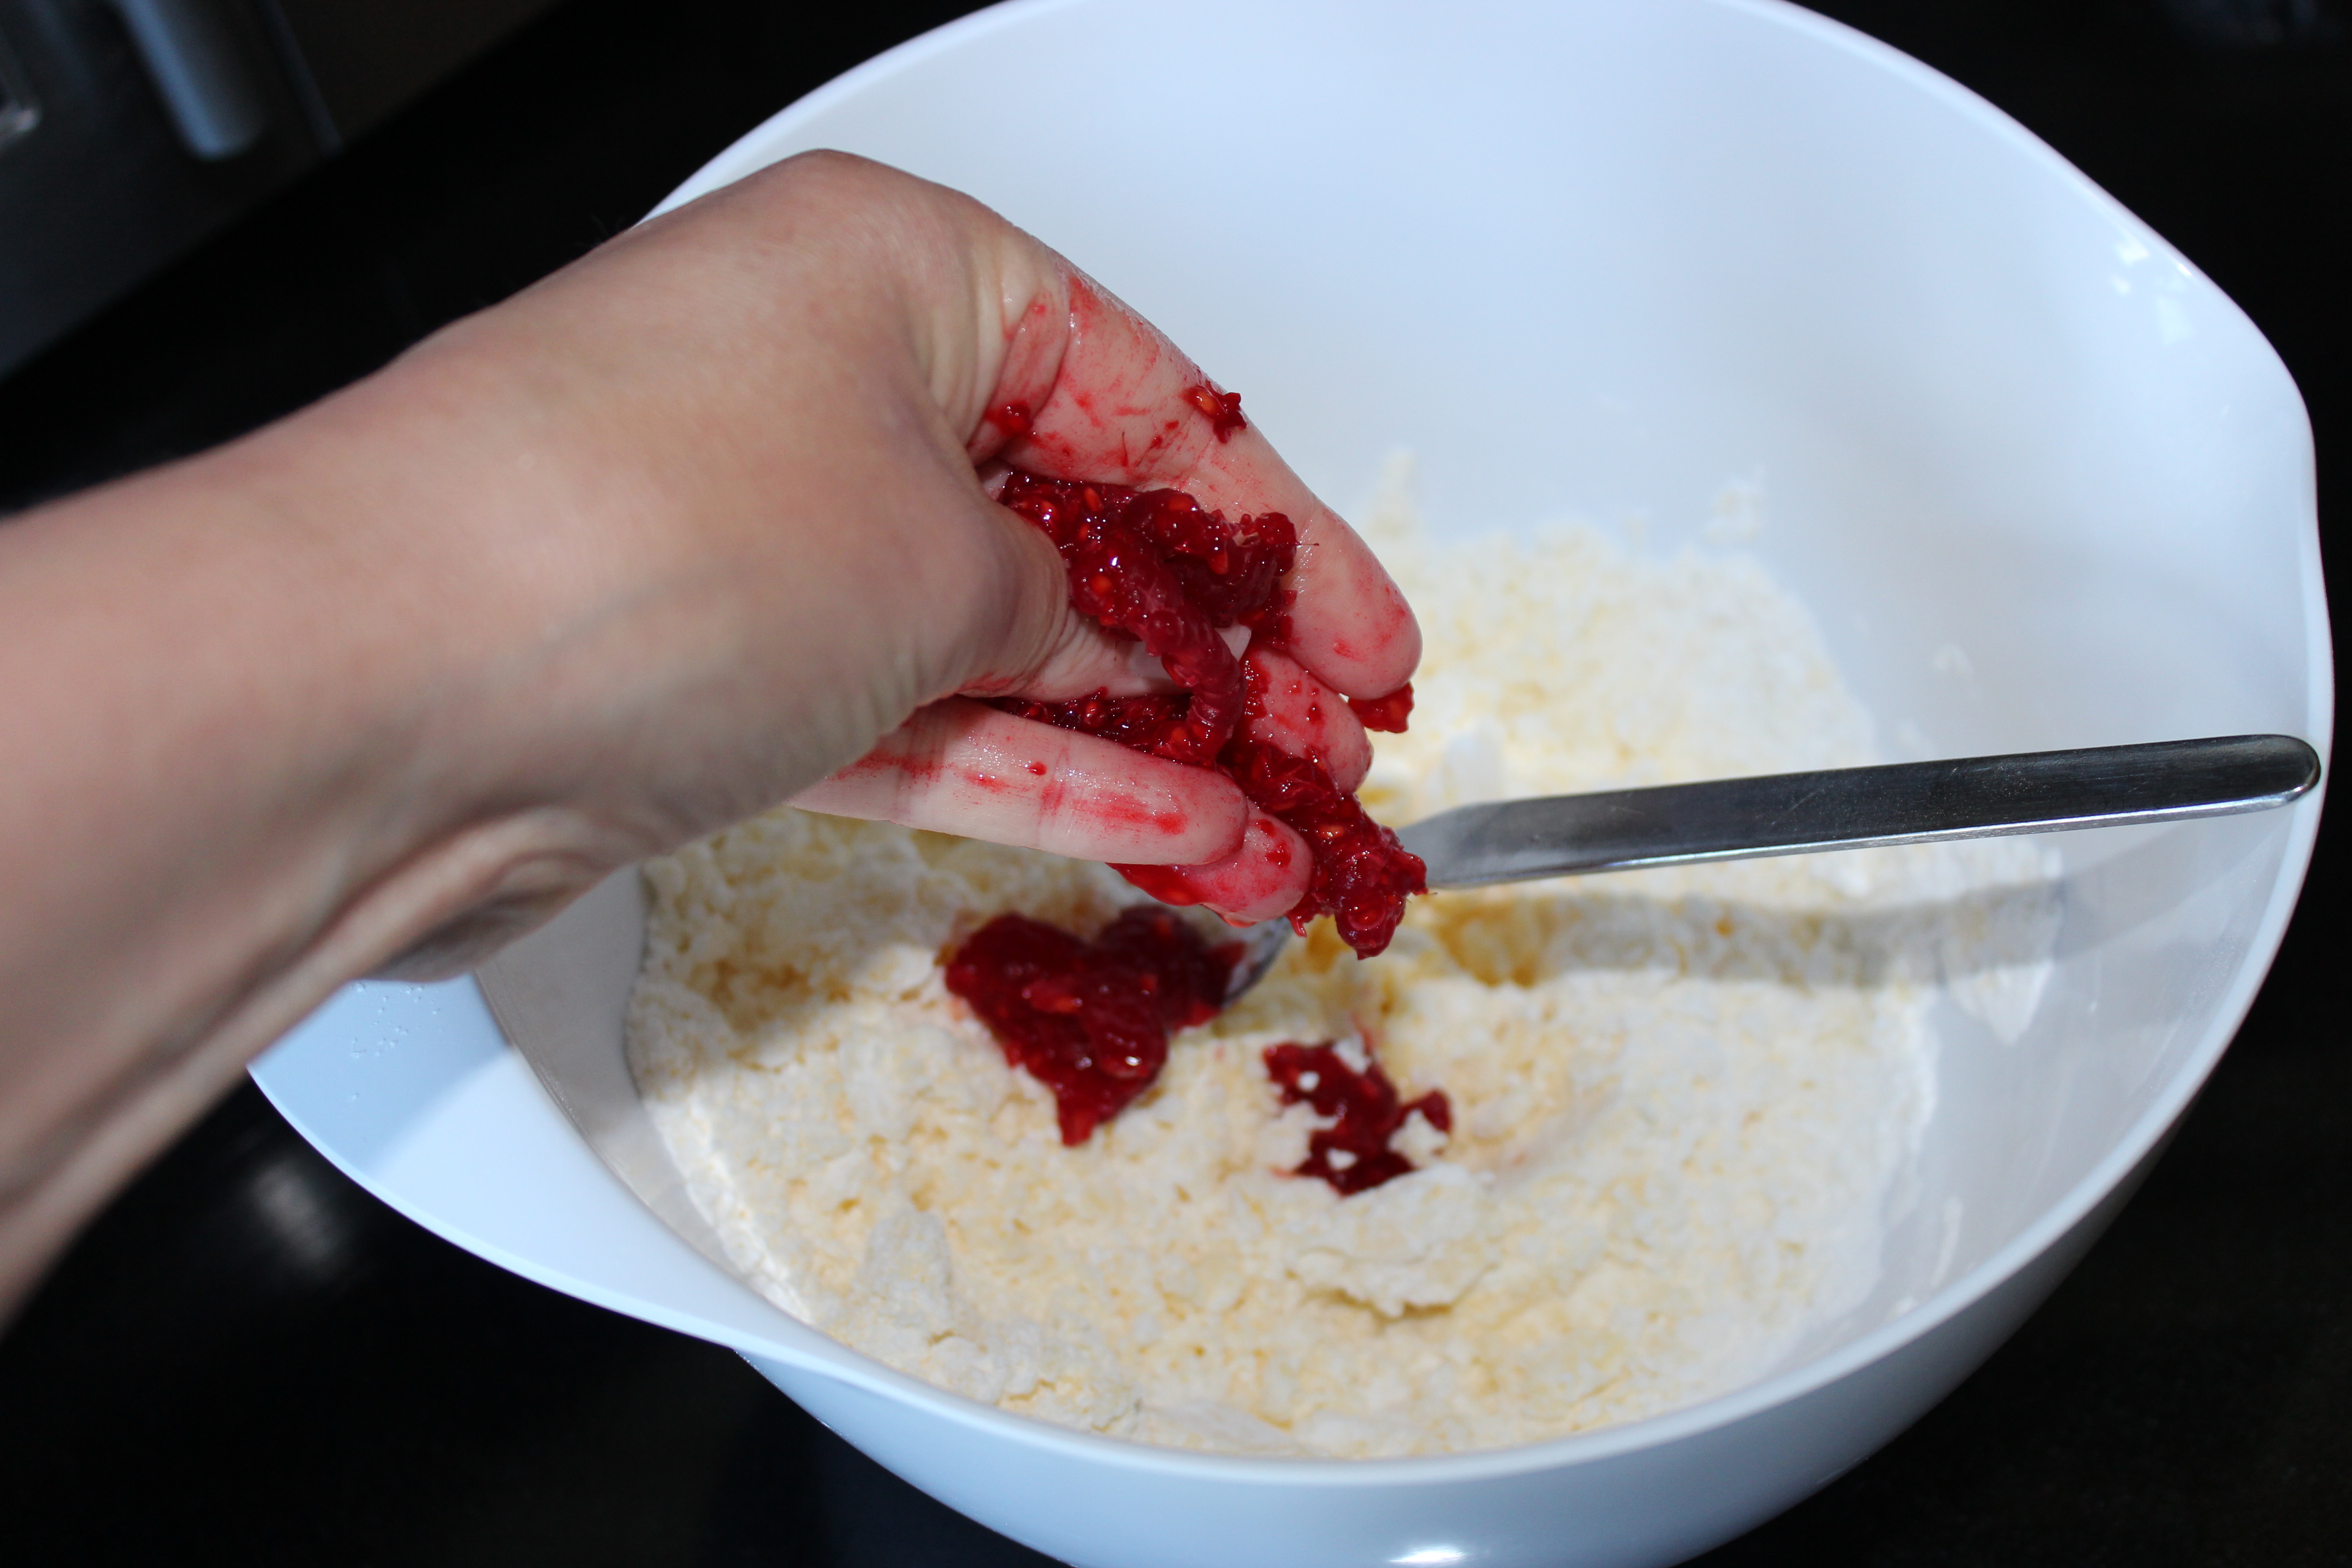
Once smooth, add 4 raspberries, by squeezing them through your fingers.
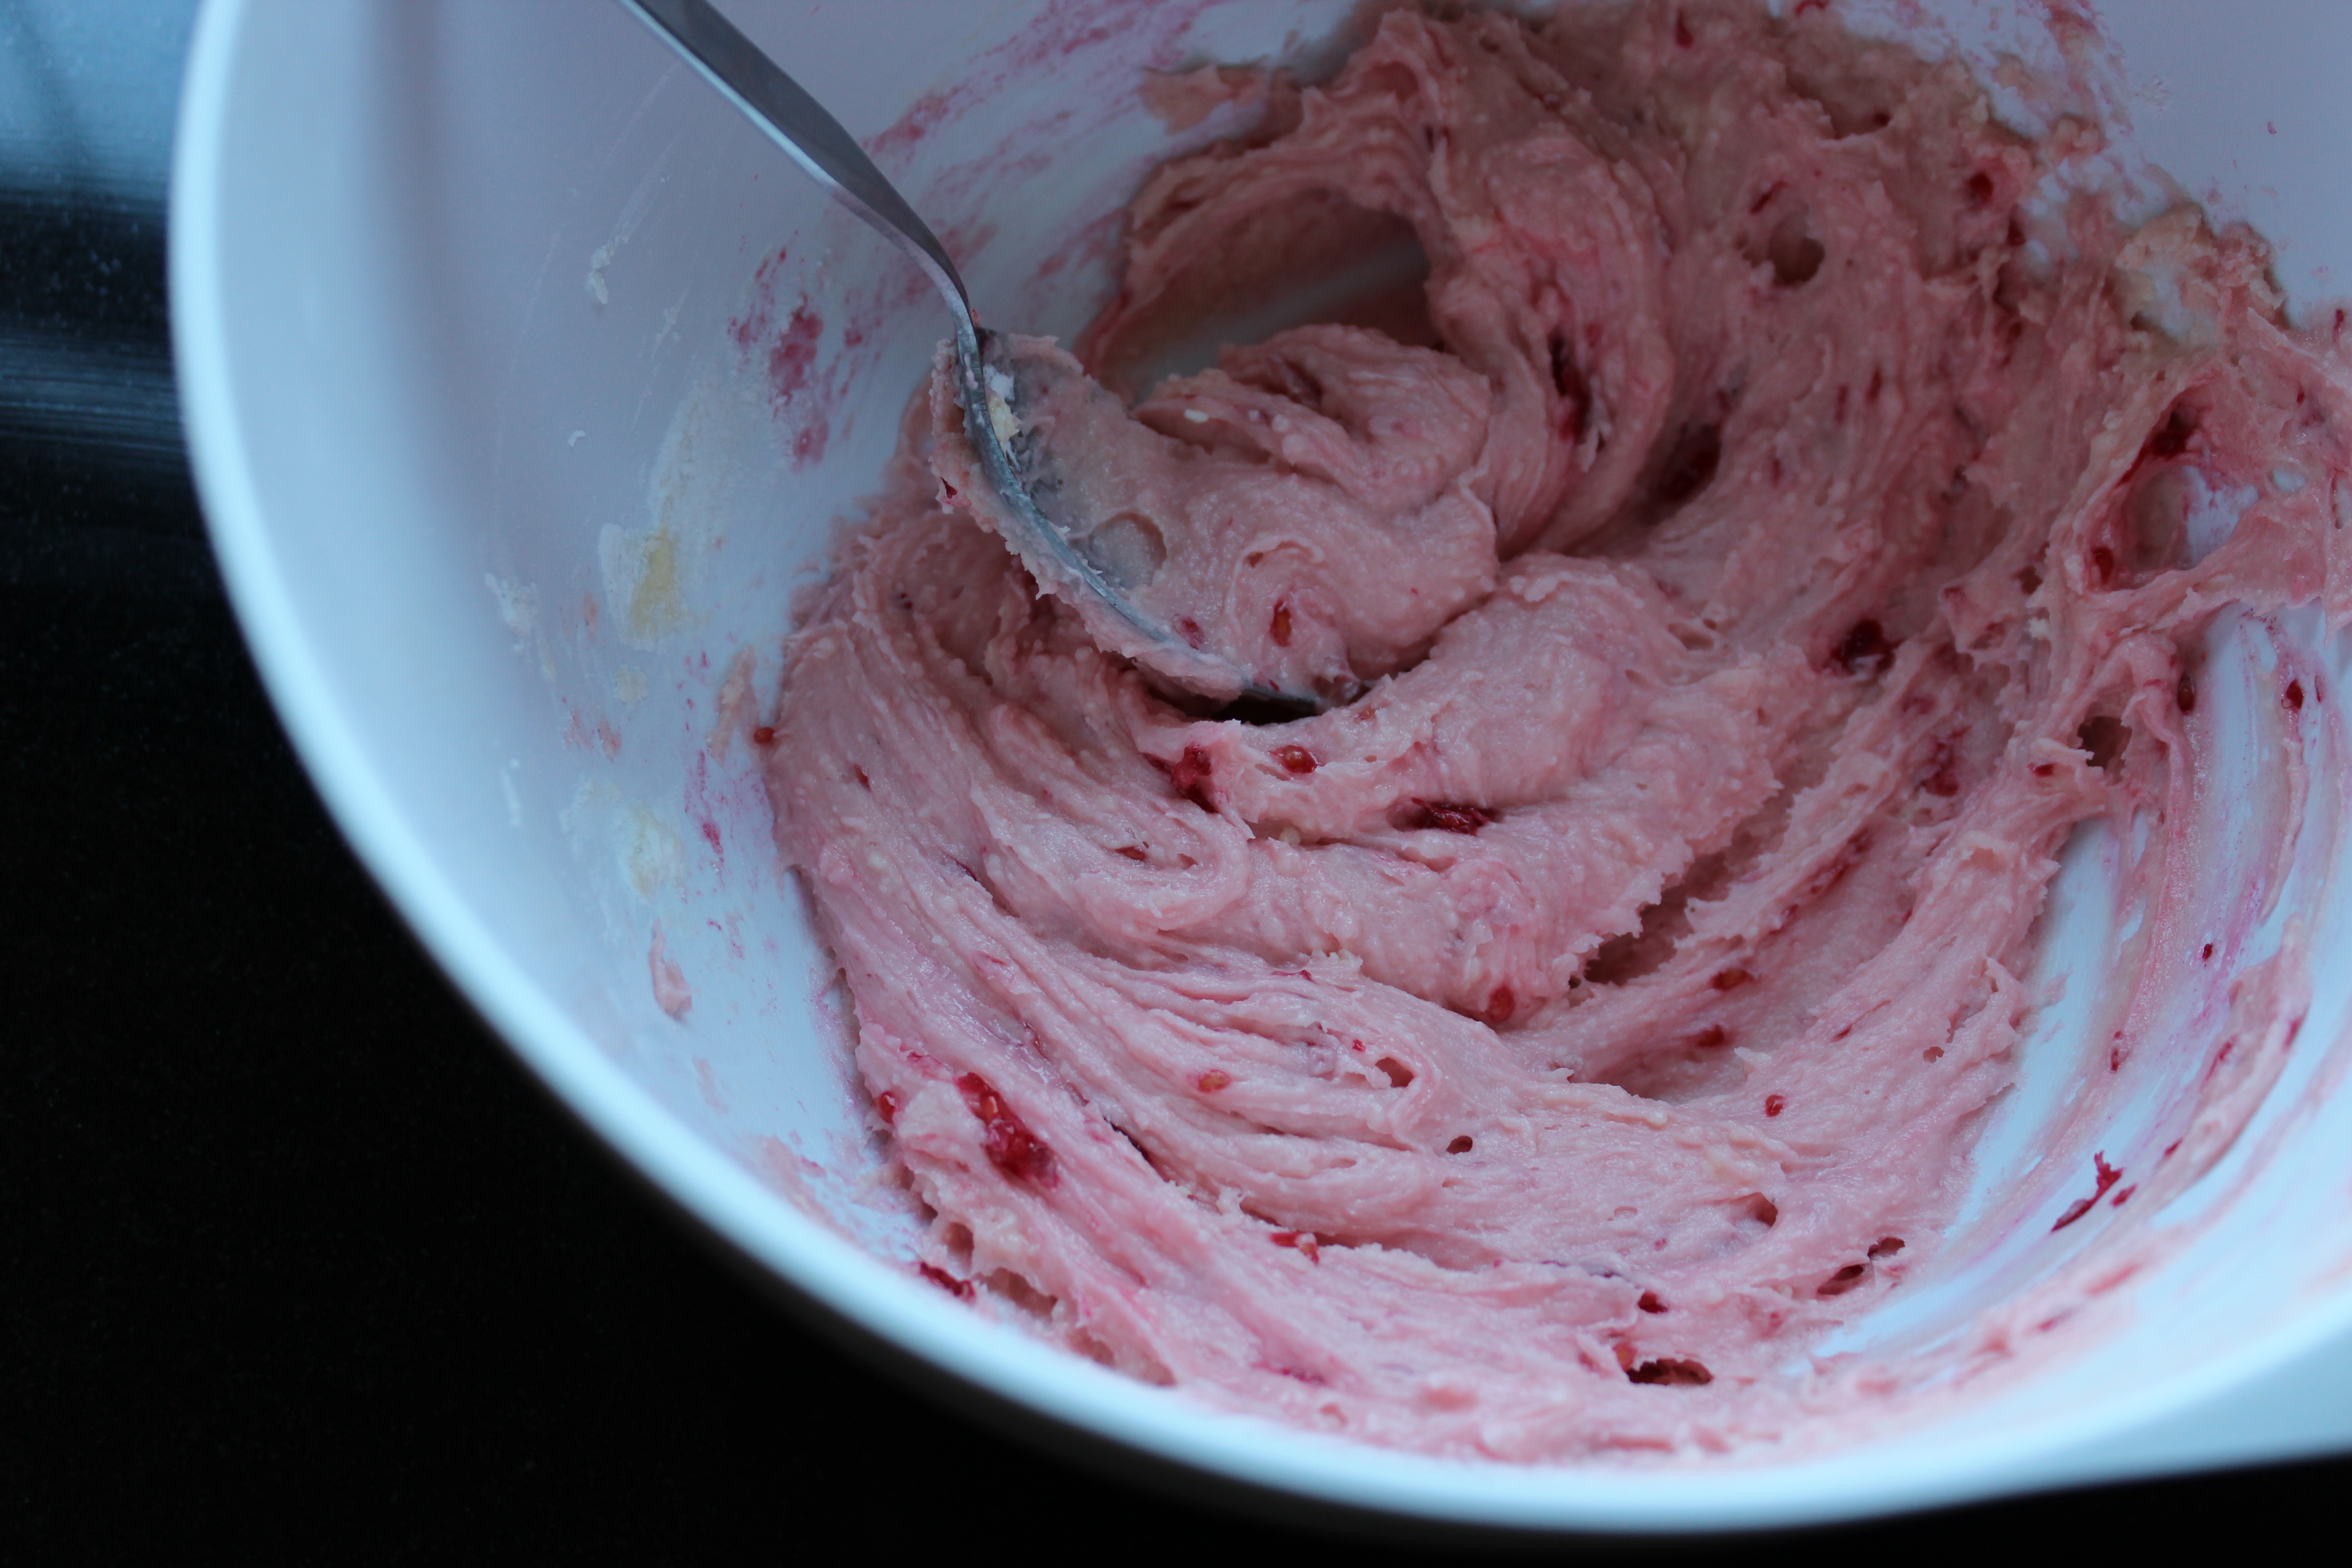
Stir.
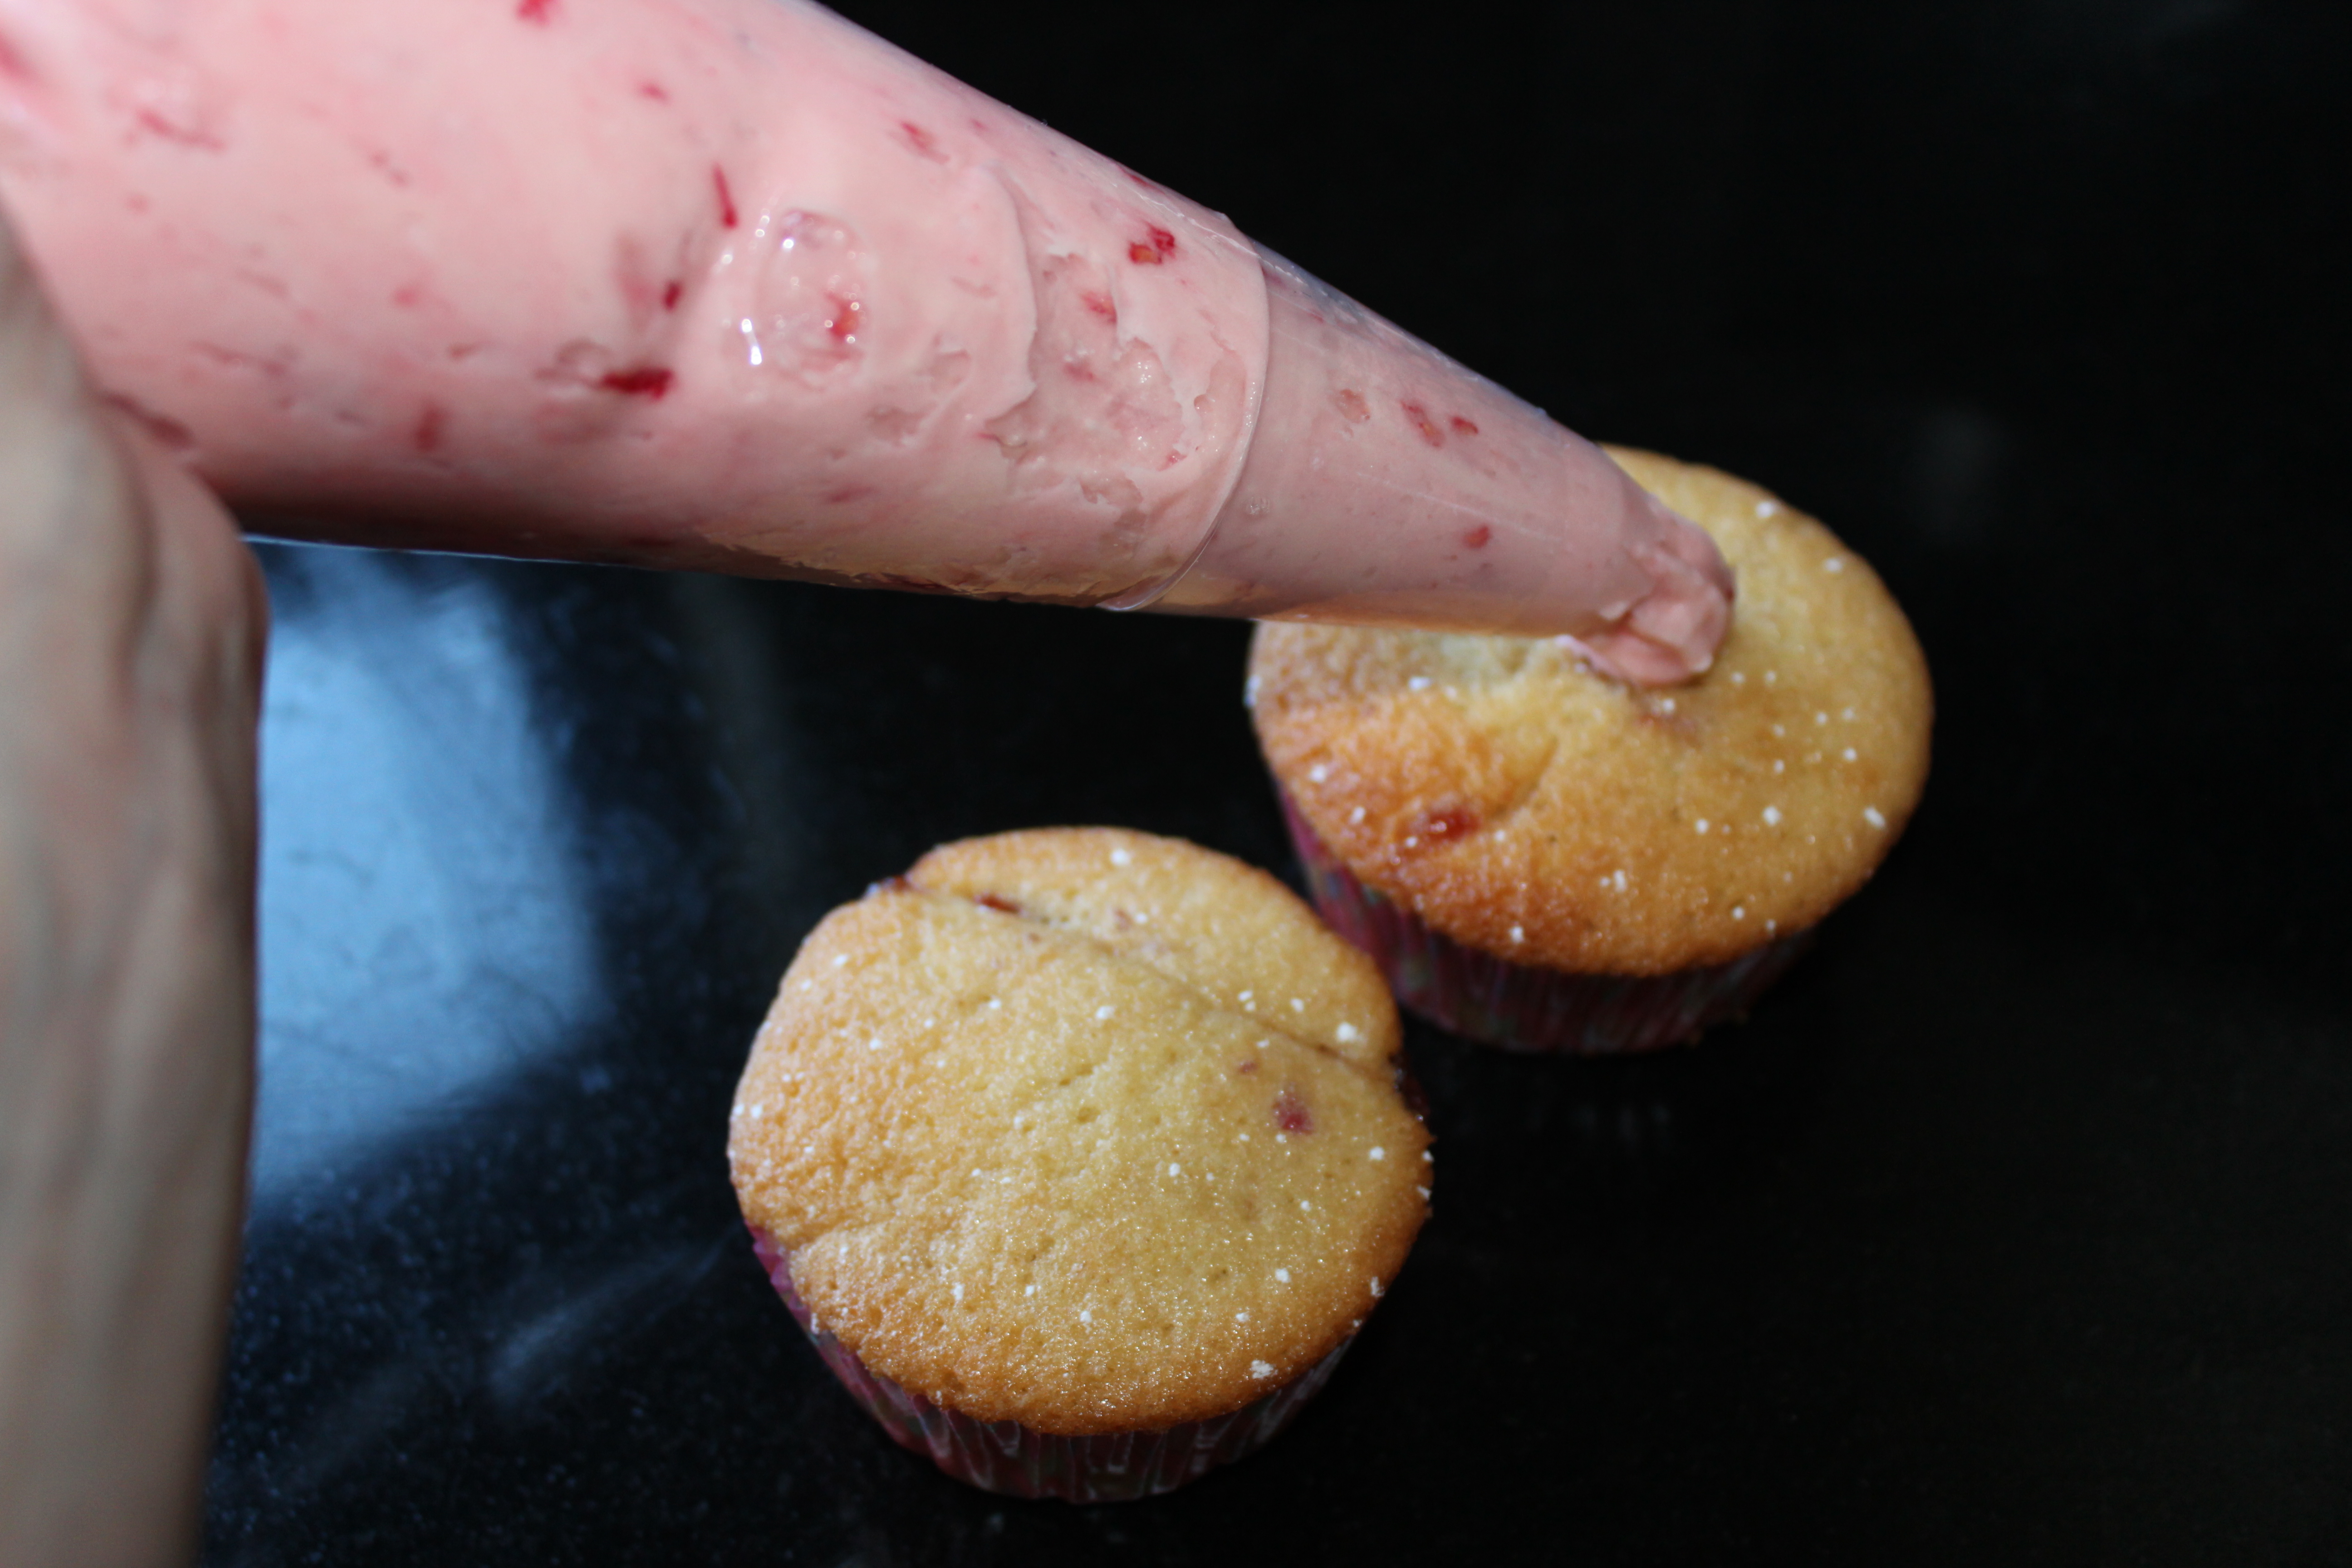
The buttercream is then ready to pipe.
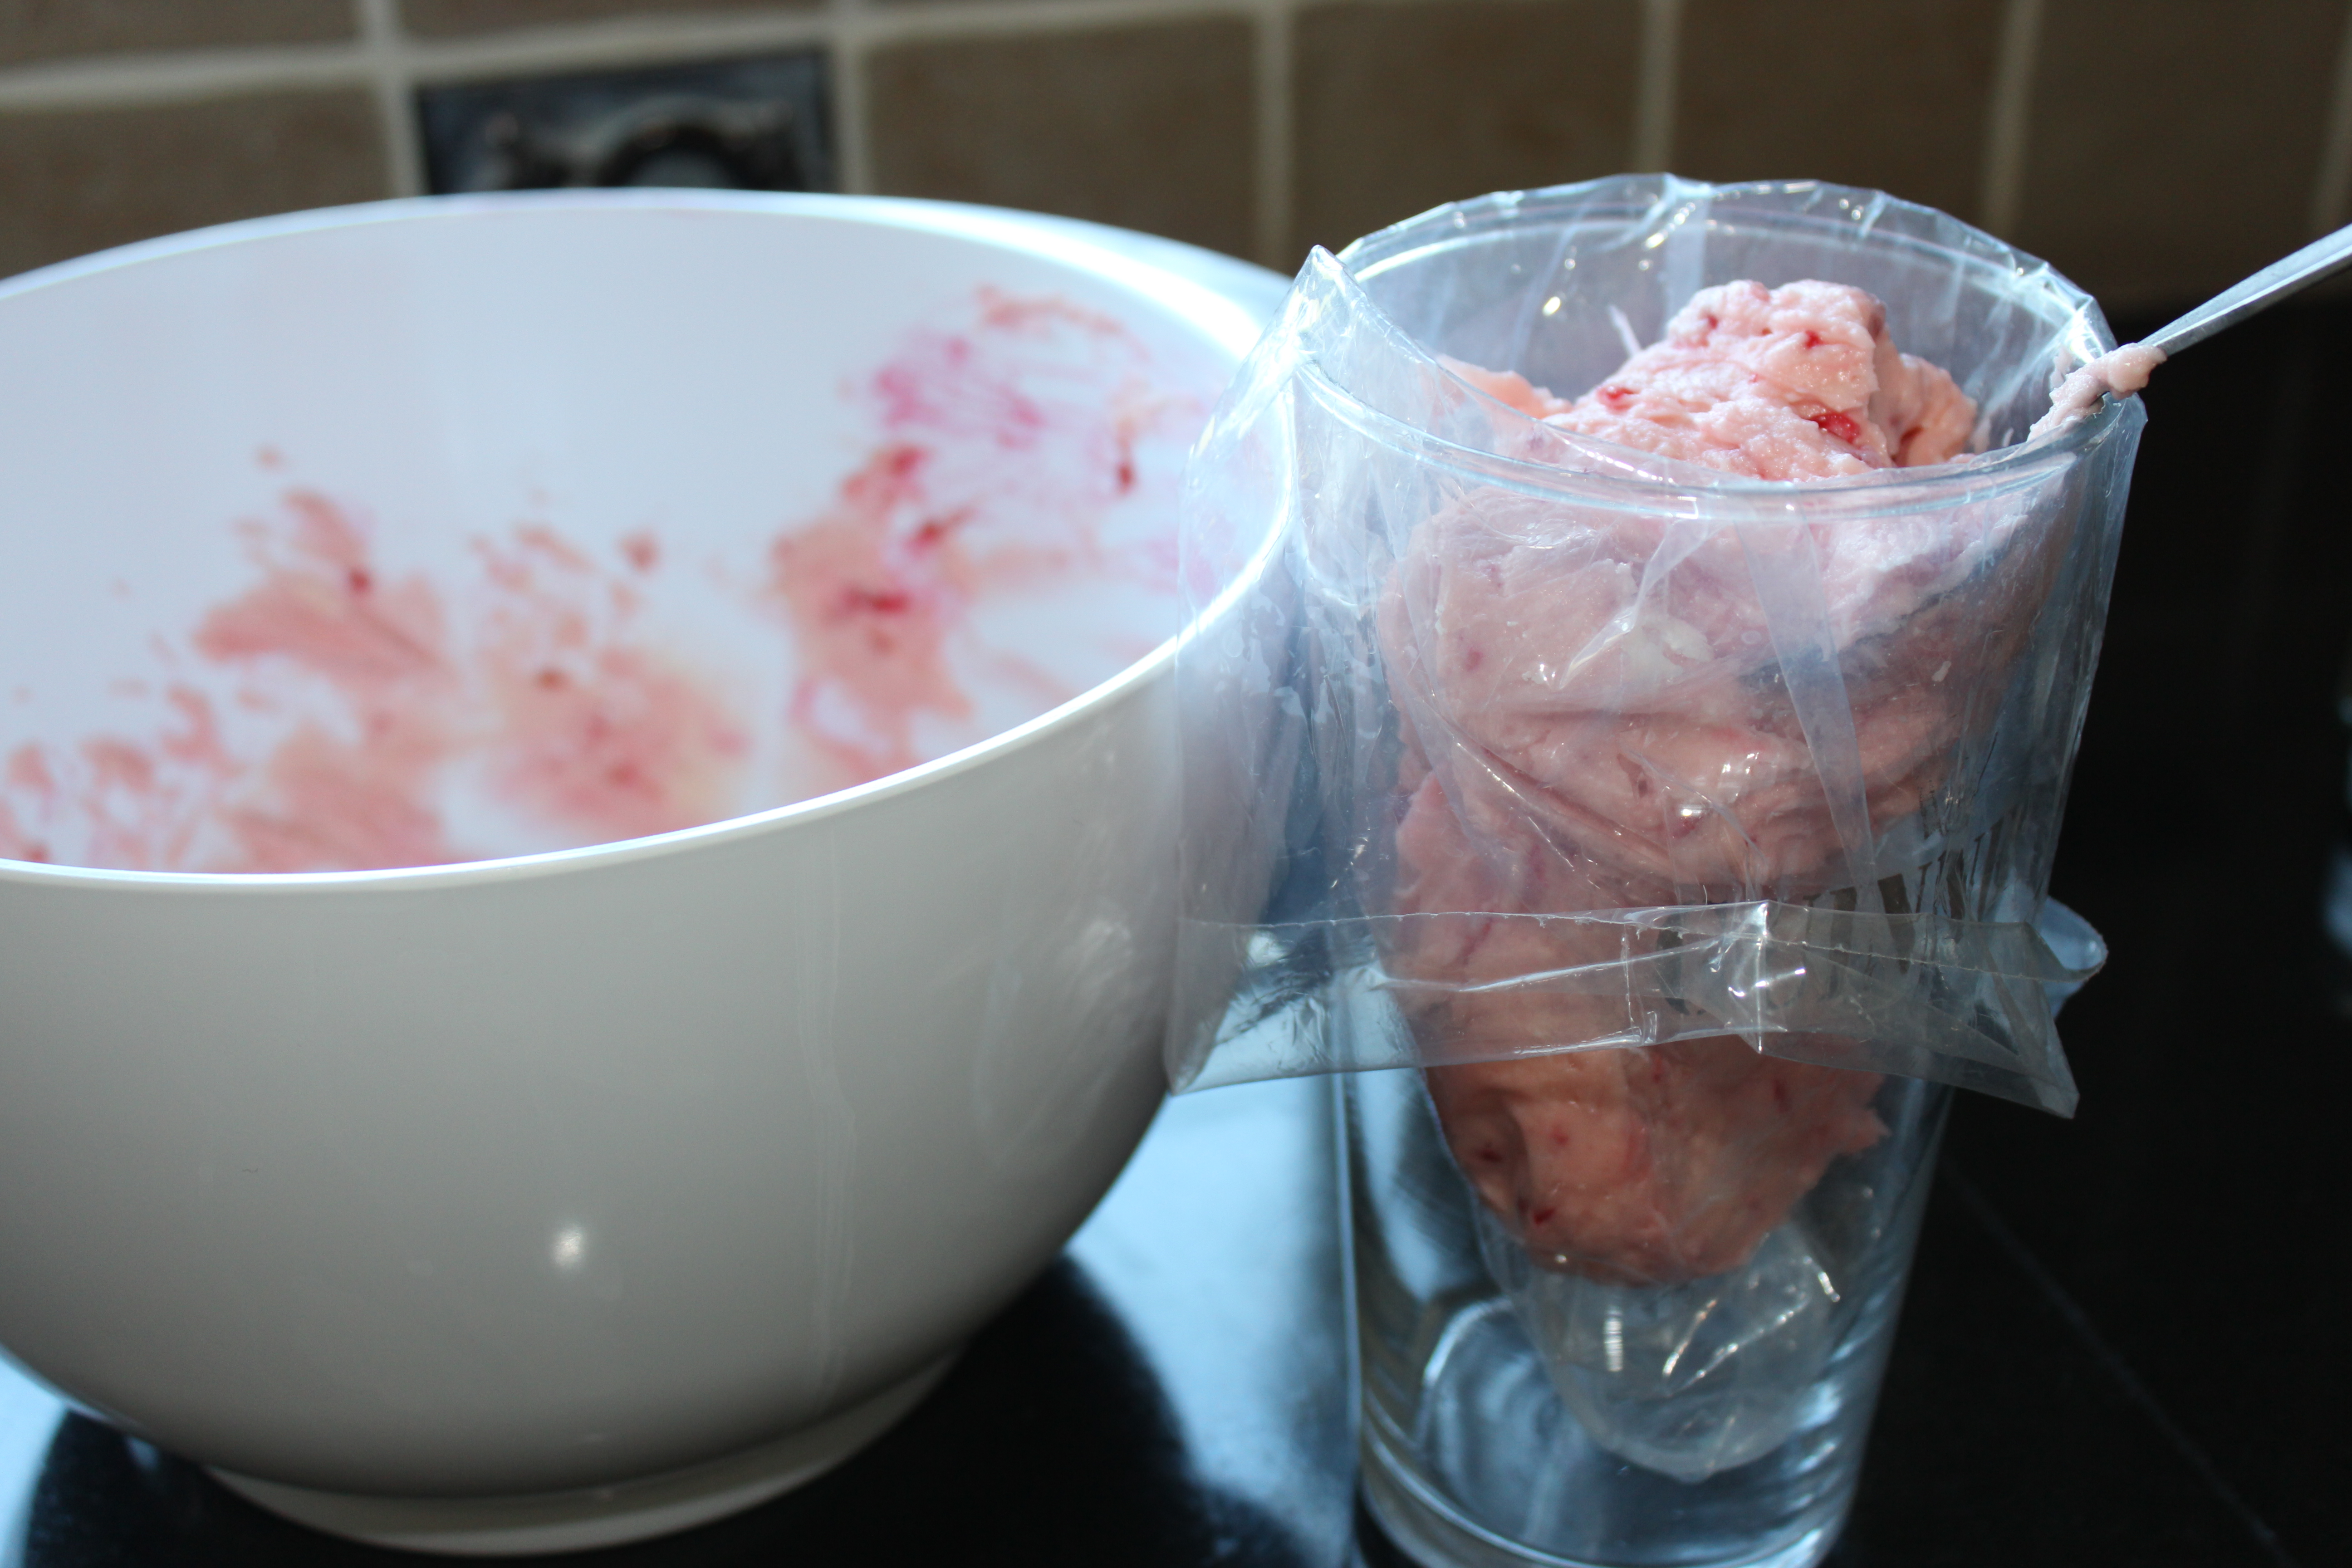
The easiest way to fill a piping bag (I find) is to use a pint glass to hold the bag whilst I fill.
To pipe I use a large nozzle and a large bag for cupcakes. Twist the end of the bag to ensure it doesn’t seep out when piping.
The cakes can be kept for up to 3 days in an airtight container. Don’t refrigerate.

WOW these look great! Totally going to make these up this weekend, thank you 🙂
WOW these look great! Totally going to make these up this weekend, thank you 🙂
Mmmm … that’s all, just mmmmm!
Mmmm … that’s all, just mmmmm!
I just made a batch of these (with gluten-free flour). They are cooling now and I took a tiny nibble. So yum!
I just made a batch of these (with gluten-free flour). They are cooling now and I took a tiny nibble. So yum!