One of my favourite ways to decorate a celebration cake is to create a model for the top.
In my opinion there isn’t any simpler model than a snowman. It’s a great introduction to sugar-modelling for anyone who’d like to give it a go. So super simple and a really great activity for the Kids to get stuck into for some festive fun.
Step By Step Guide To Making A Sugarpaste Snowman
You will need:
(All measurements are approximate)
125g / 4½oz White fondant (also known as sugarpaste or ready-to-roll icing)
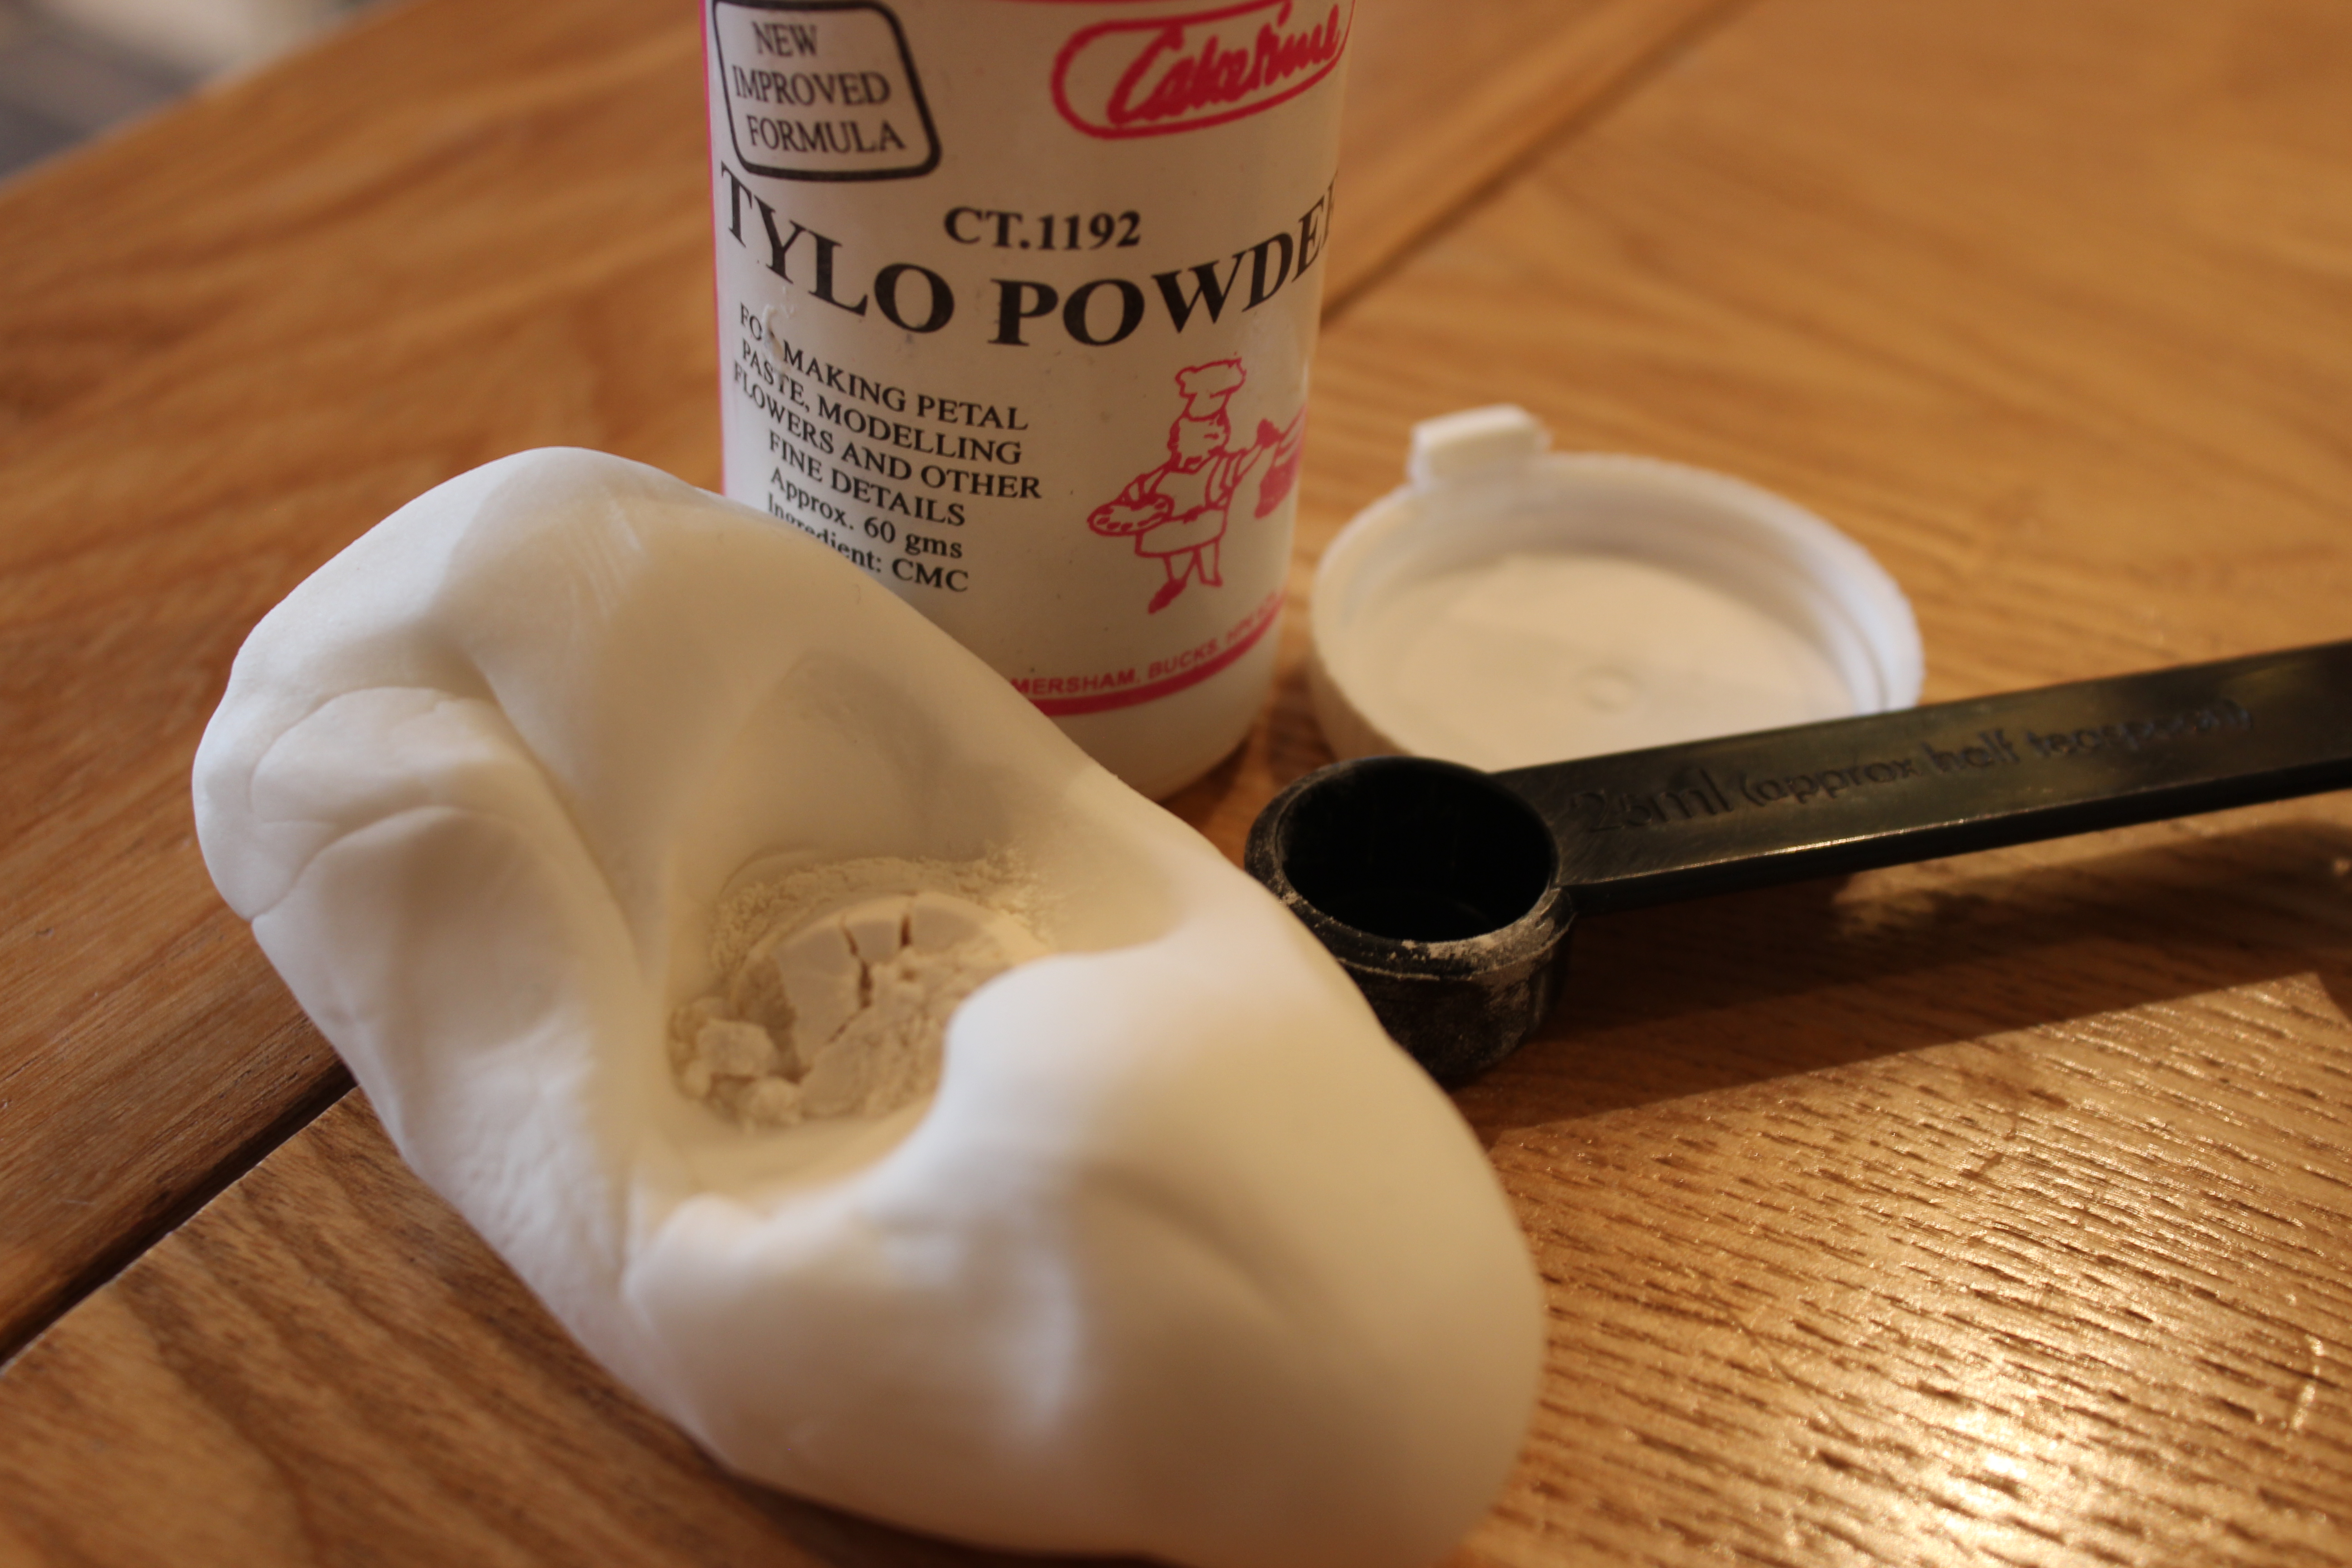
¼ Teaspoon Tylo Powder (This hardens the shape as it dries over a couple of days)
Tiny amount of black sugar paste
Tiny amount of orange sugar paste
Small ball of coloured sugarpaste – approx the size of a plum/damson
1 Cake Pop Stick
1 Cotton Bud
Small cup of water
Instructions:
Knead the 125g of white sugarpaste until pliable and smooth.
Add the Tylo powder and knead again. The texture will start to feel rubbery.
Roll the white paste into a stubby sausage shape.
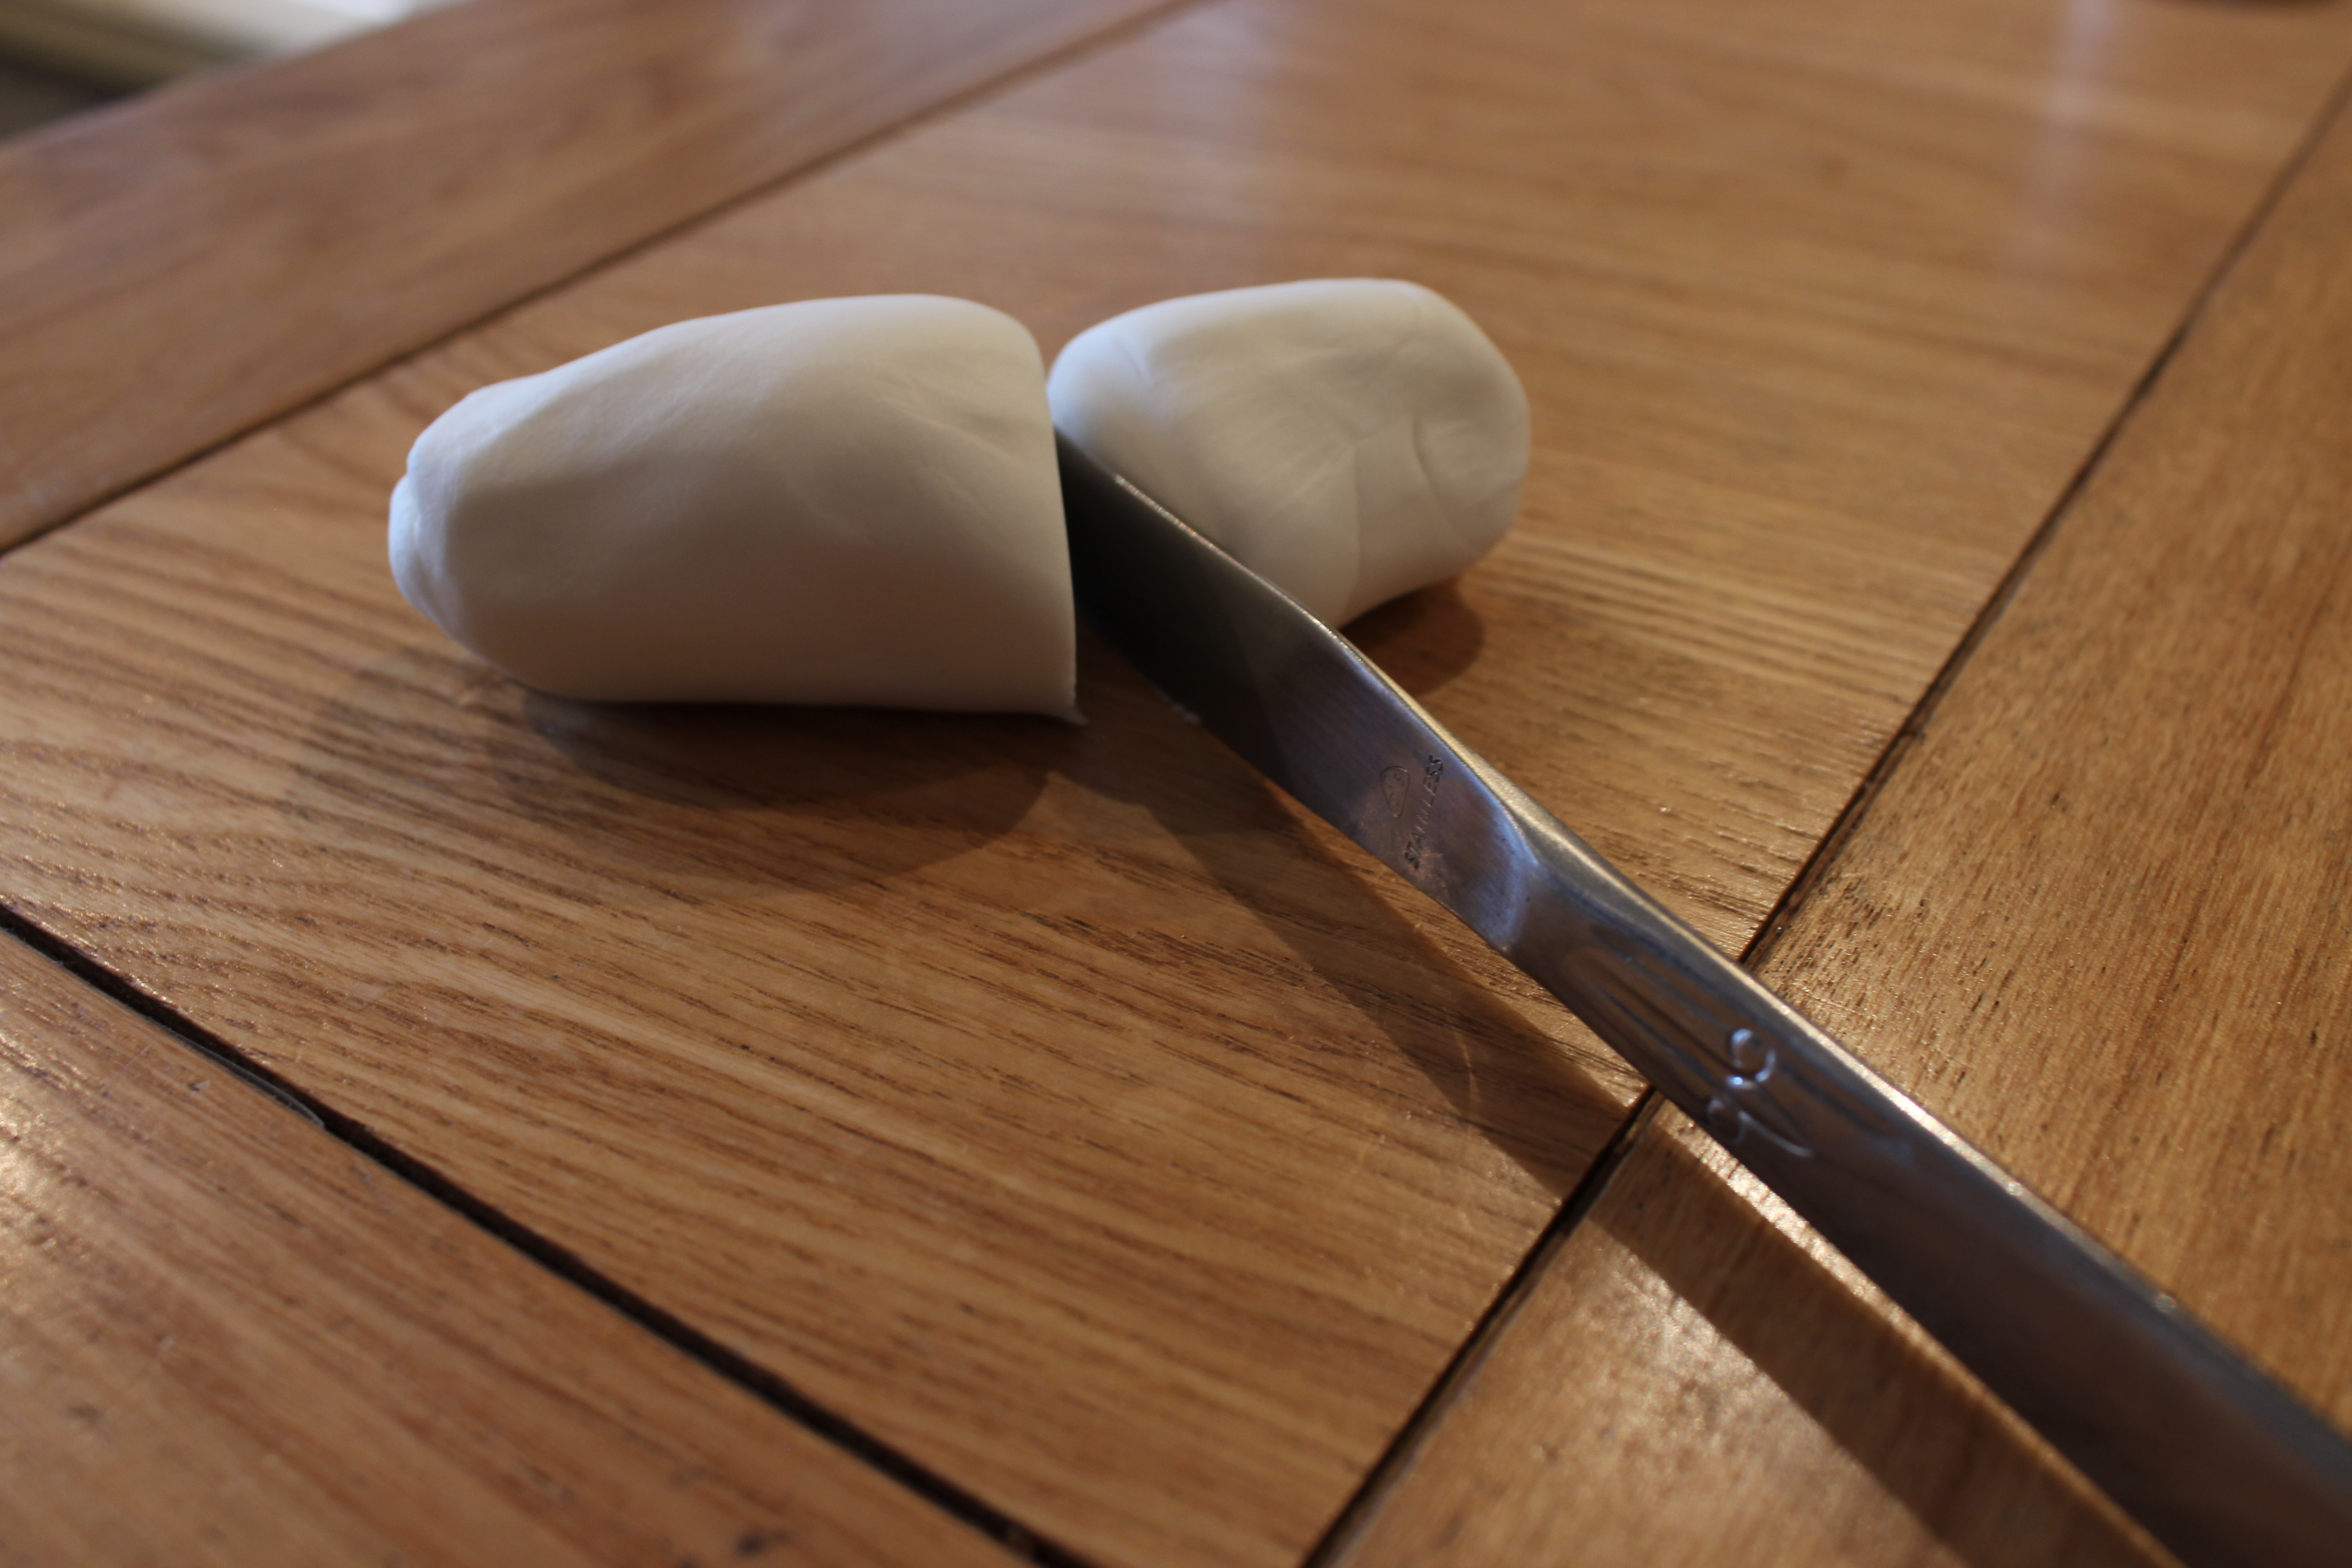
Split the paste approx. 70/30.
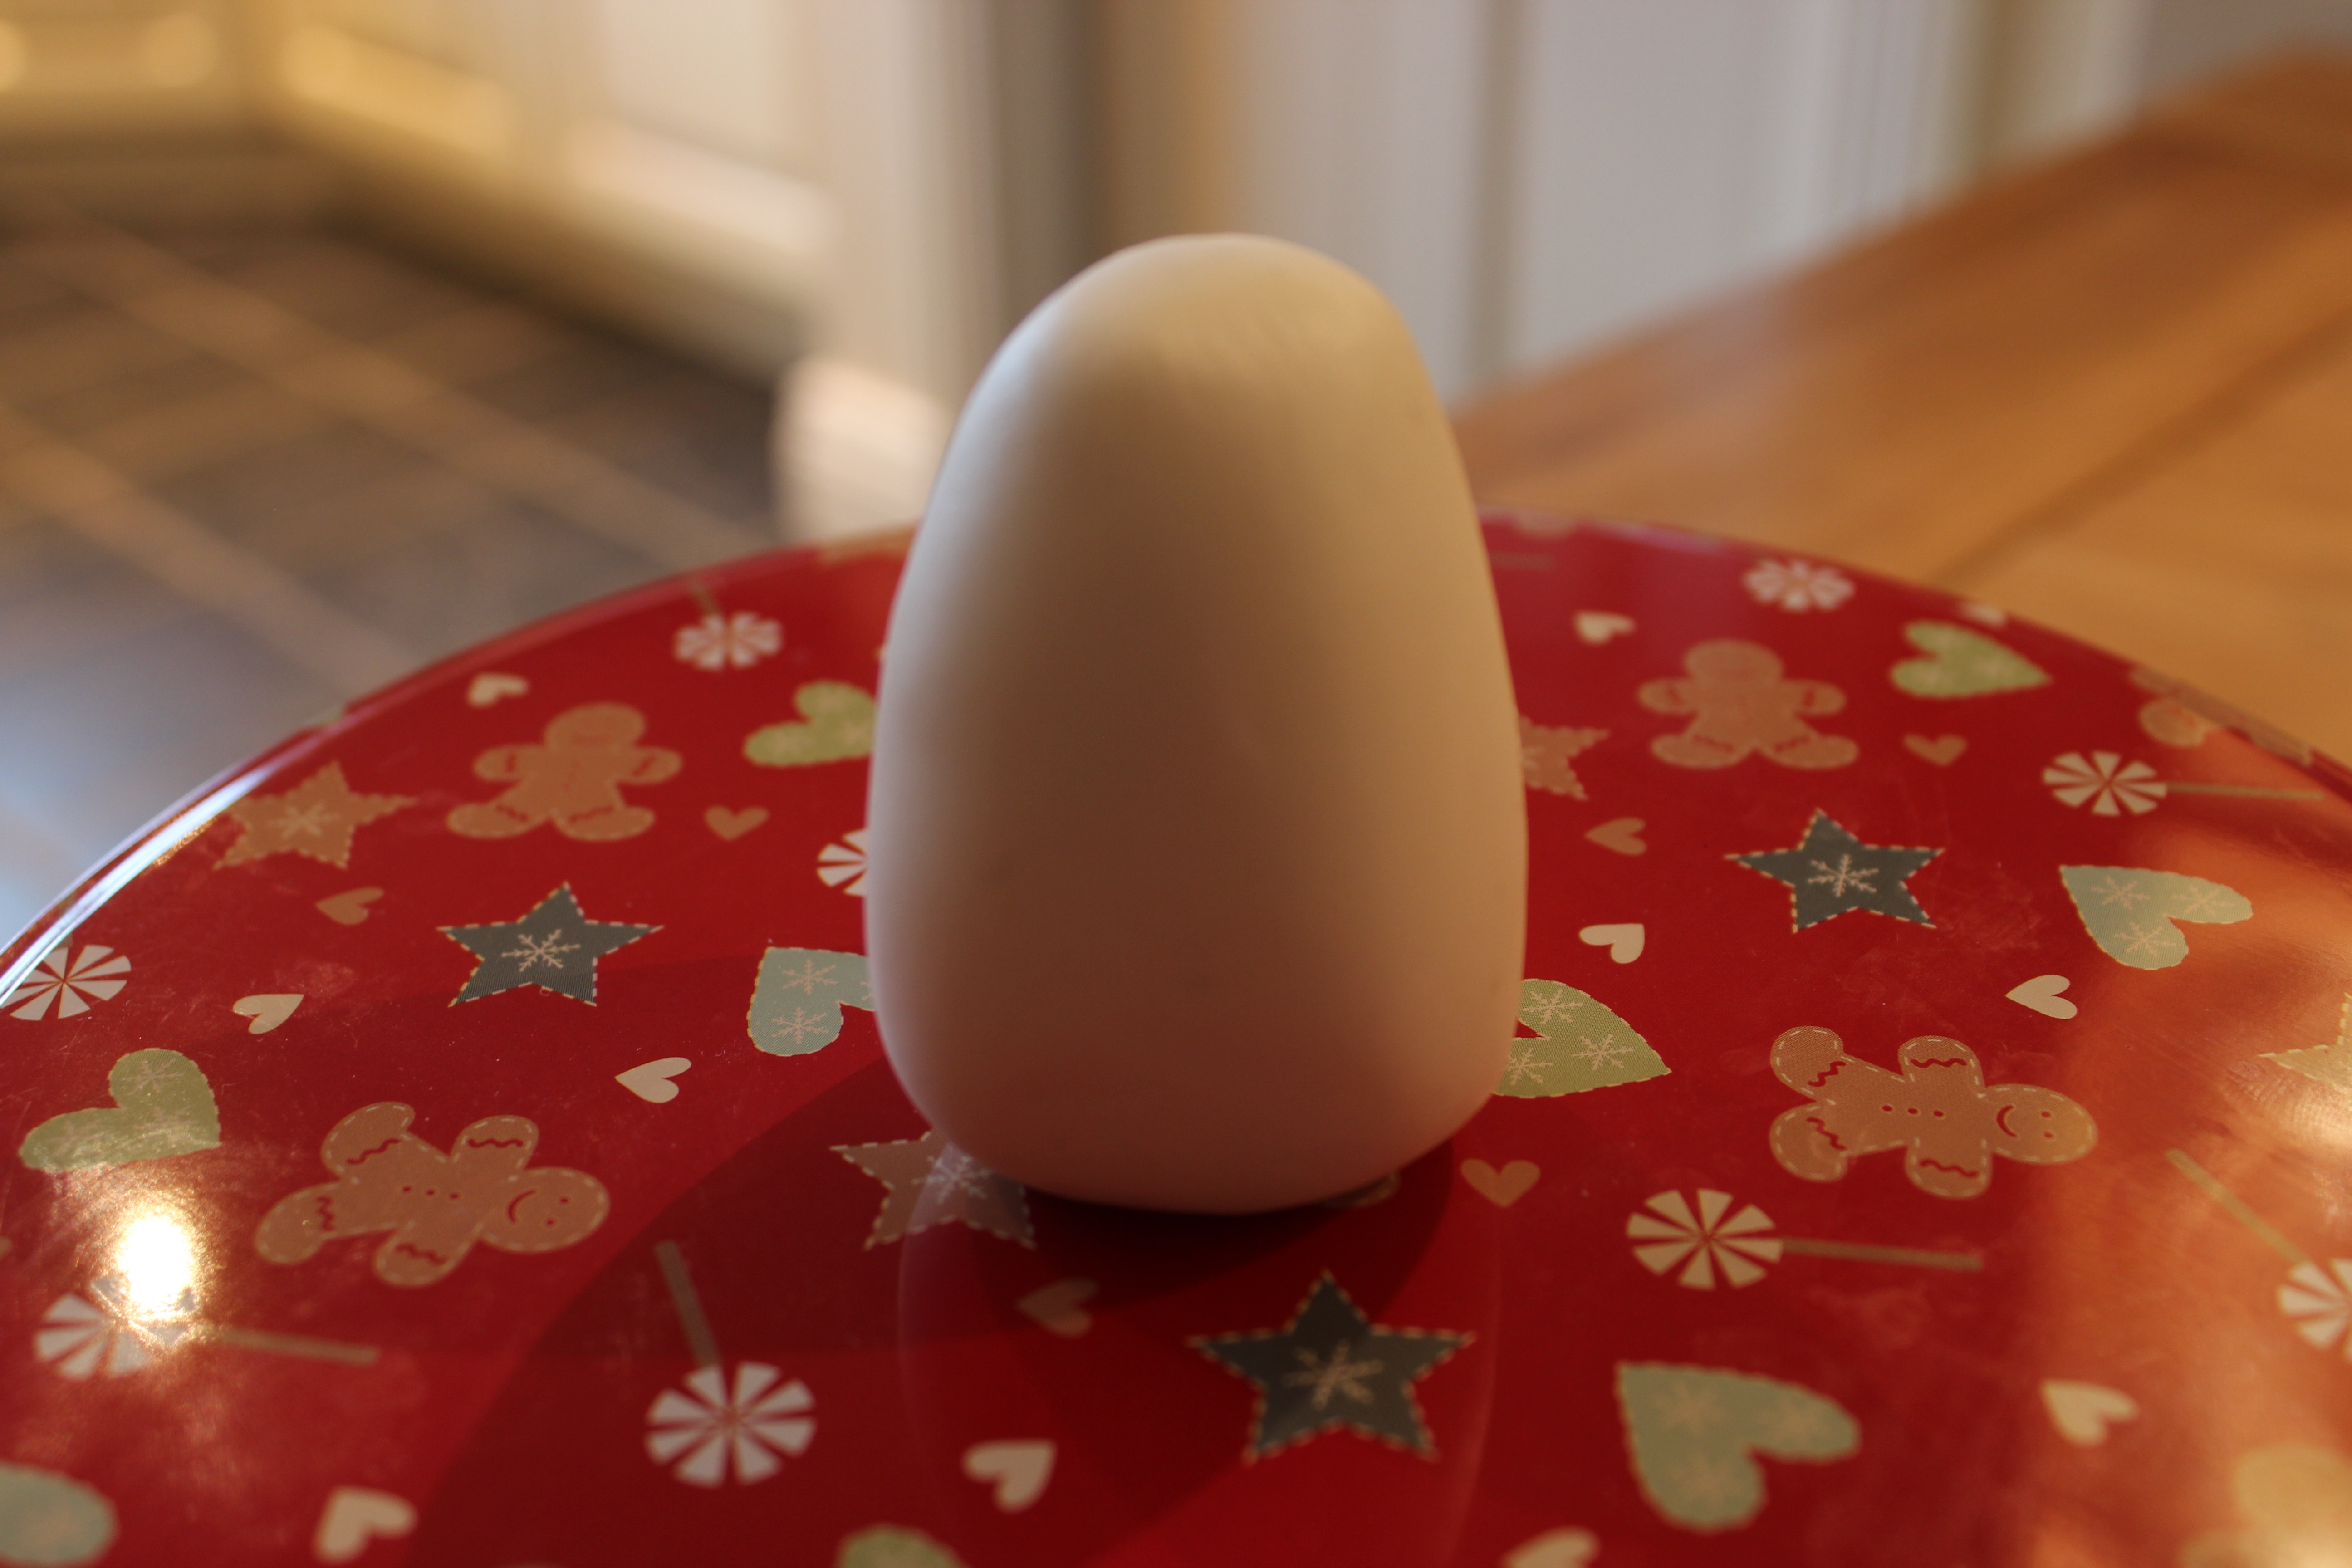
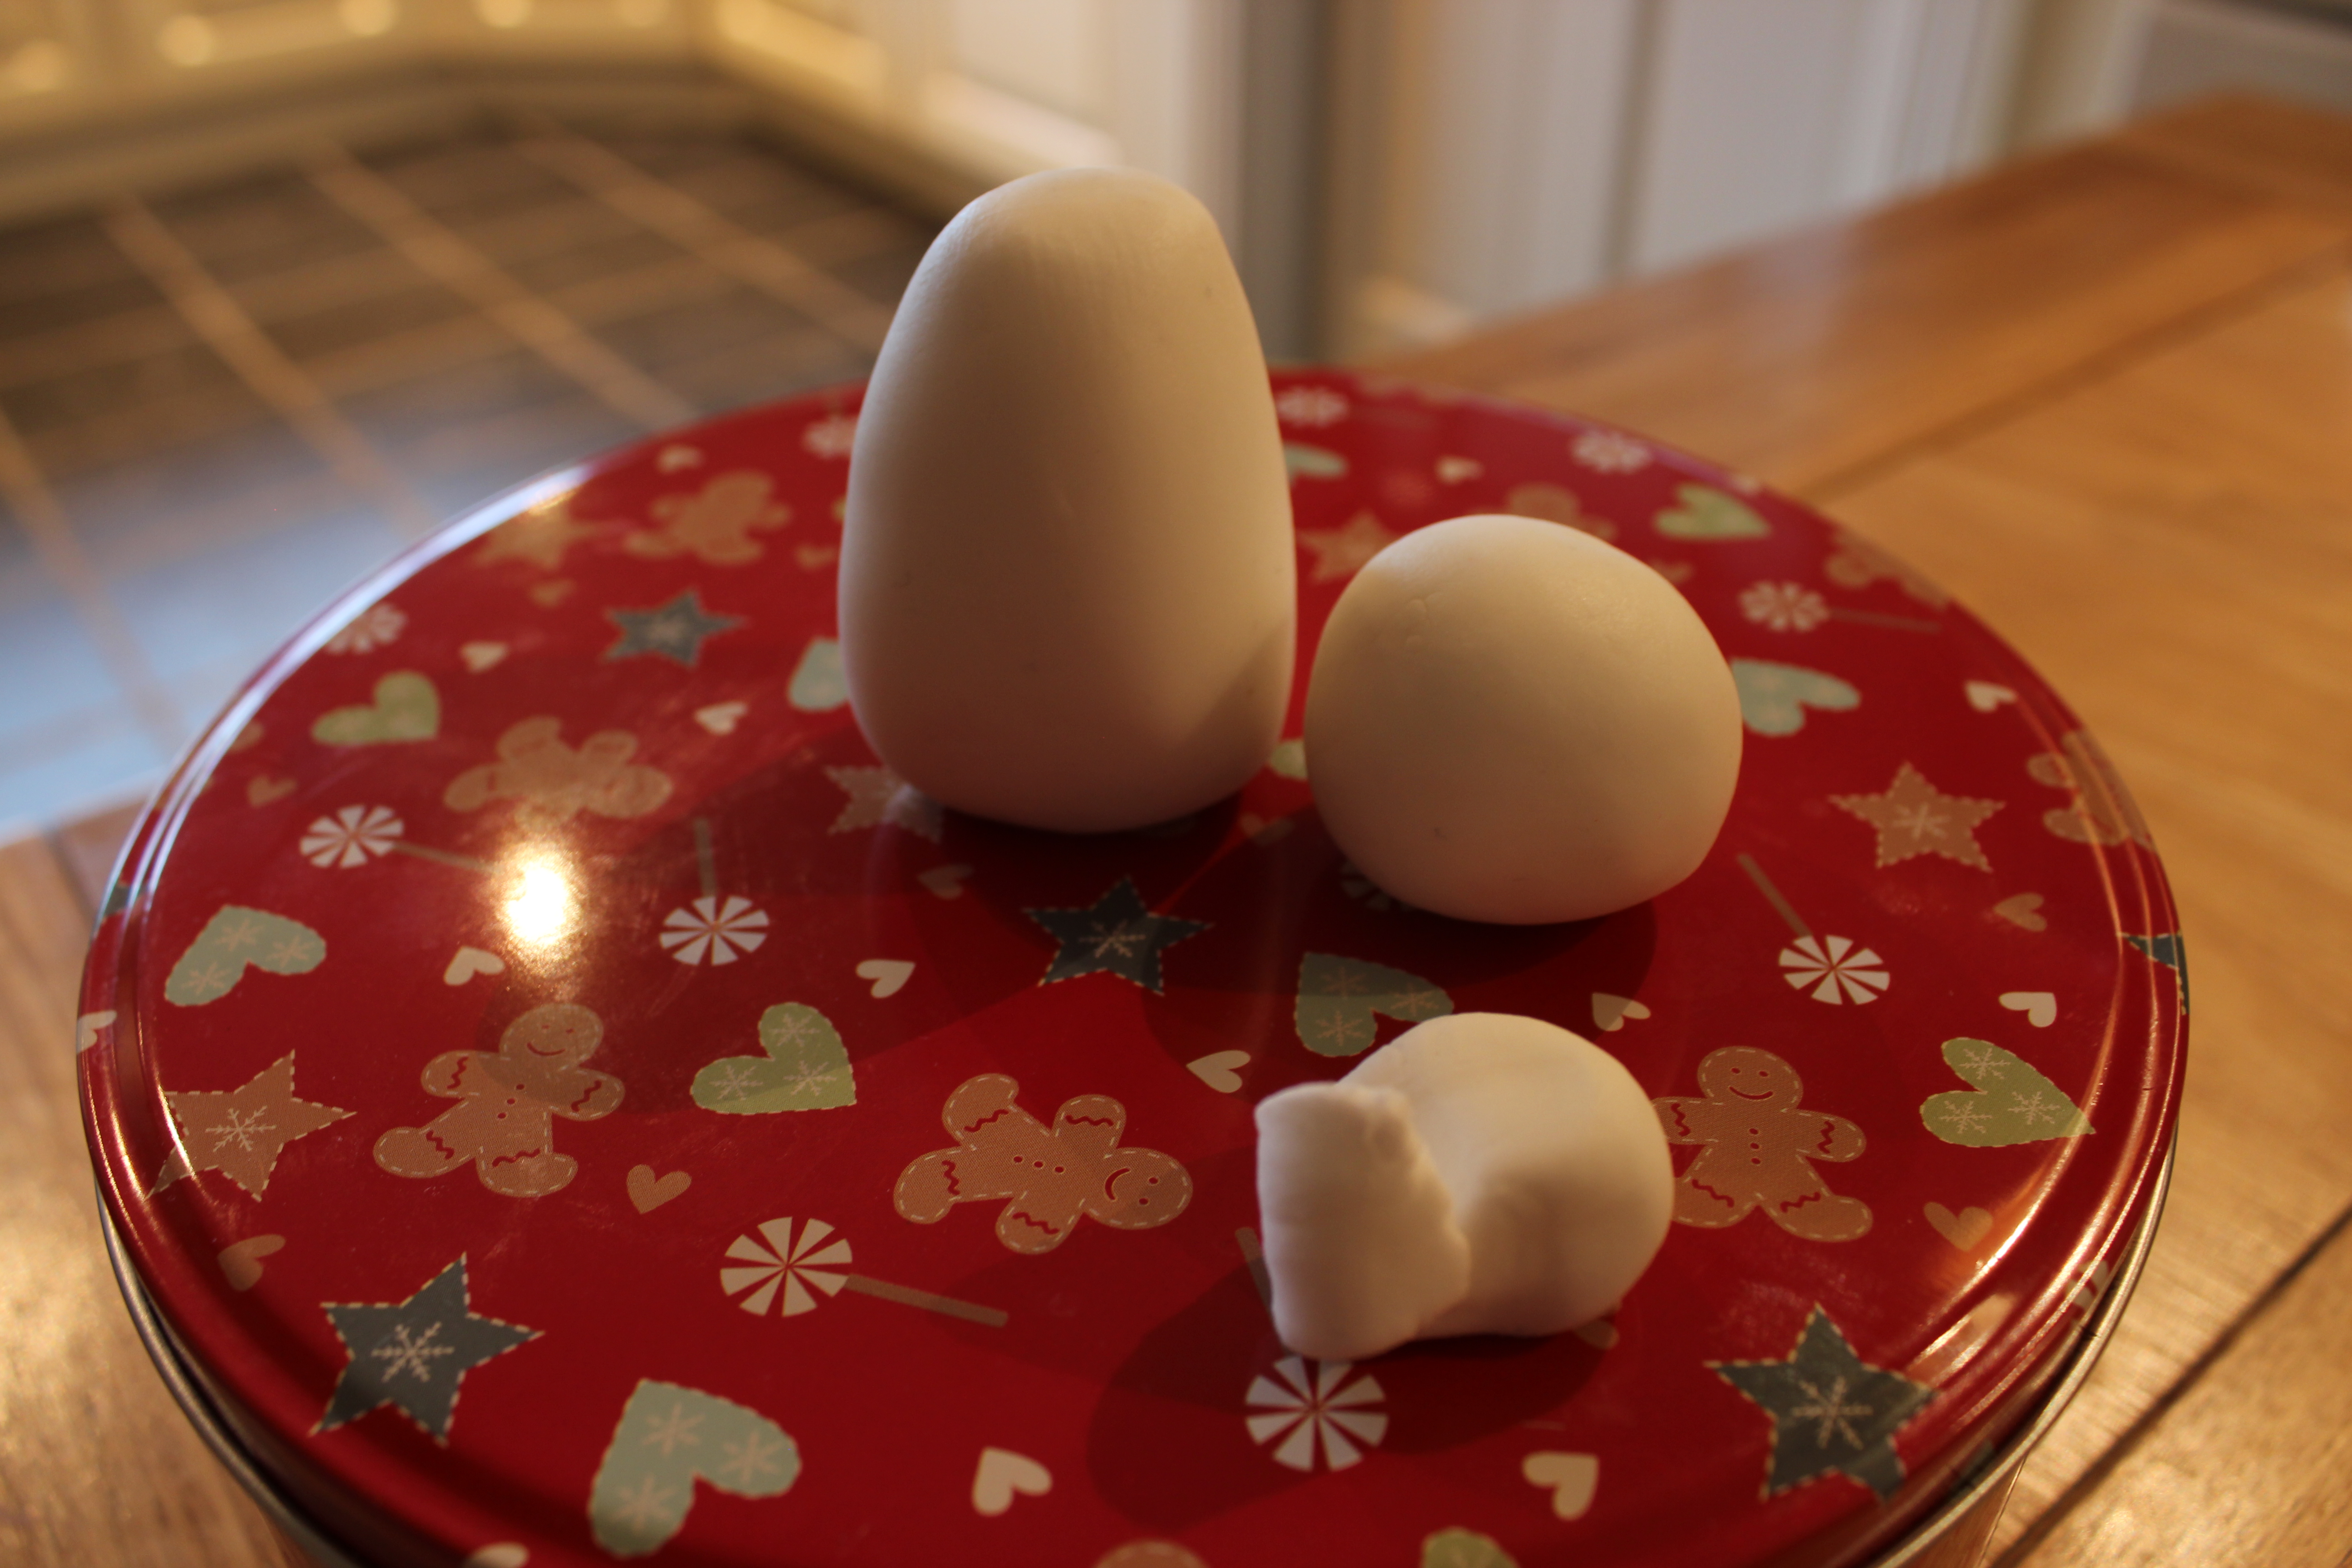
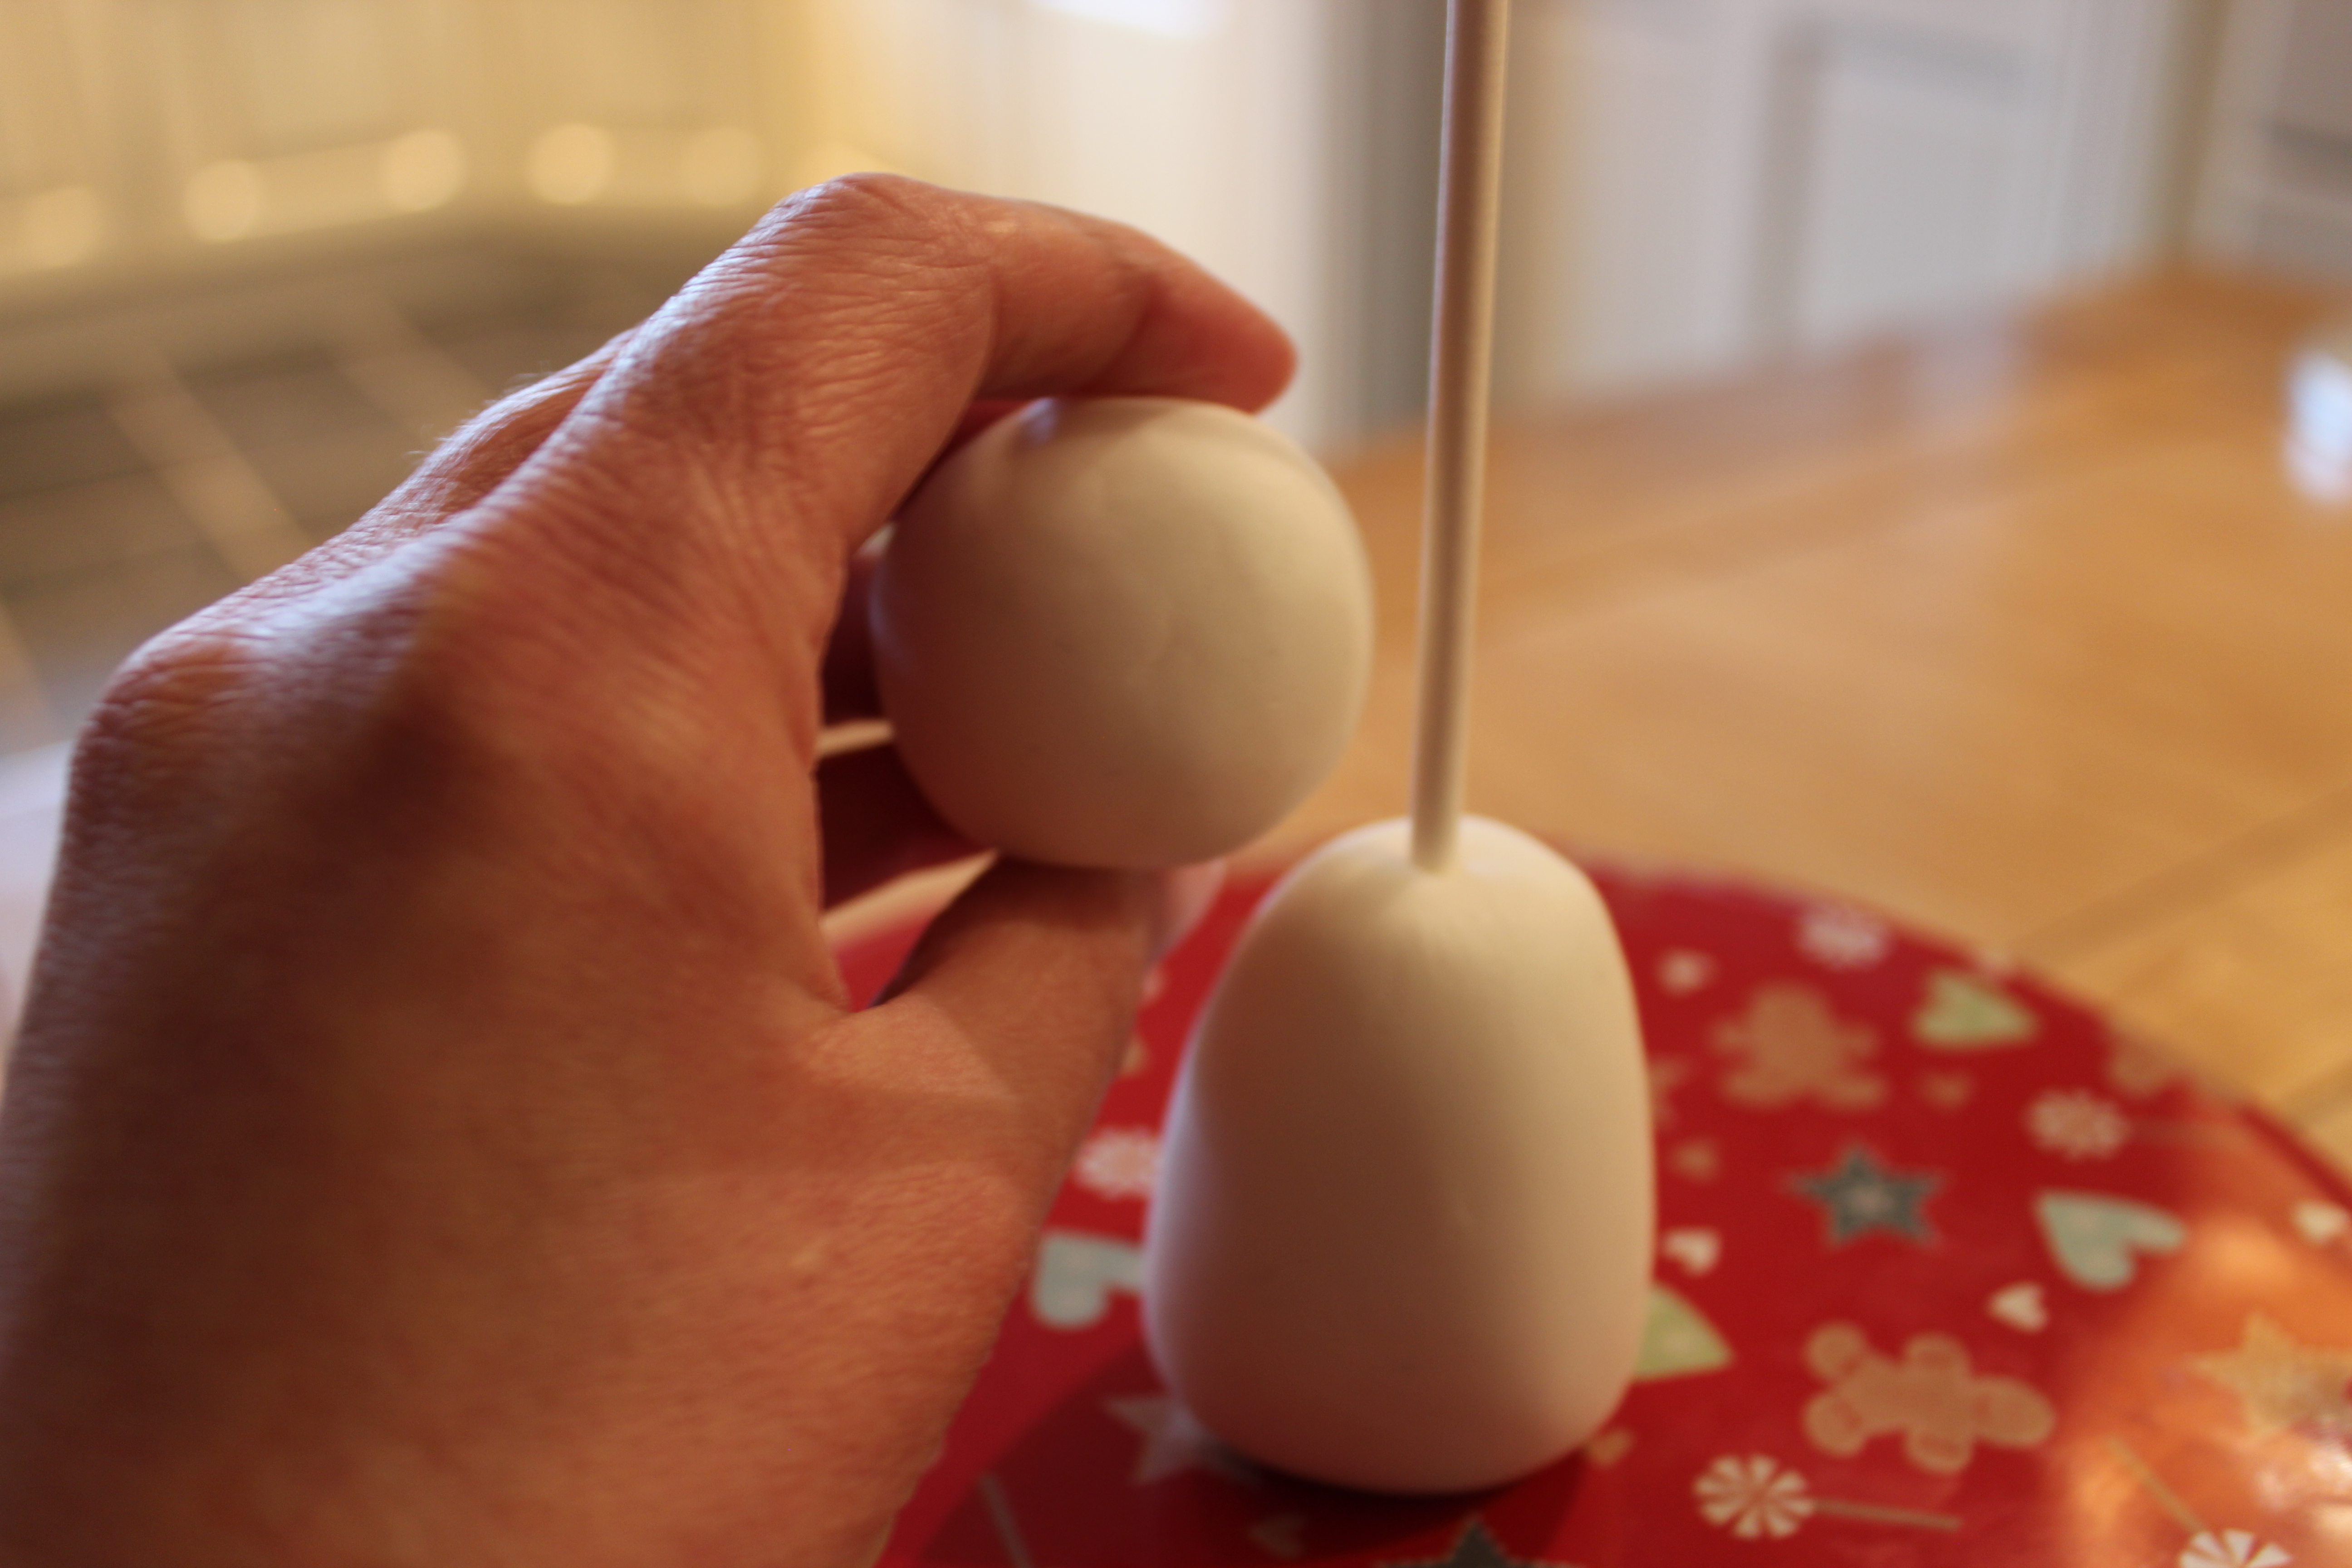
Taking the larger piece – shape with the palm of the hand (roll) into a cone shape – slightly tapered toward the top.
This is where the head will sit.
The smaller piece – roll in the palm of the hand into a ball.
If the ball seems too large, remove some paste and roll again until happy with the size.
Push the cake pop into the centre of the body through to the base.
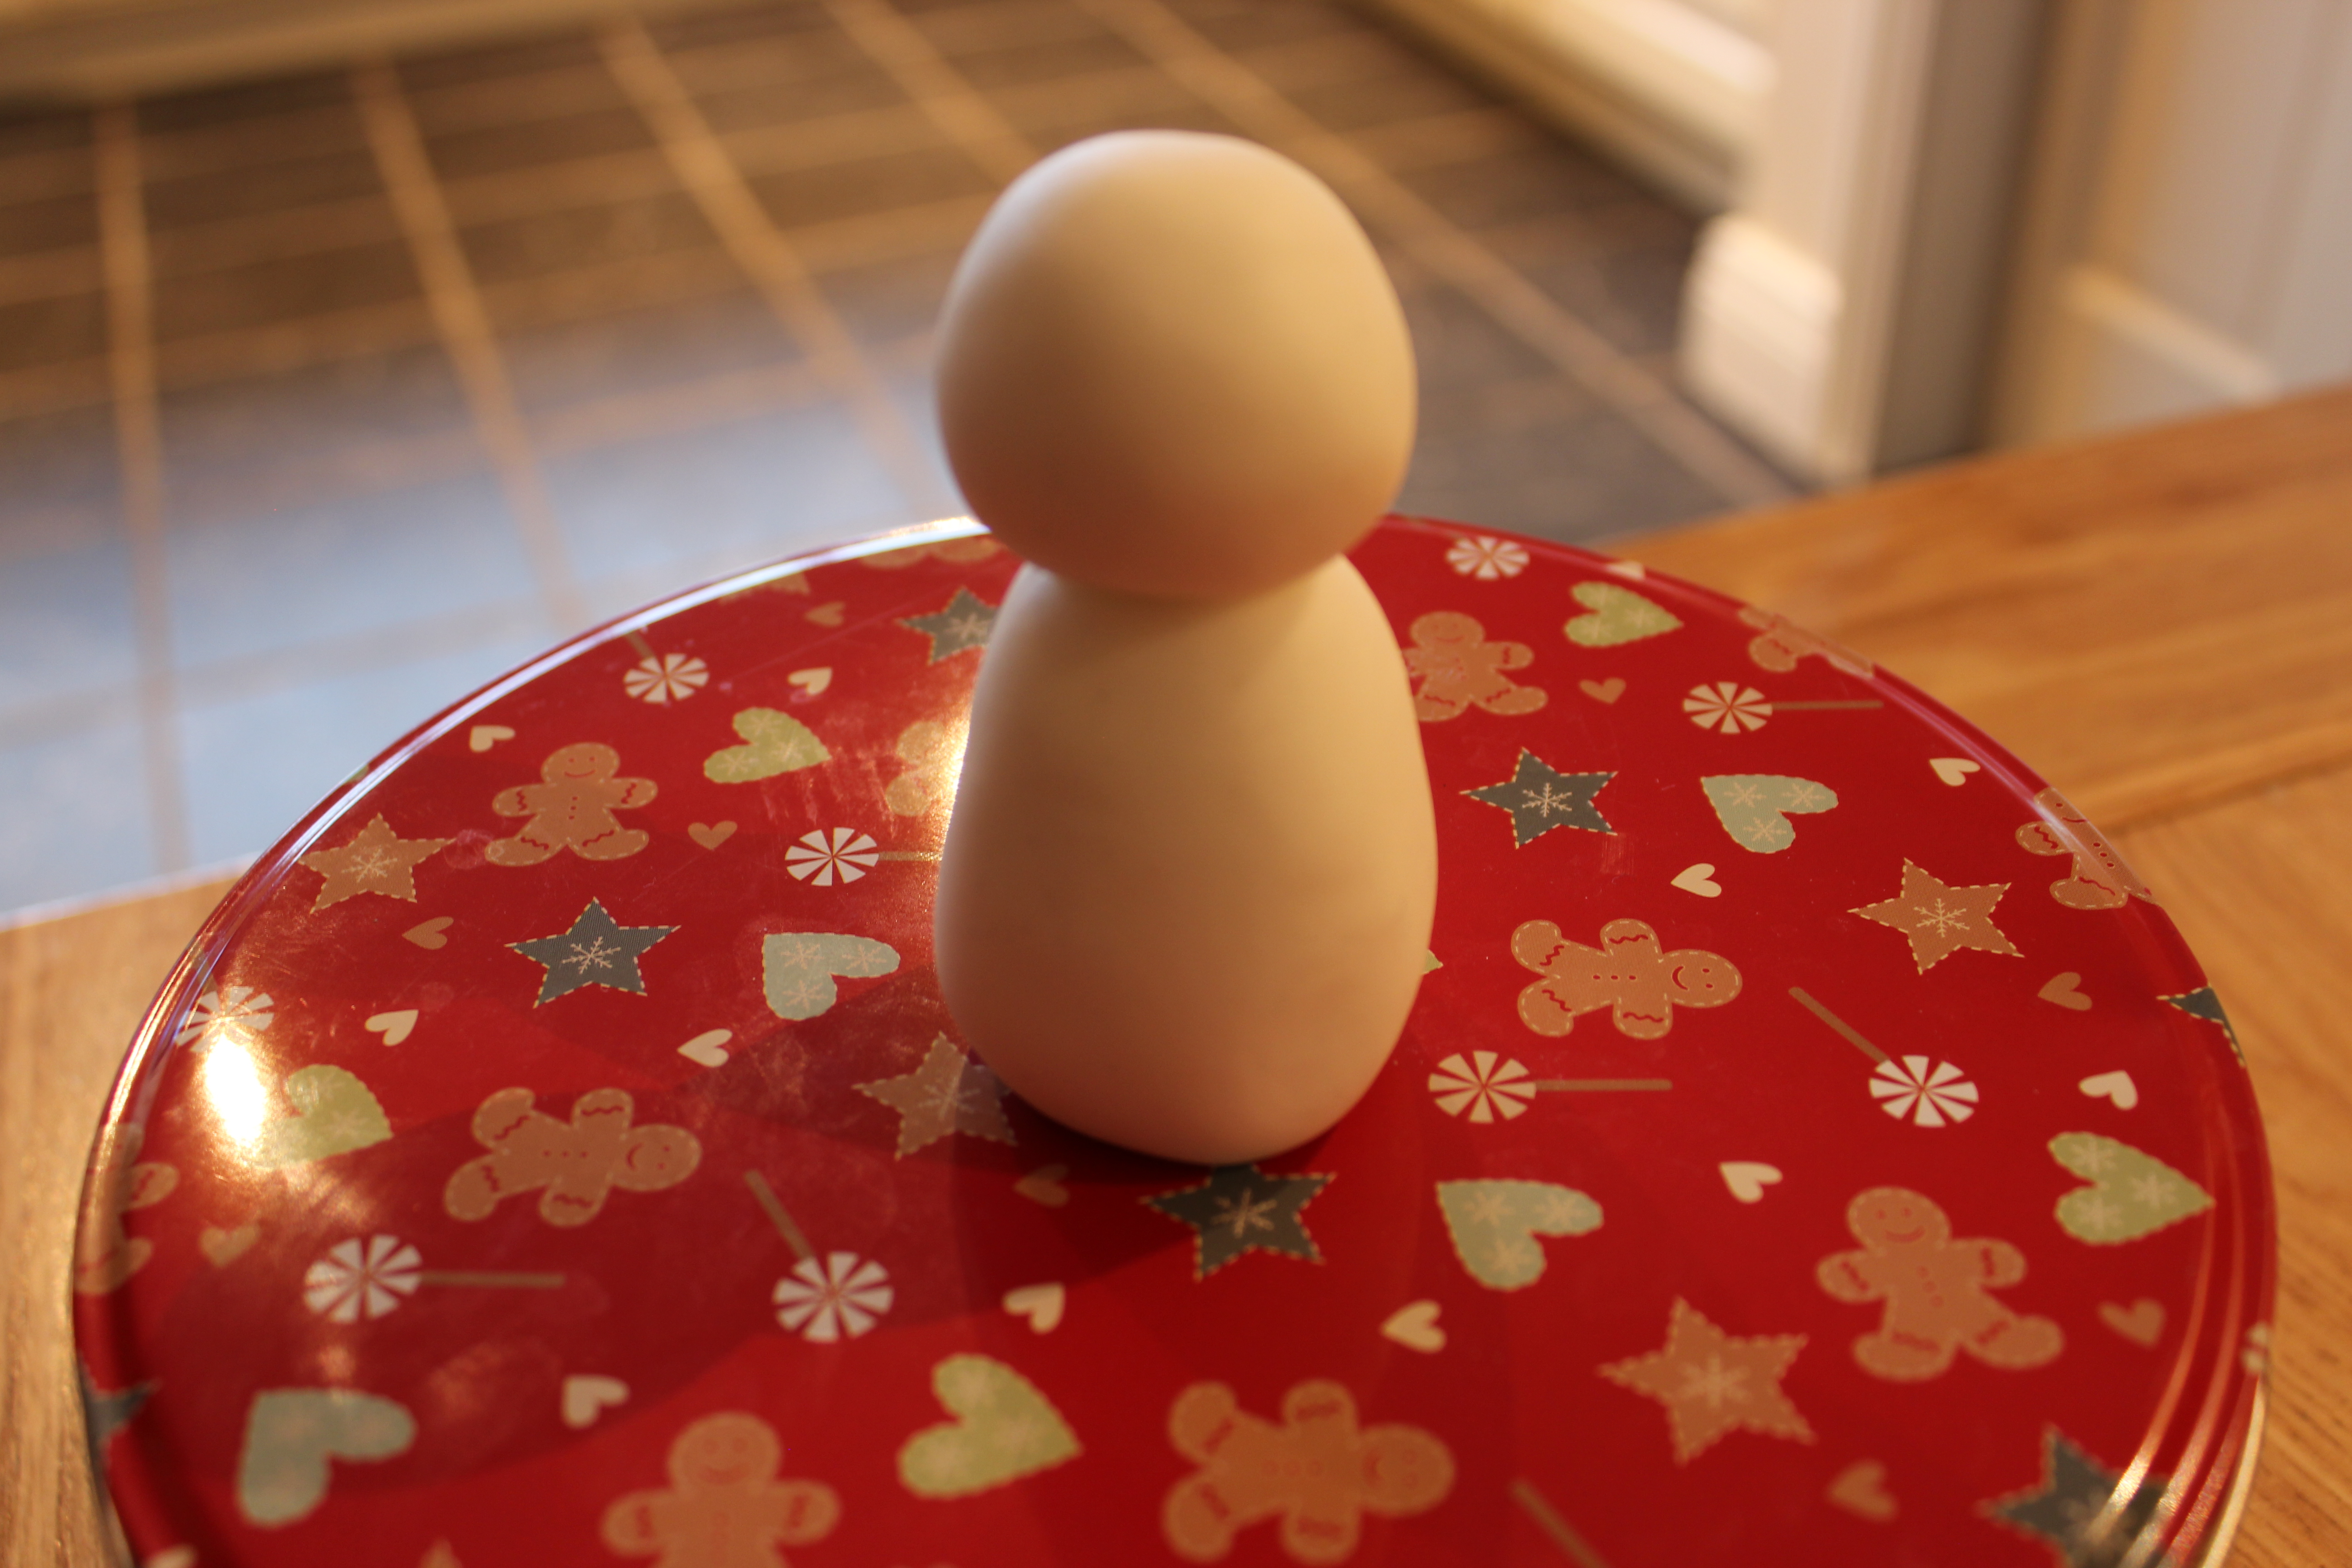
Measure the head by the side of the stick. Then cut the stick, just short, so that when the head is placed on it won’t be too close to the top of the head.
Put the snowman to one side.
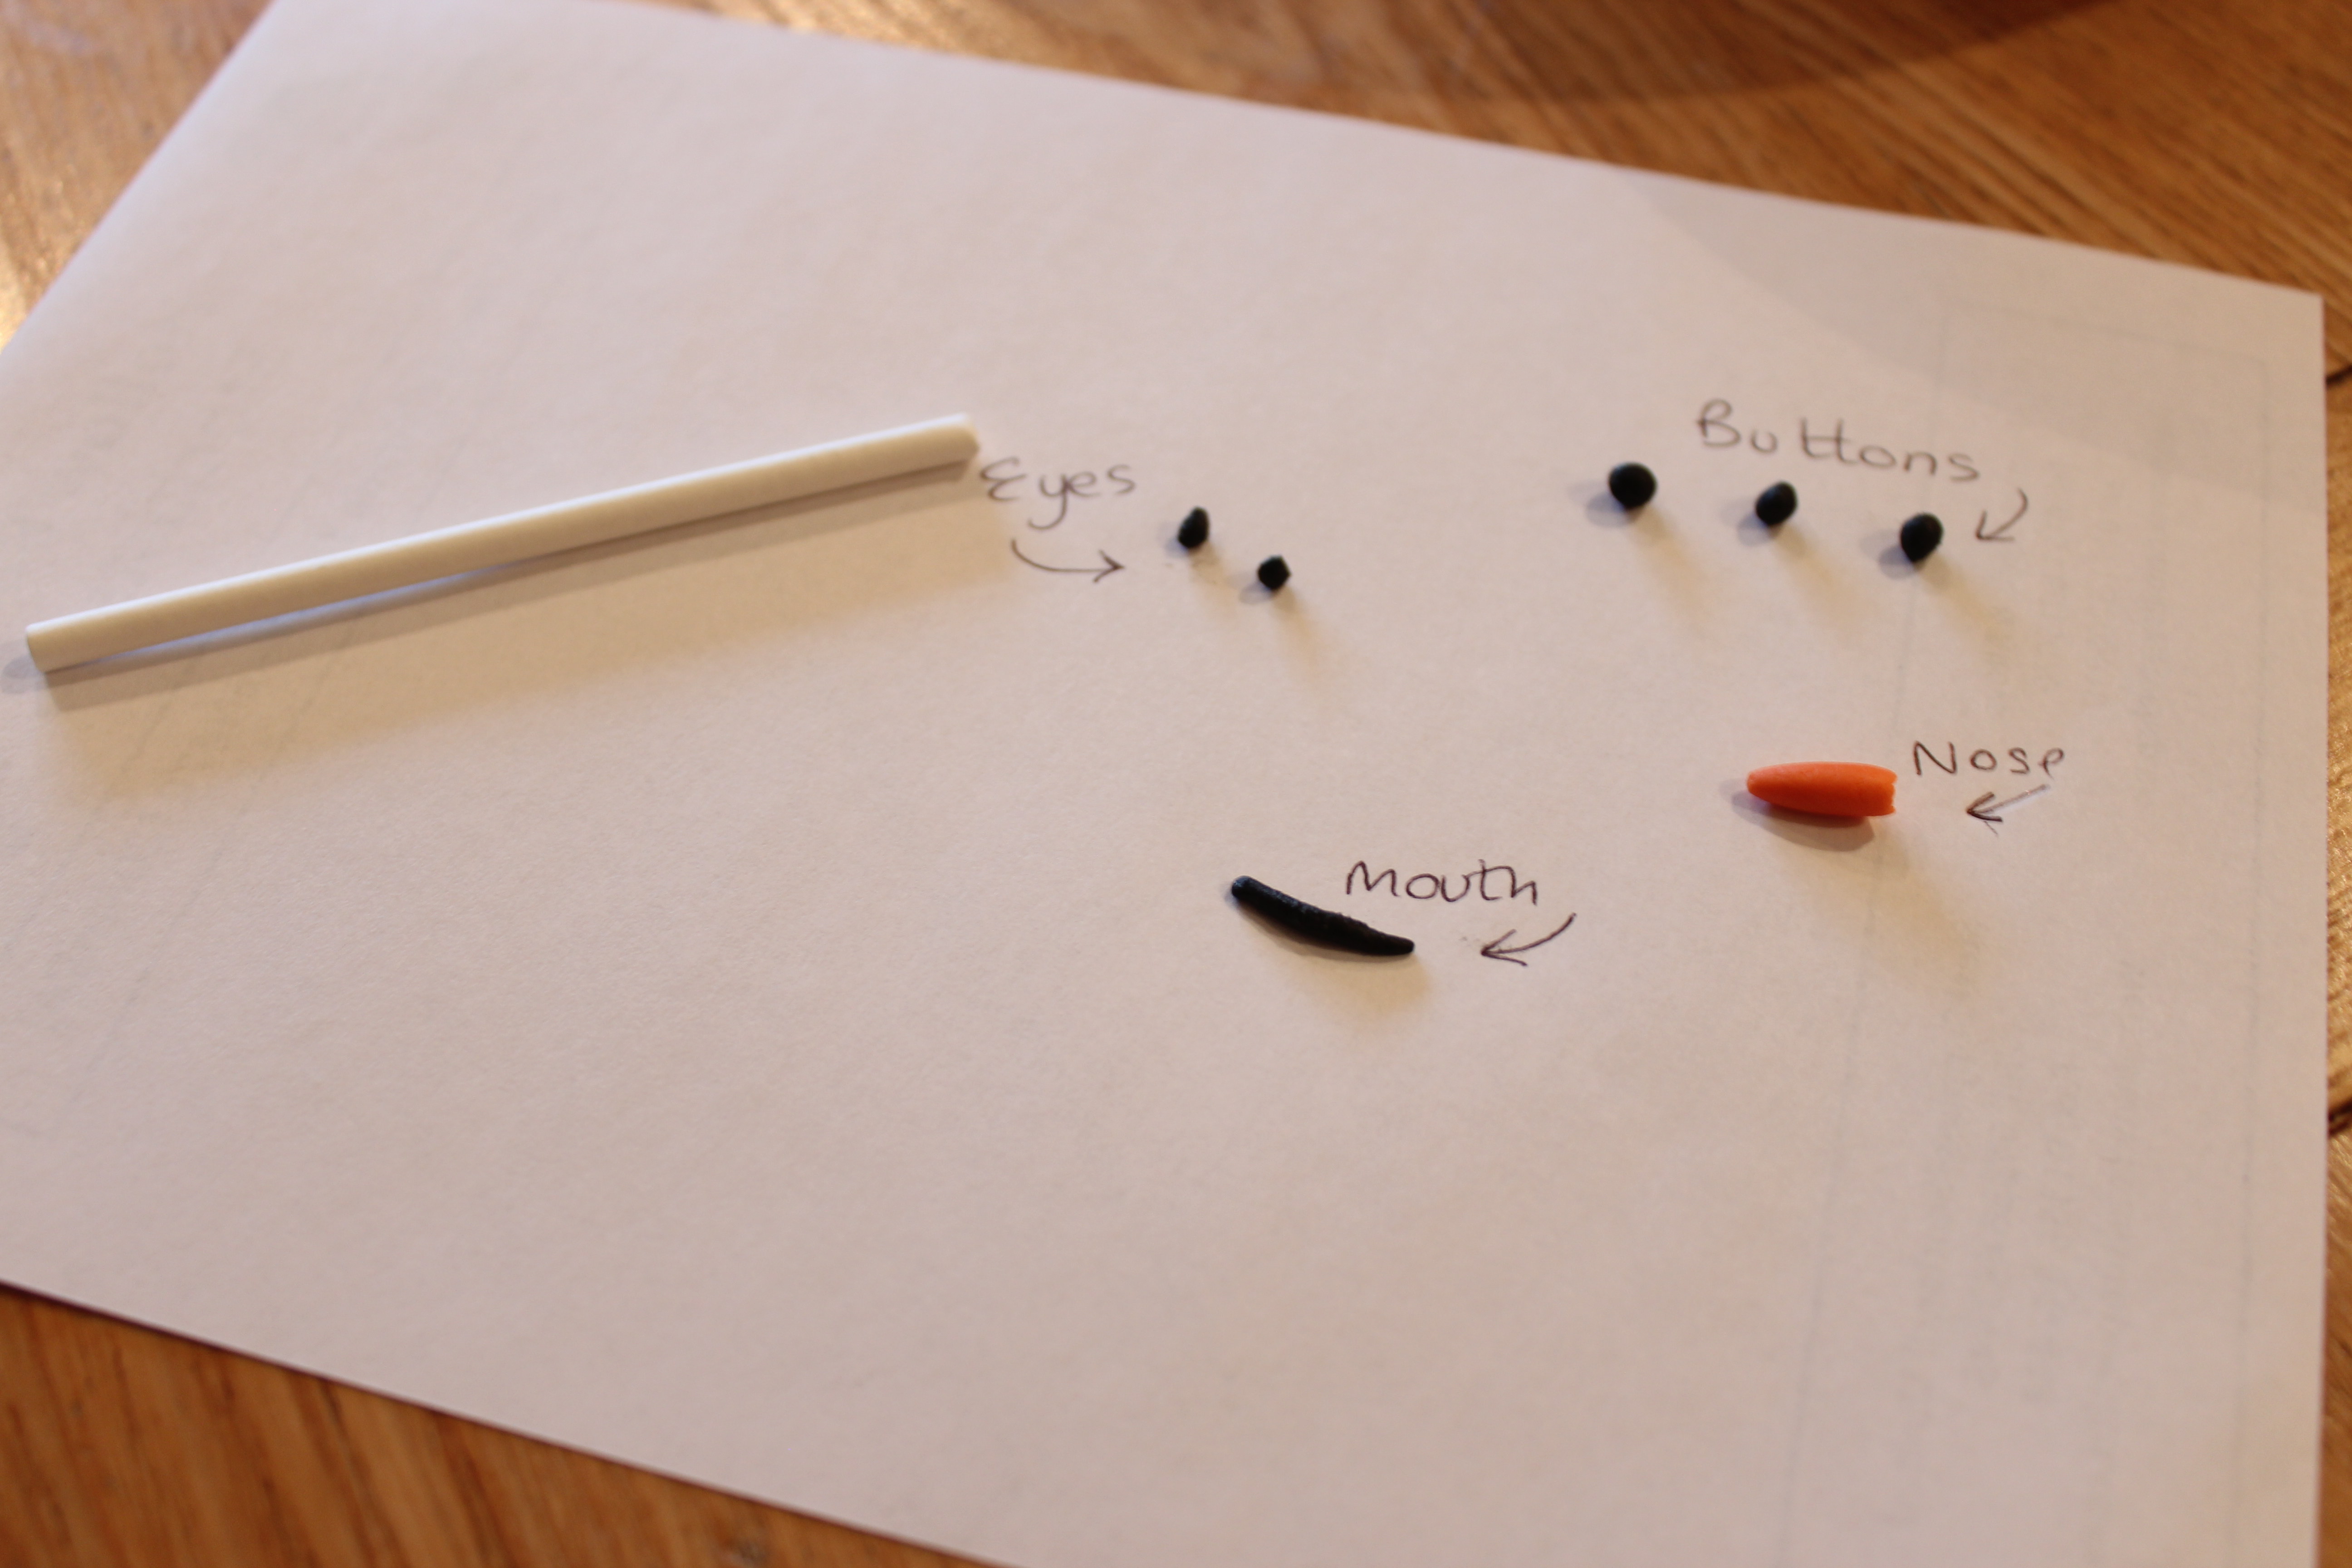
Taking the black sugar paste break off 3 small pieces and roll into tiny balls of equal size. This will make the buttons.
Do the same again with 2 pieces, but about half the size of the buttons.
Make the mouth by rolling a small piece of paste into a thin sausage shape (between your fingertips) and cut to length required.
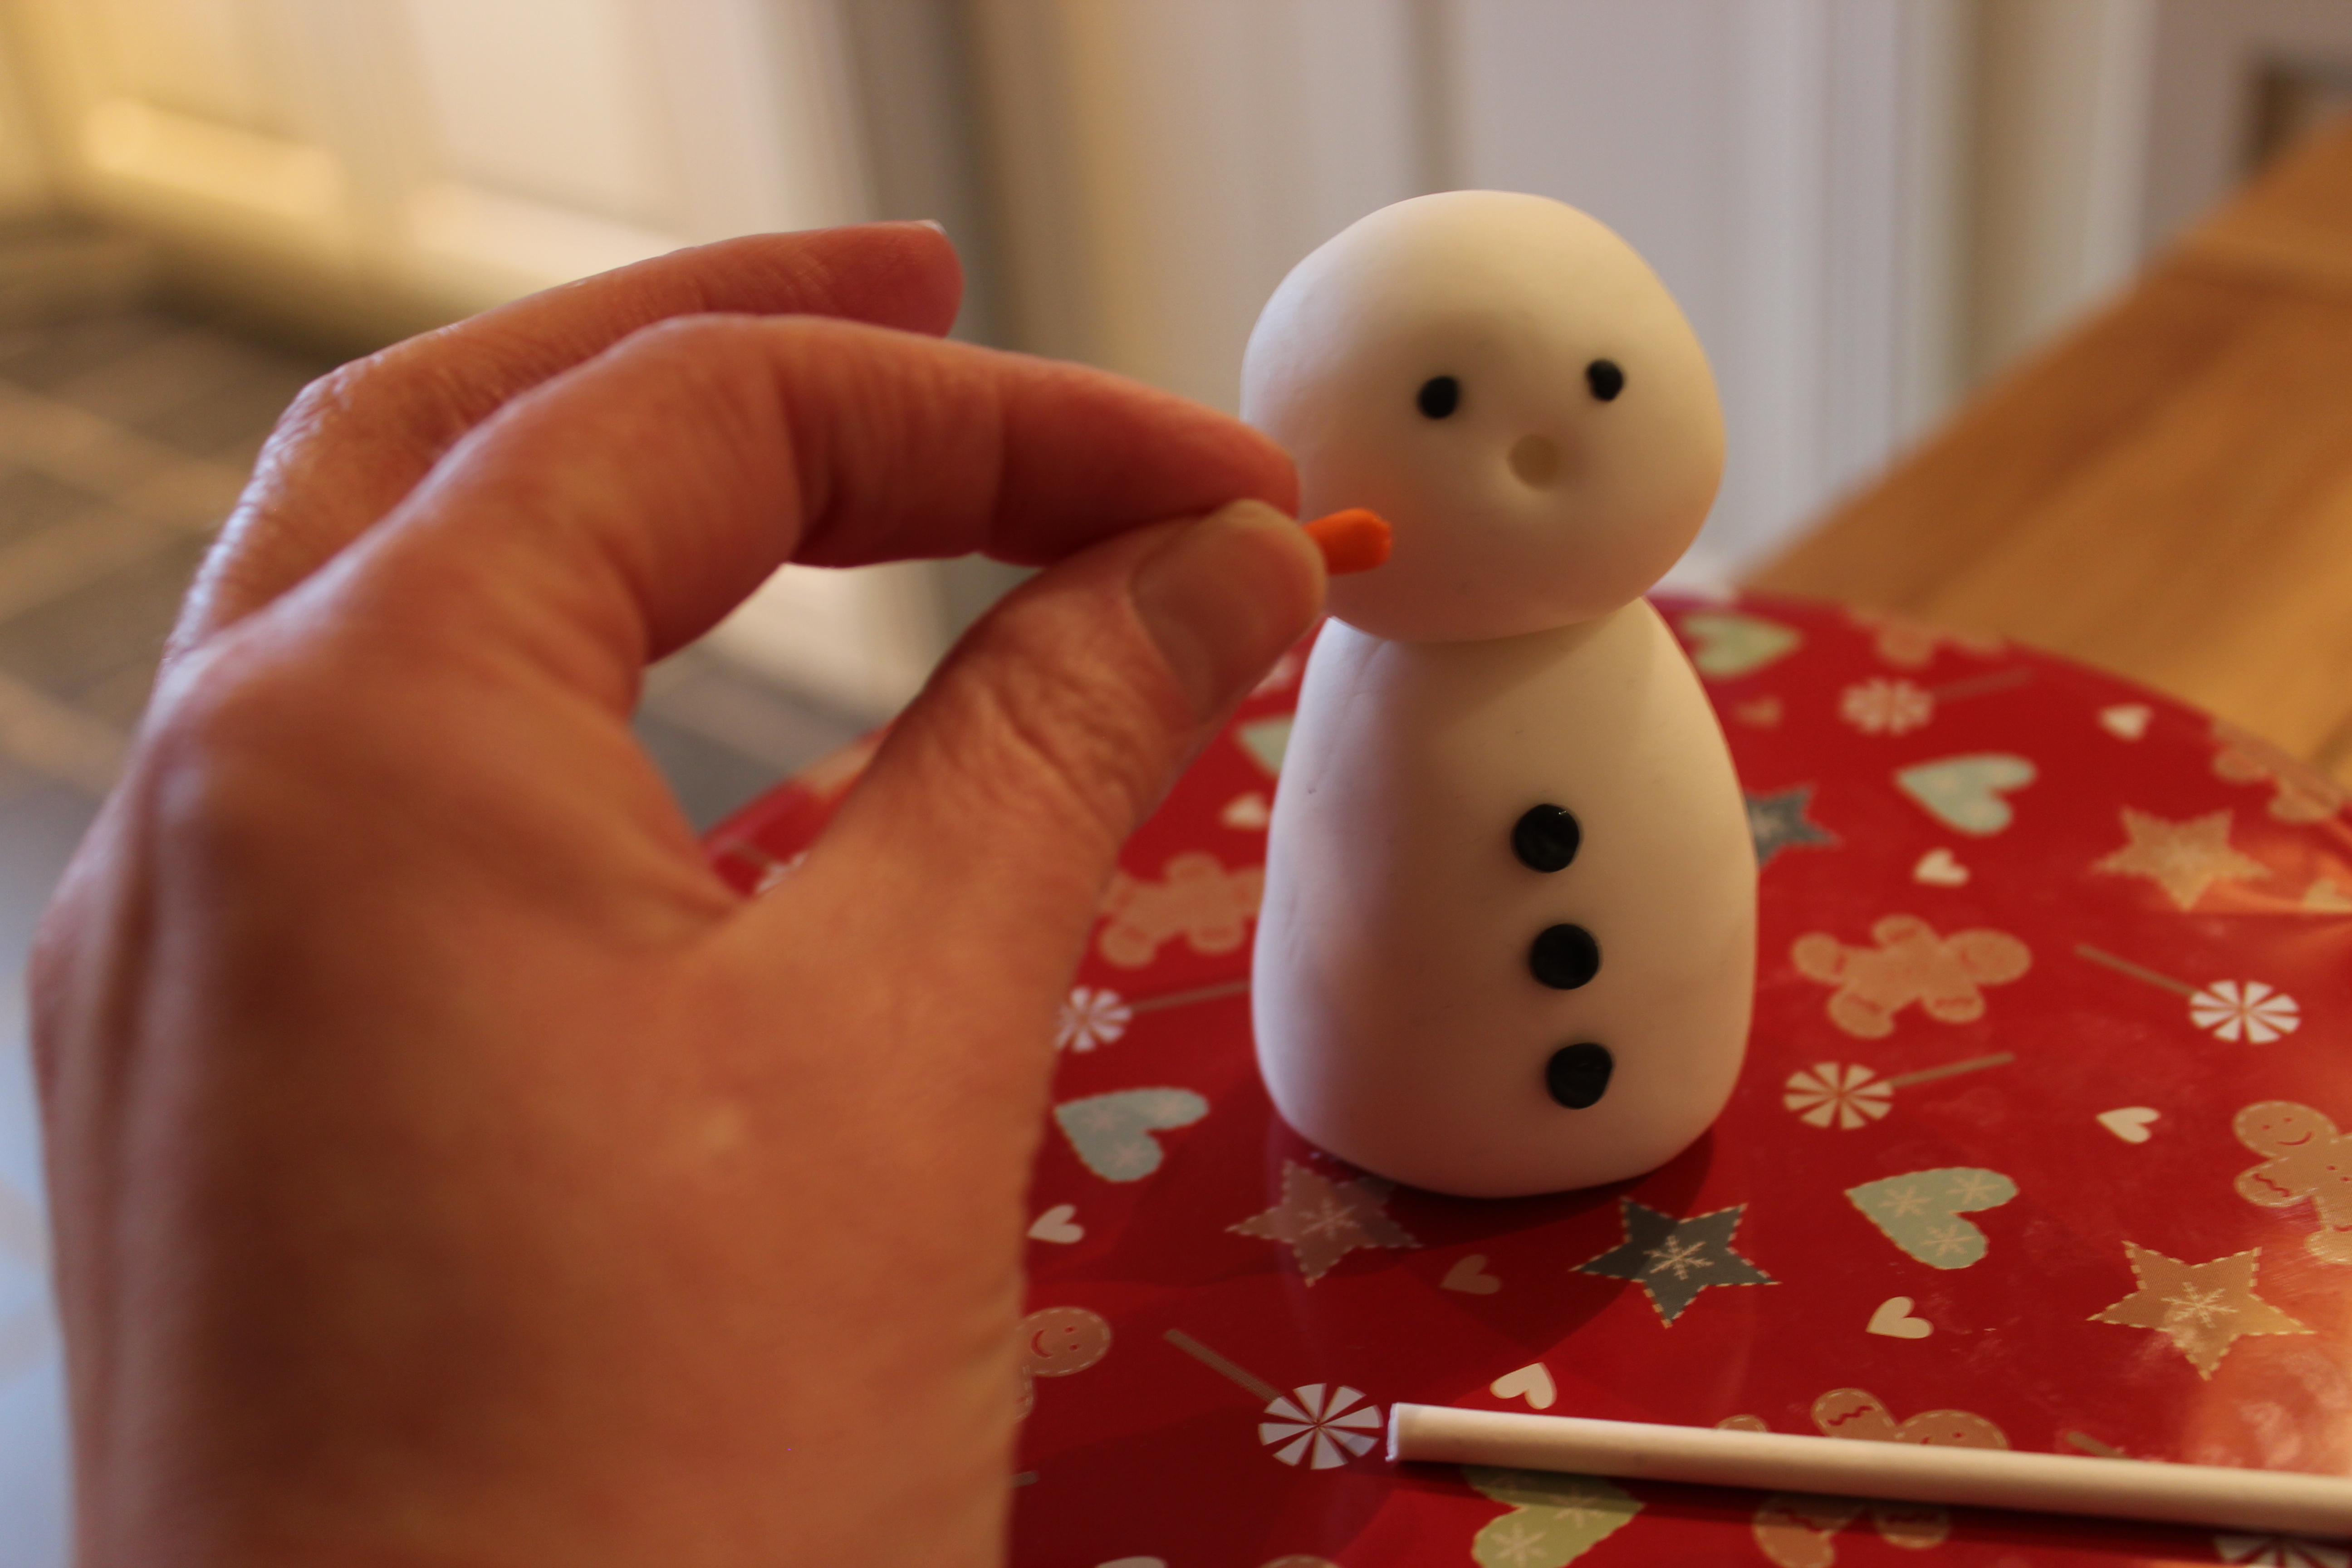
Using the small piece of orange paste make a tiny carrot by rolling it into a cone.
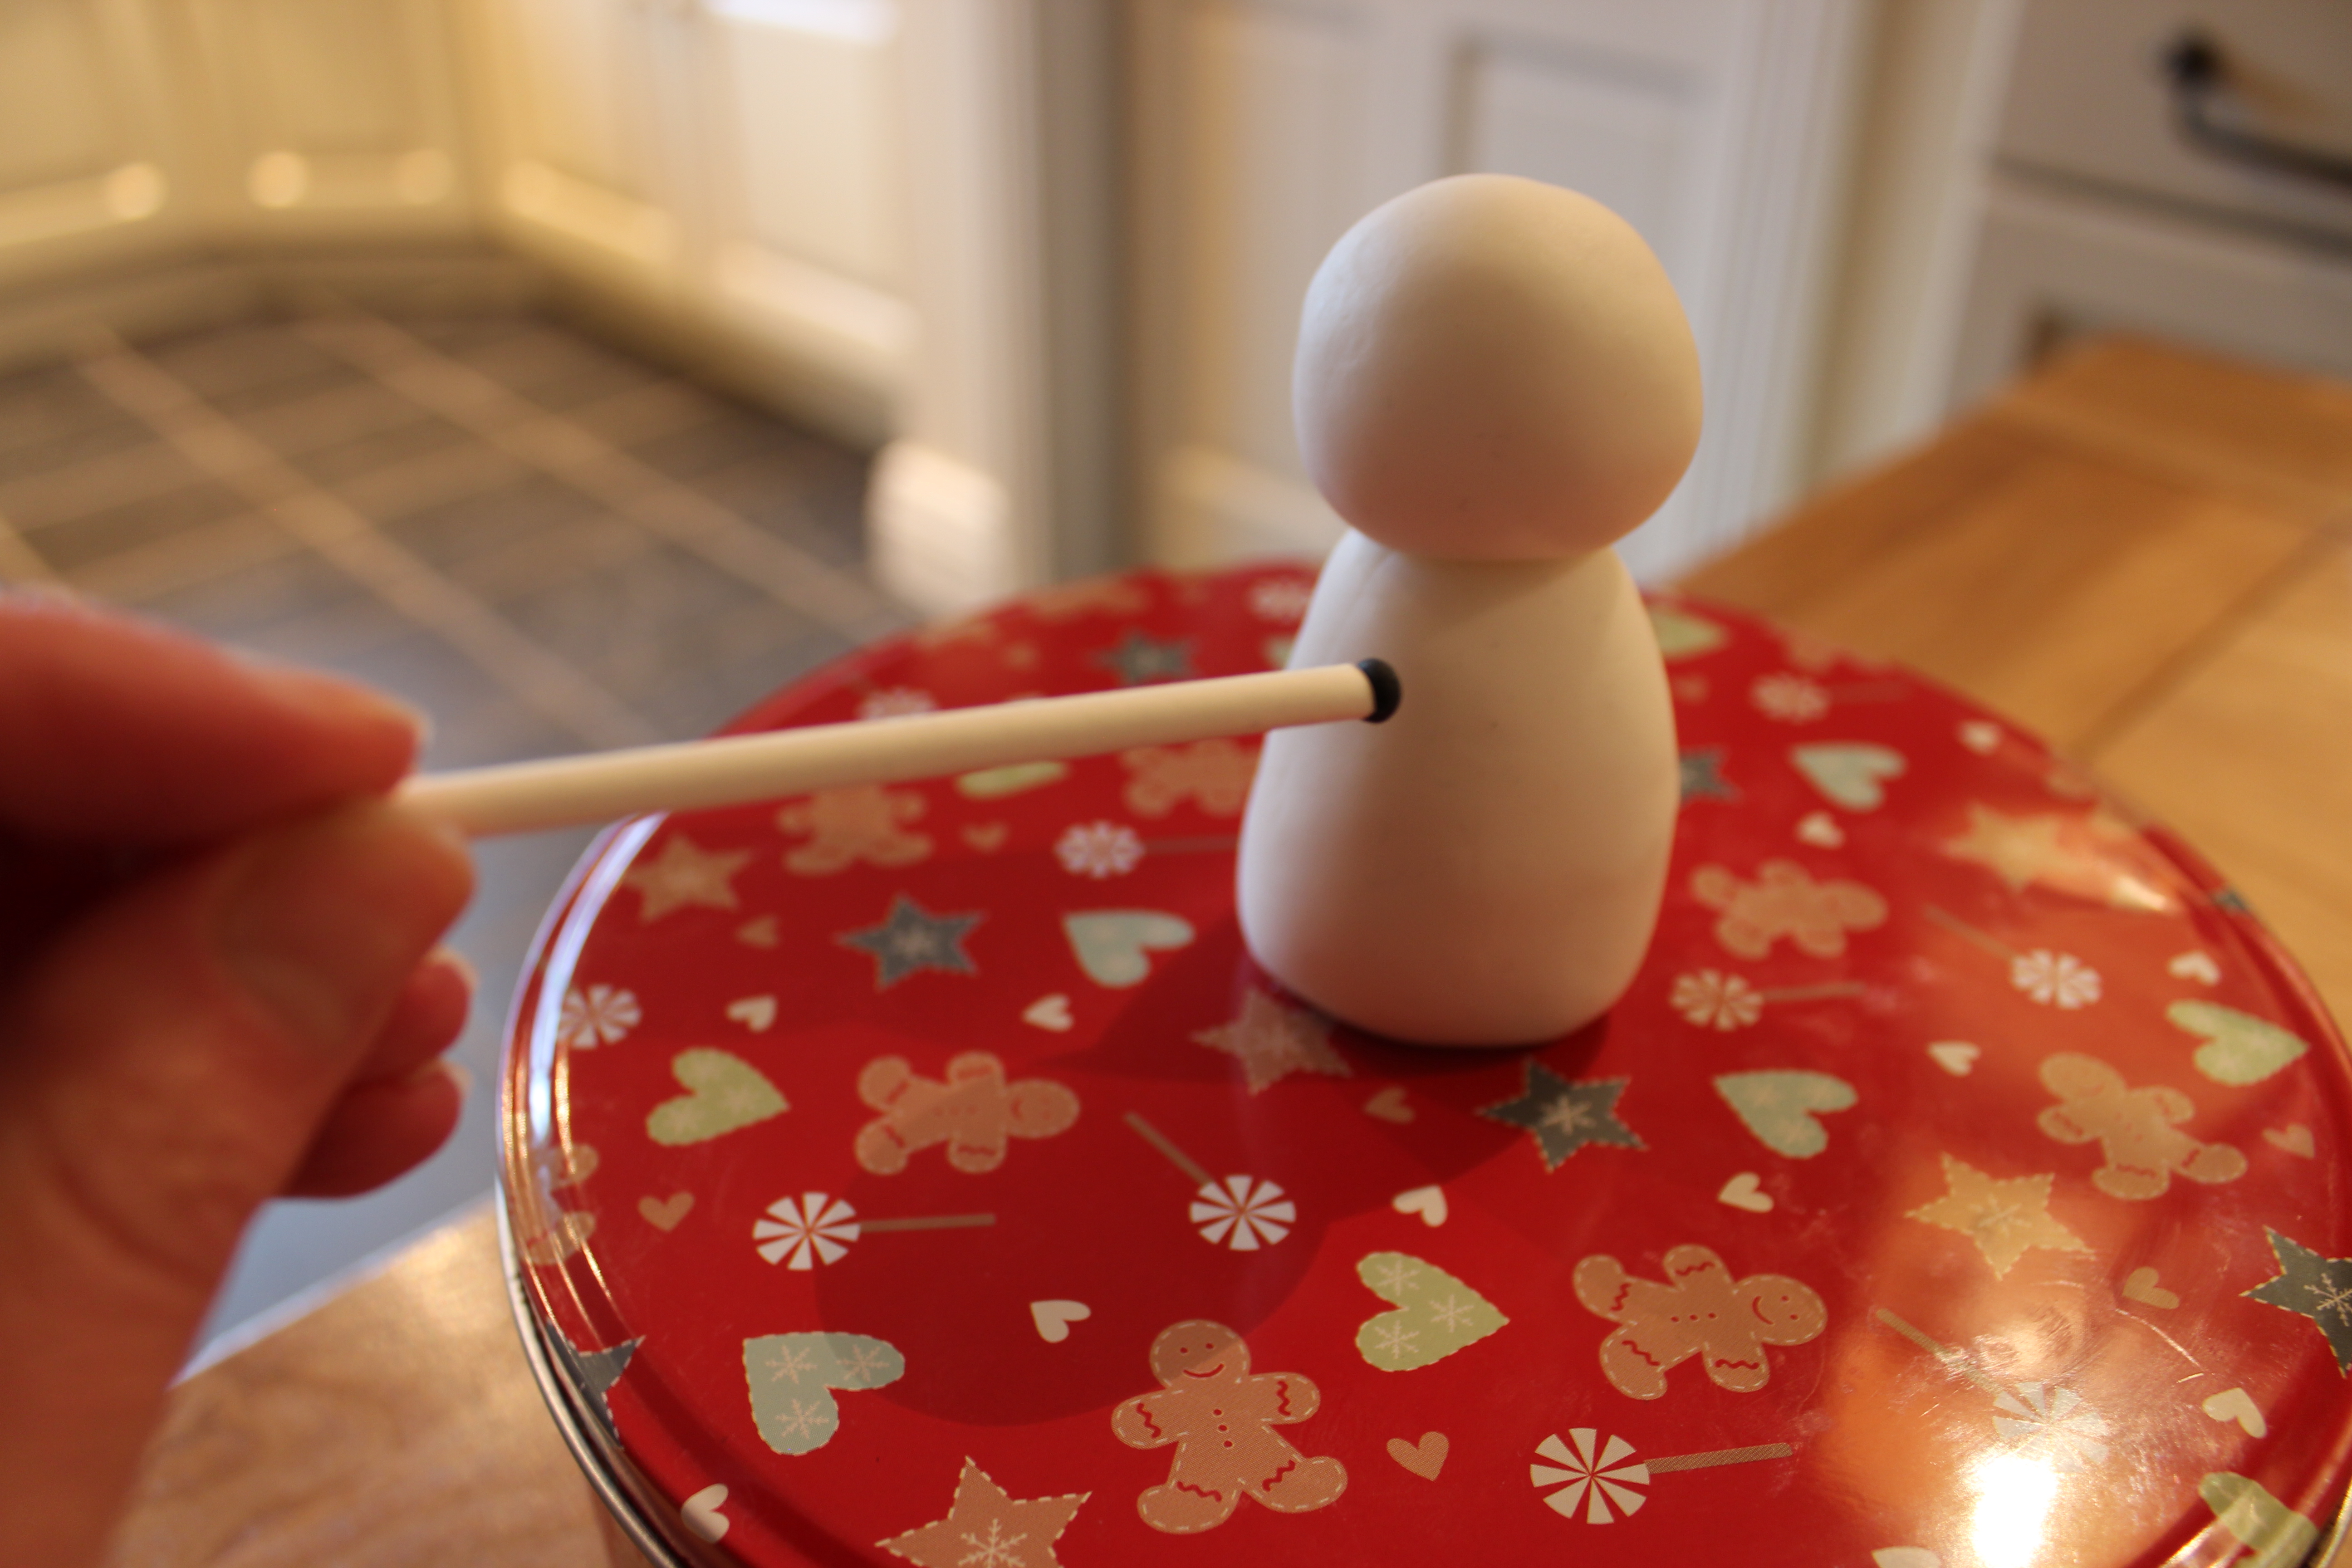
Using the remaining cake pop stick – press the buttons on.
They will need a dab of water on the back (dab with the cottonbud/water) to make sure they fix on. This can be fiddly so just go for it!
To place the eyes and nose make indents with the stick first and the using your fingers place them carefully in position.
They too will need the slightest dab of water on the back to secure.
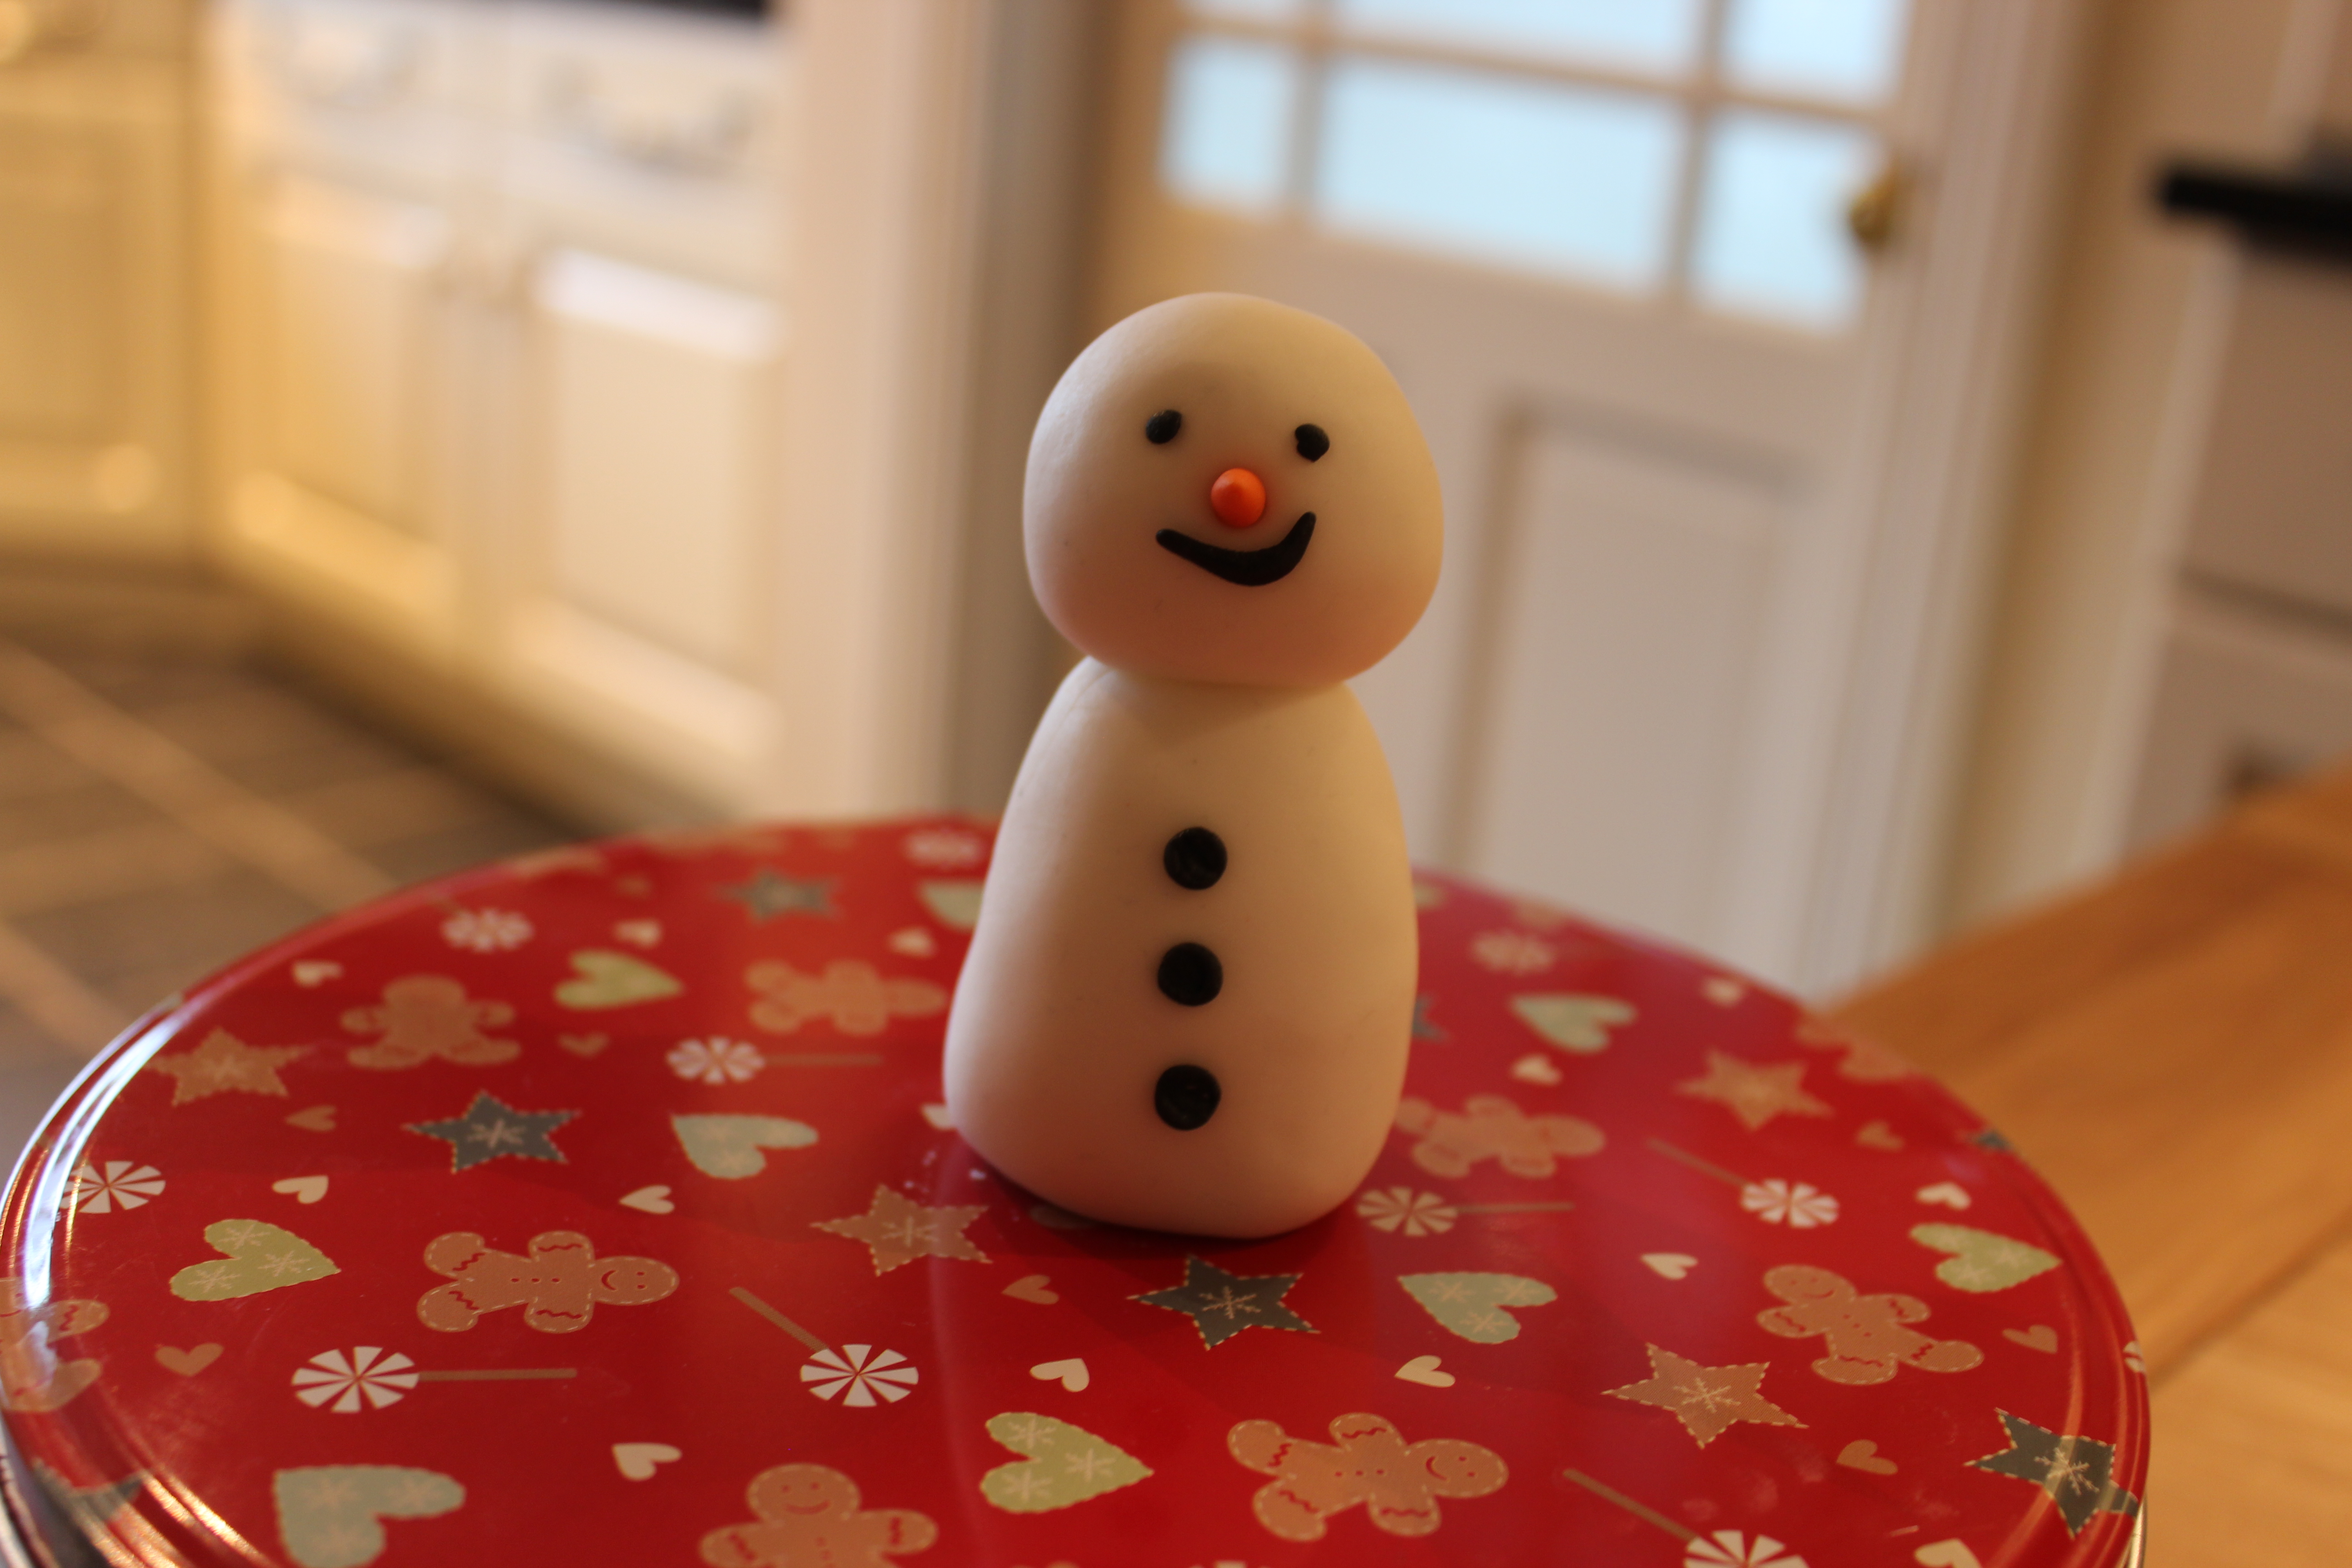
It may be easier to put the mouth on before the nose unless you want a cheeky lopsided grin like my snowman’s 😉
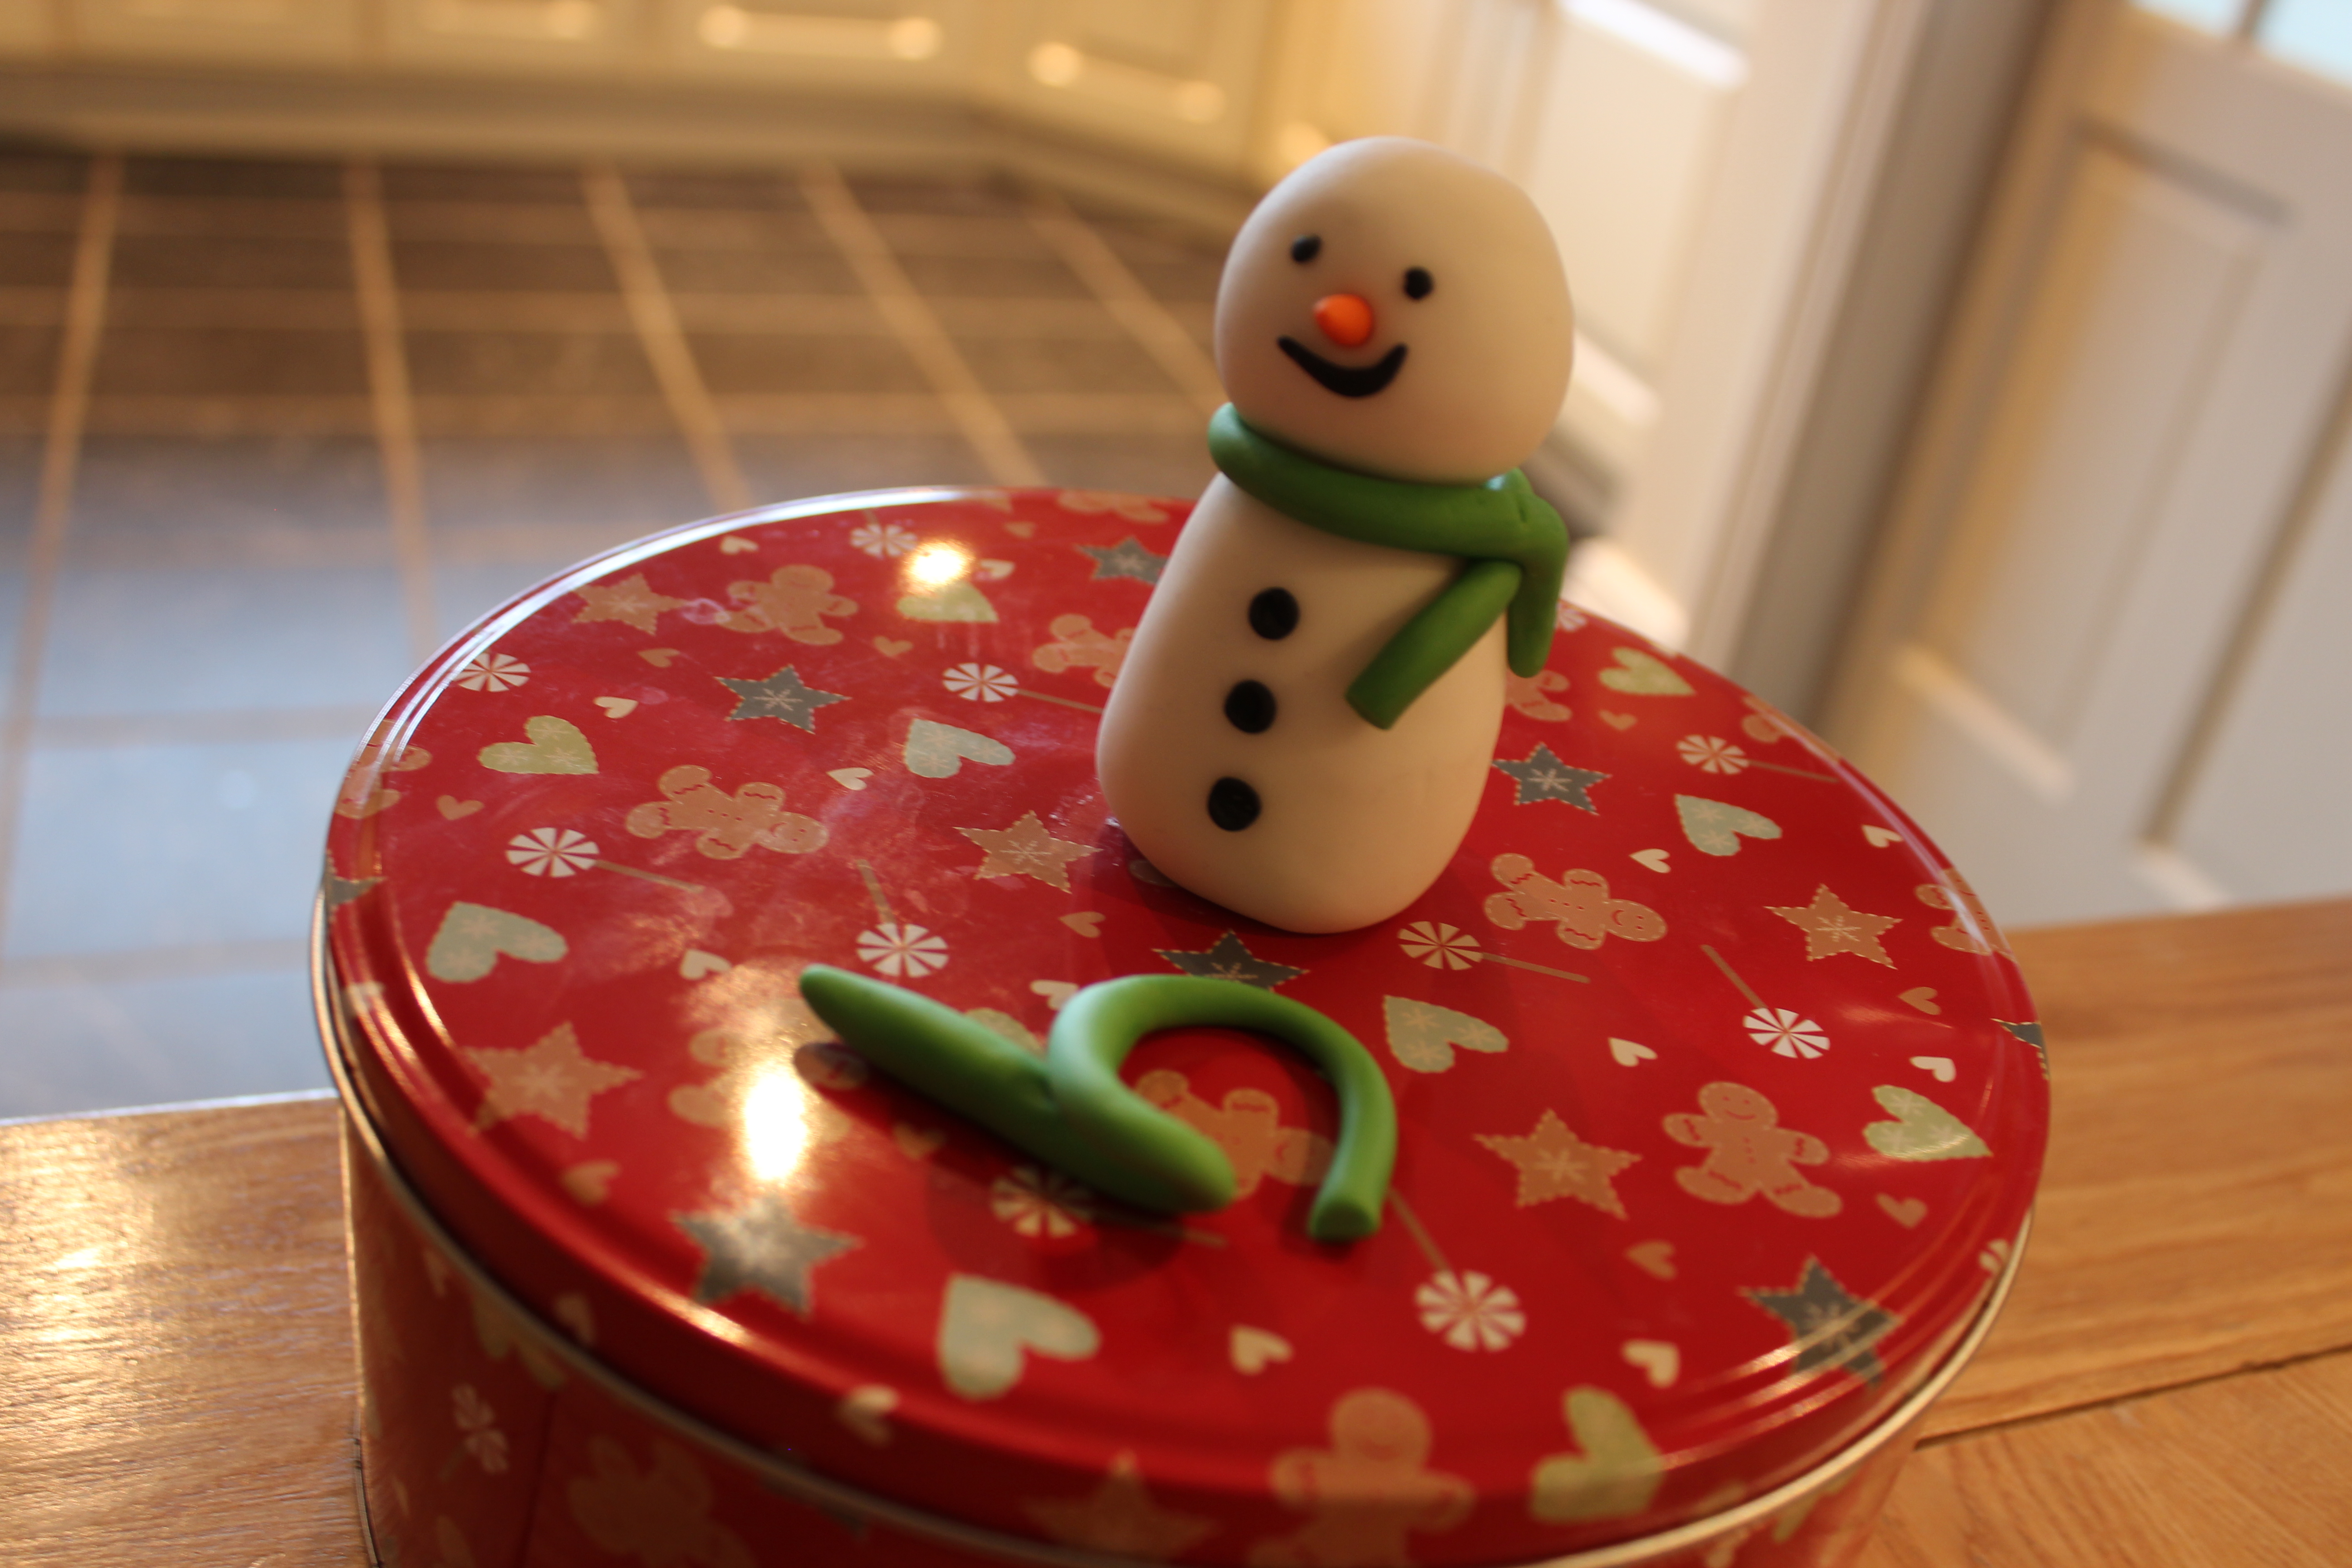
To make the scarf – take the small ball of coloured paste and roll on the table (by rolling your palm back and forth) into a long thin sausage/rope.
Take as much as you need and drape around the snowman’s neck. A little water dabbed onto the neck will help to secure.
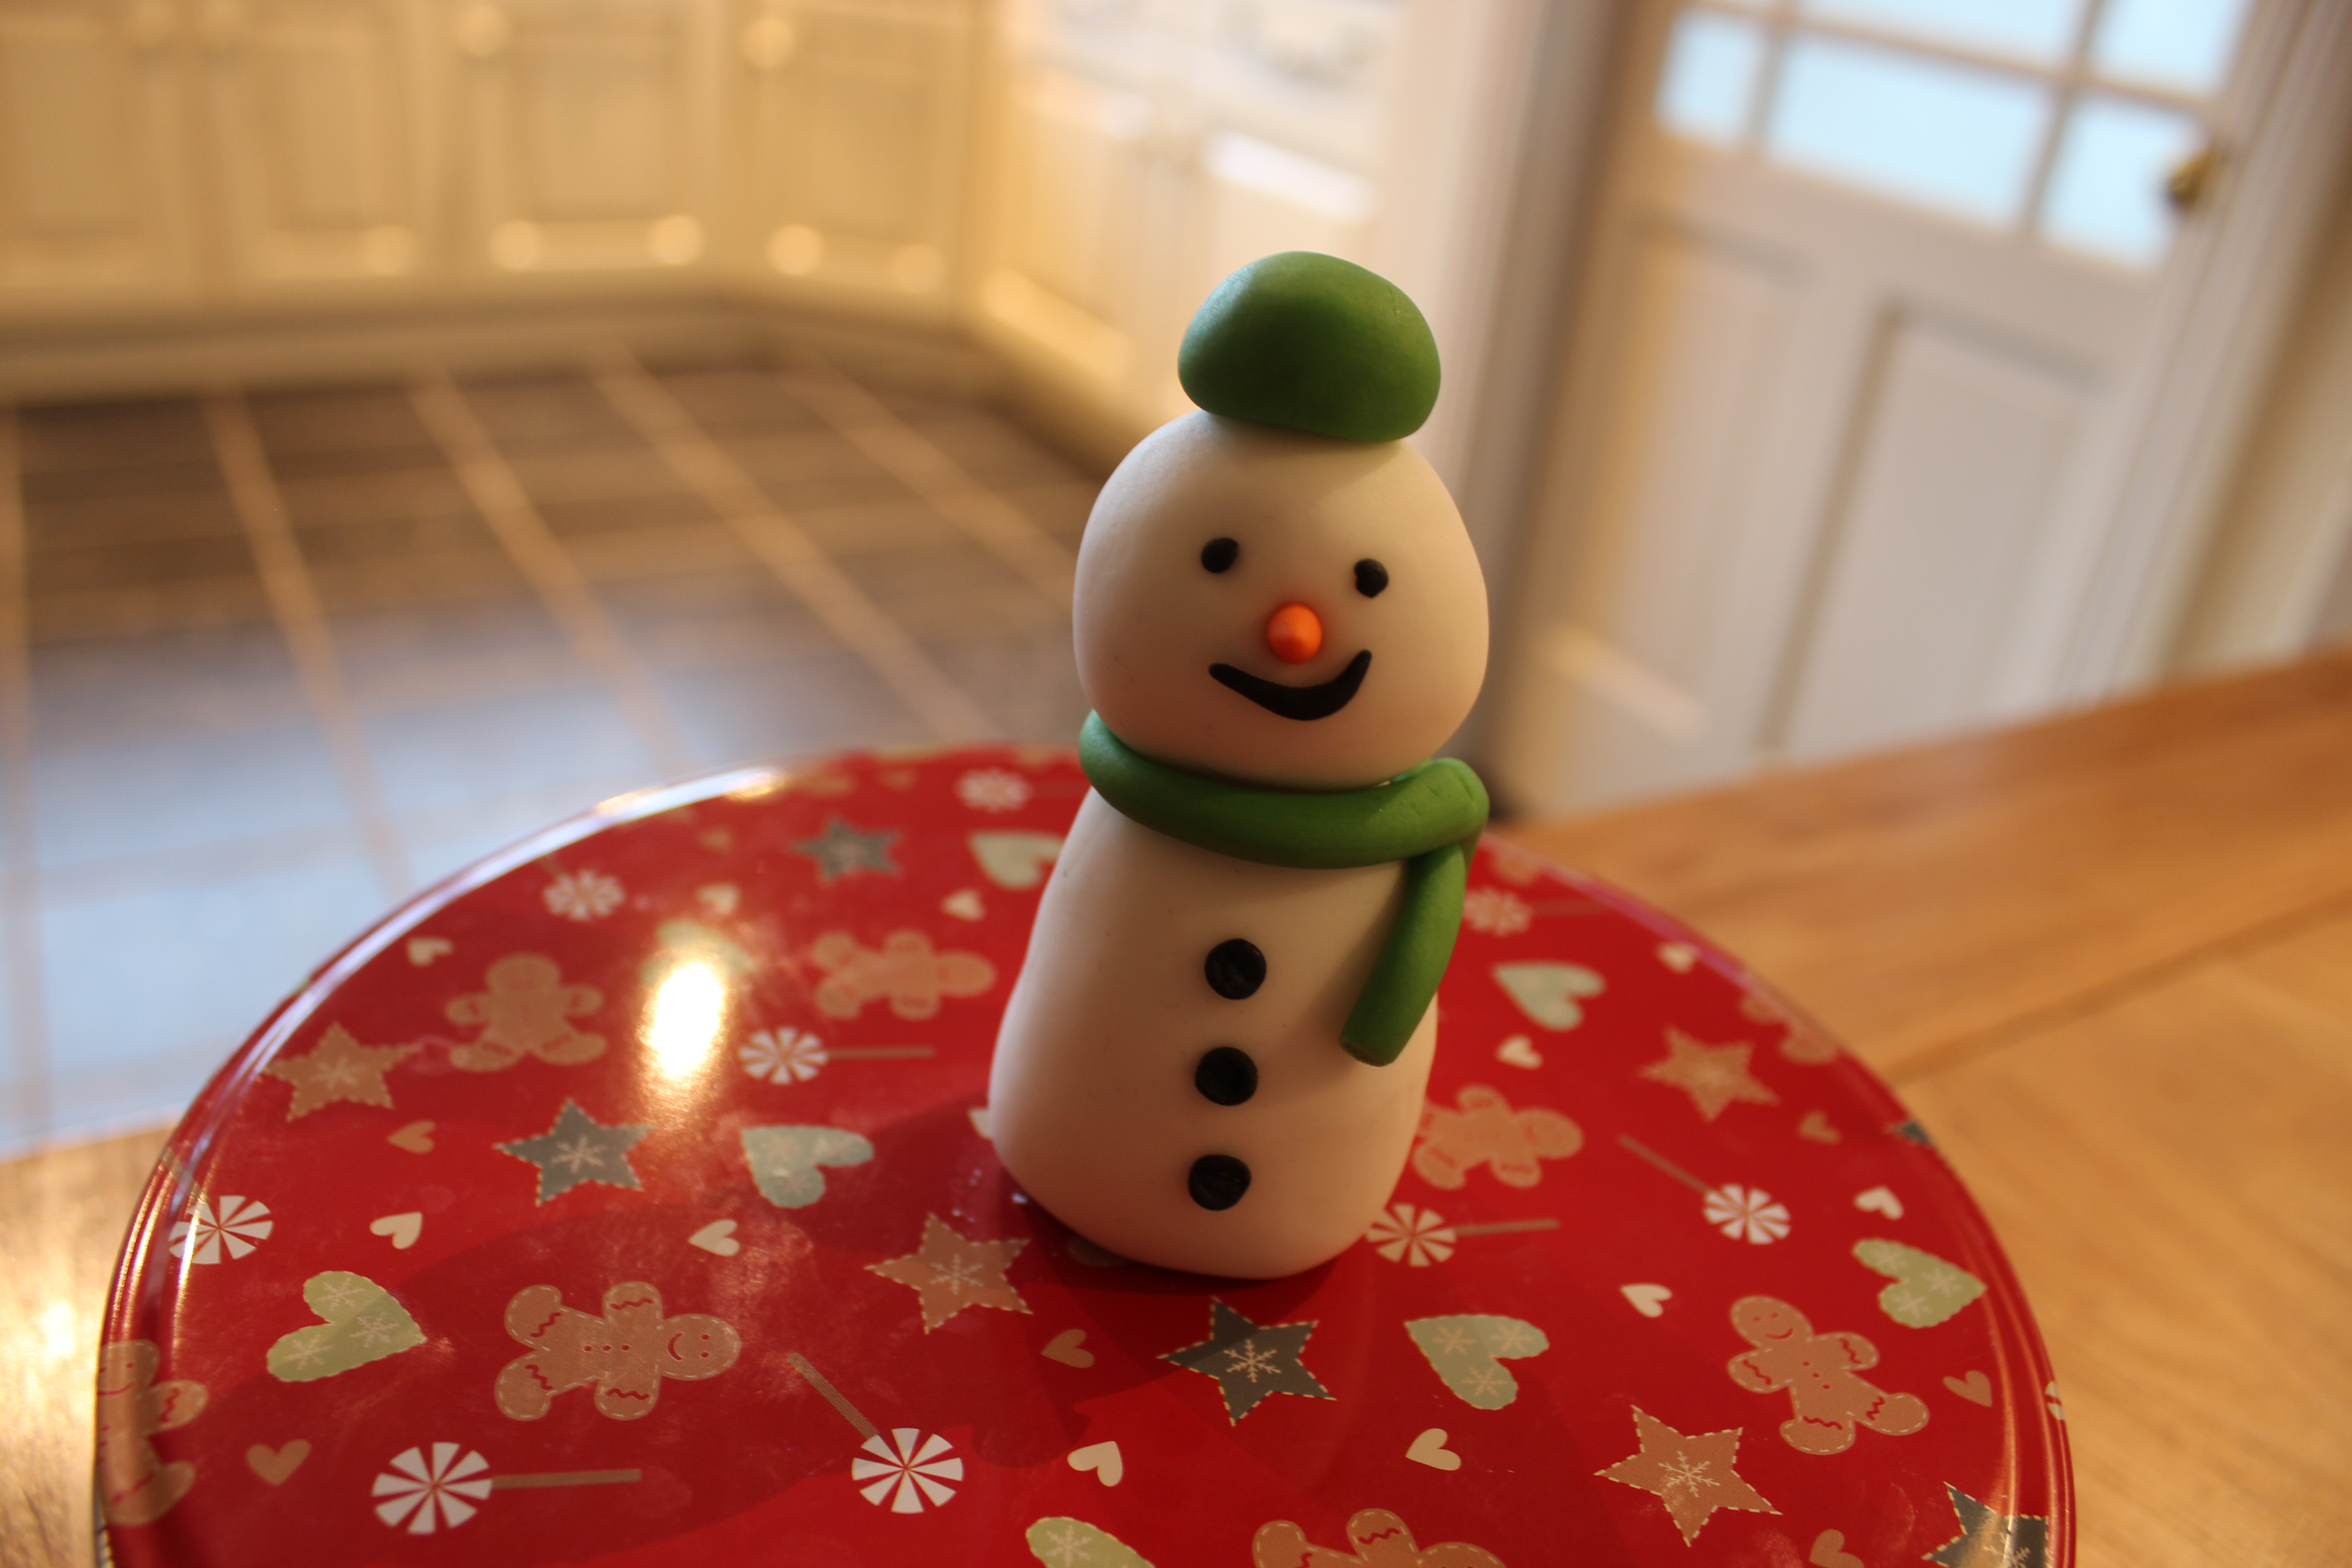
The remaining paste will make the hat.
Make a squashed ball and place on top of the head – a little water on the top of the head will hold it in place. Using any remaining paste make another thin sausage to wrap round for a brim and a small ball for the bobble on top.
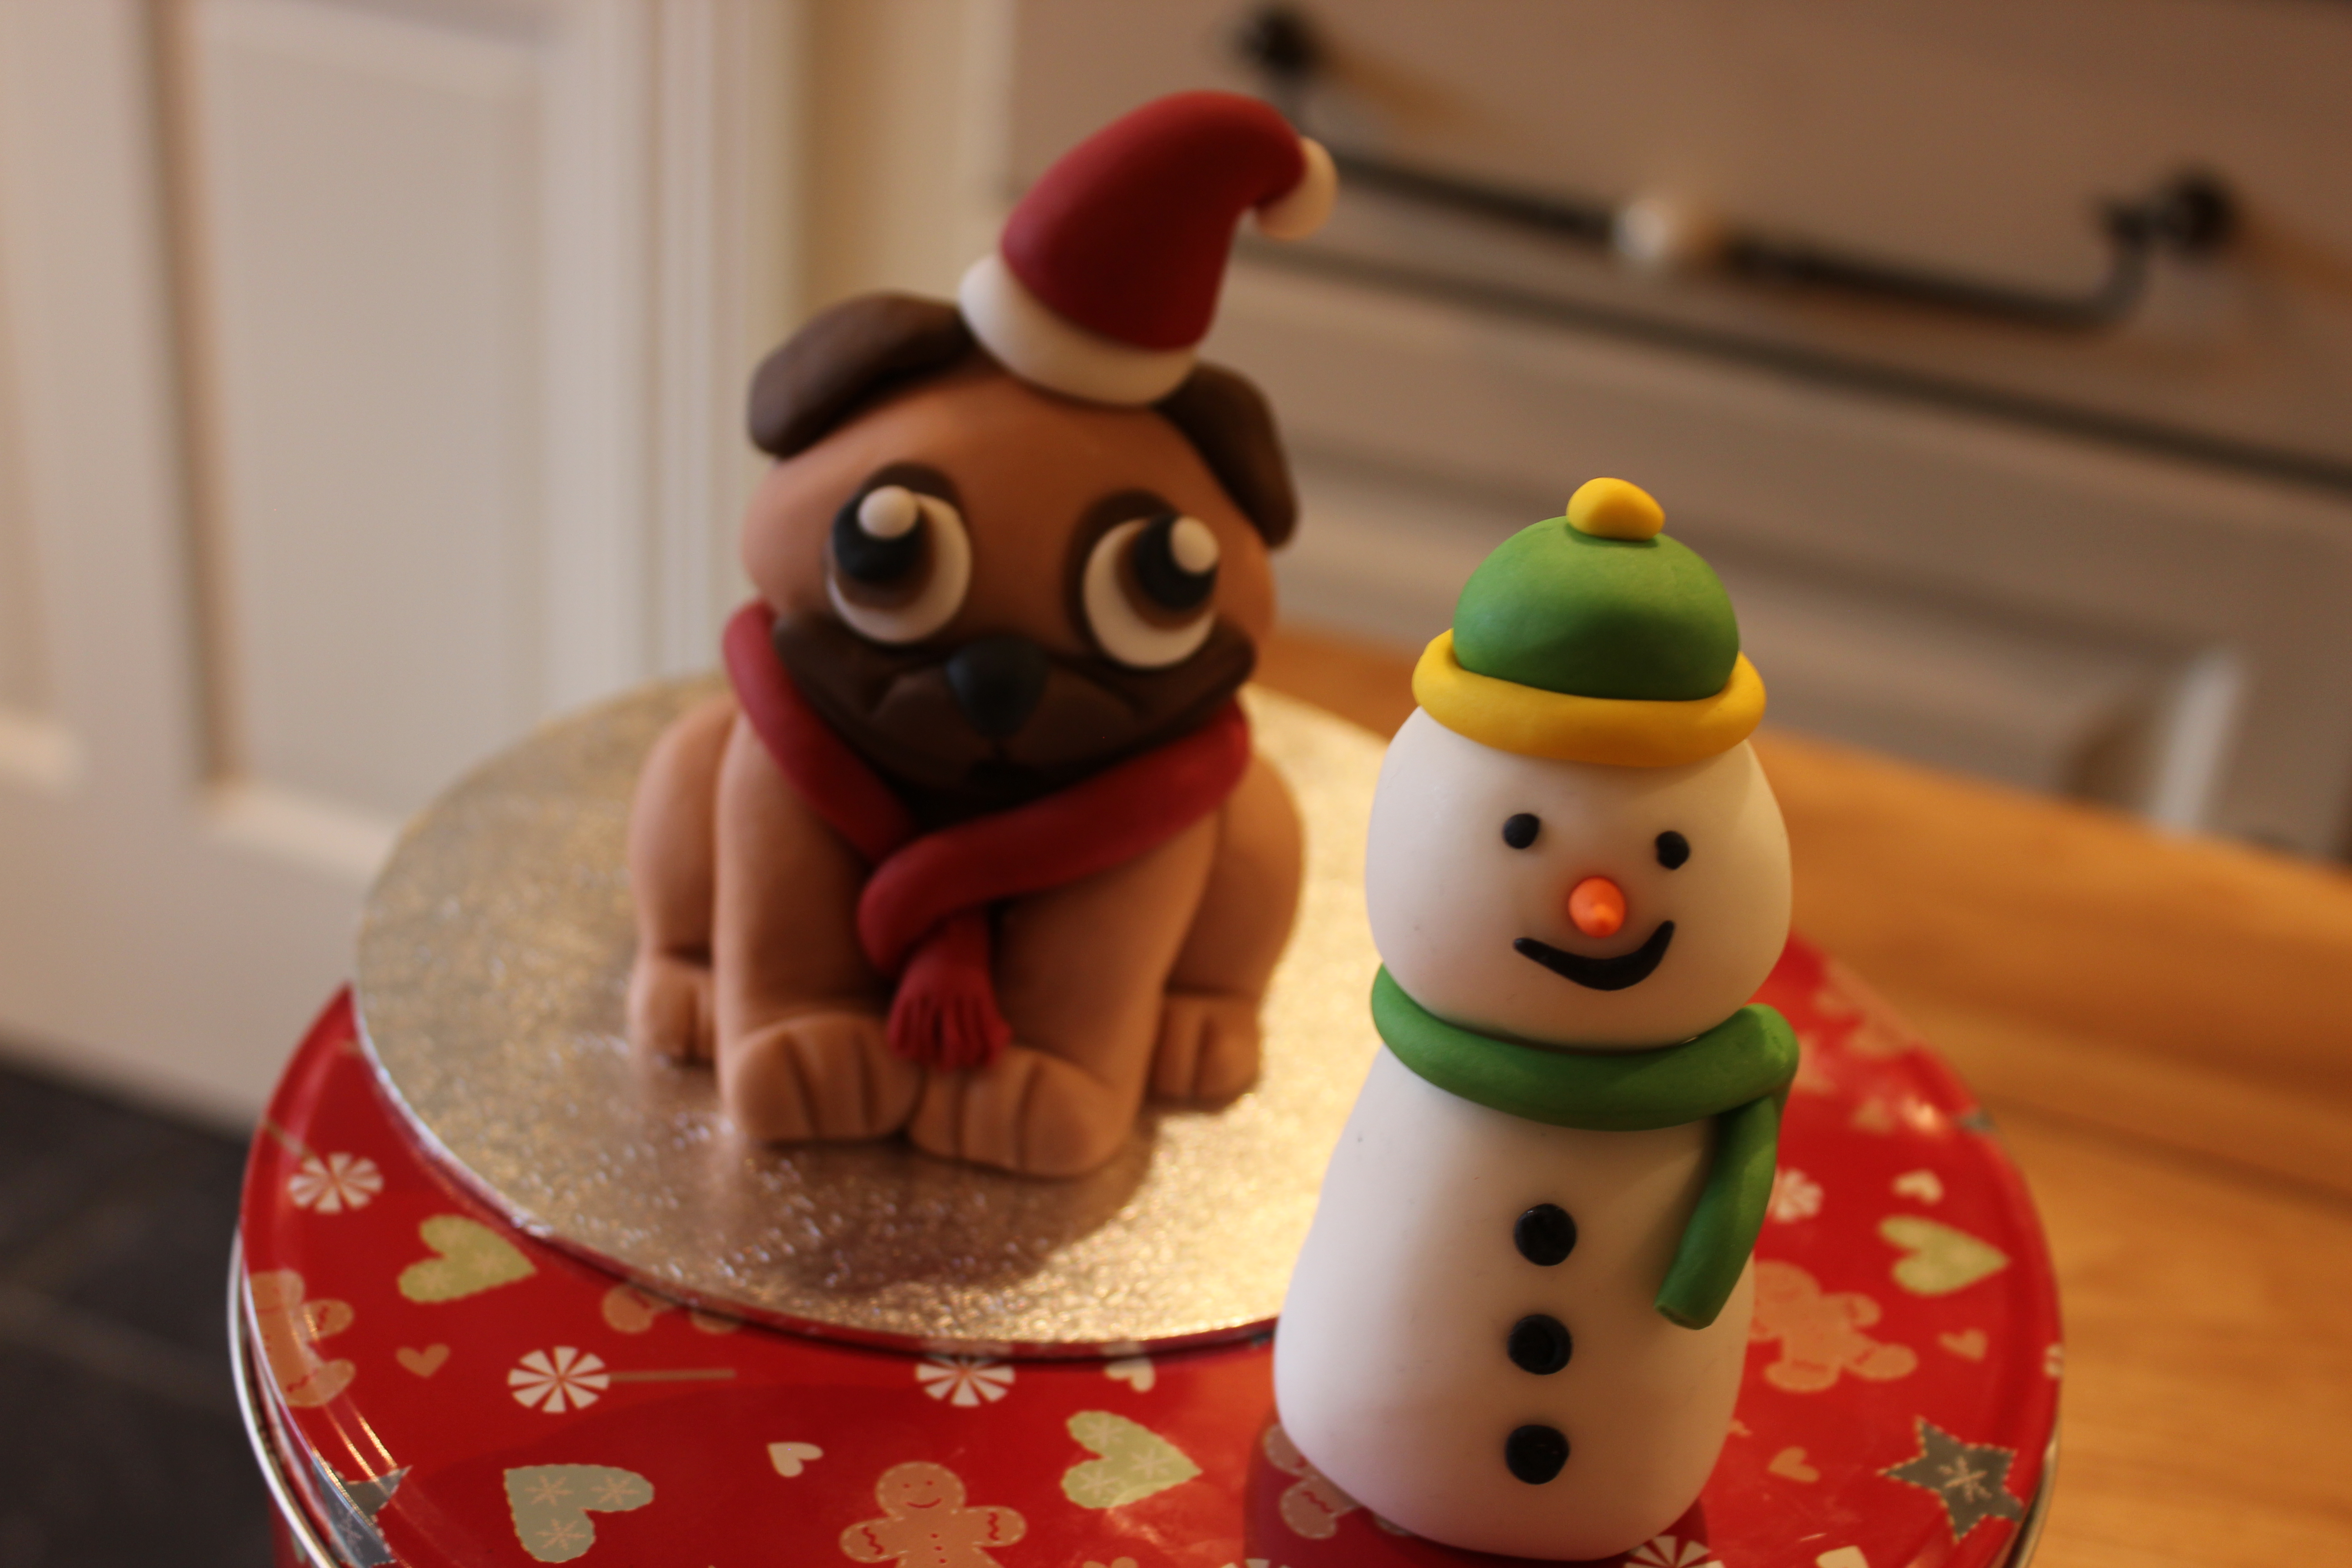
I used another colour as I didn’t have quite enough green. The sugarpaste pug I made a couple of weeks ago for our Christmas cake. My Kids have become pug-obsessed!
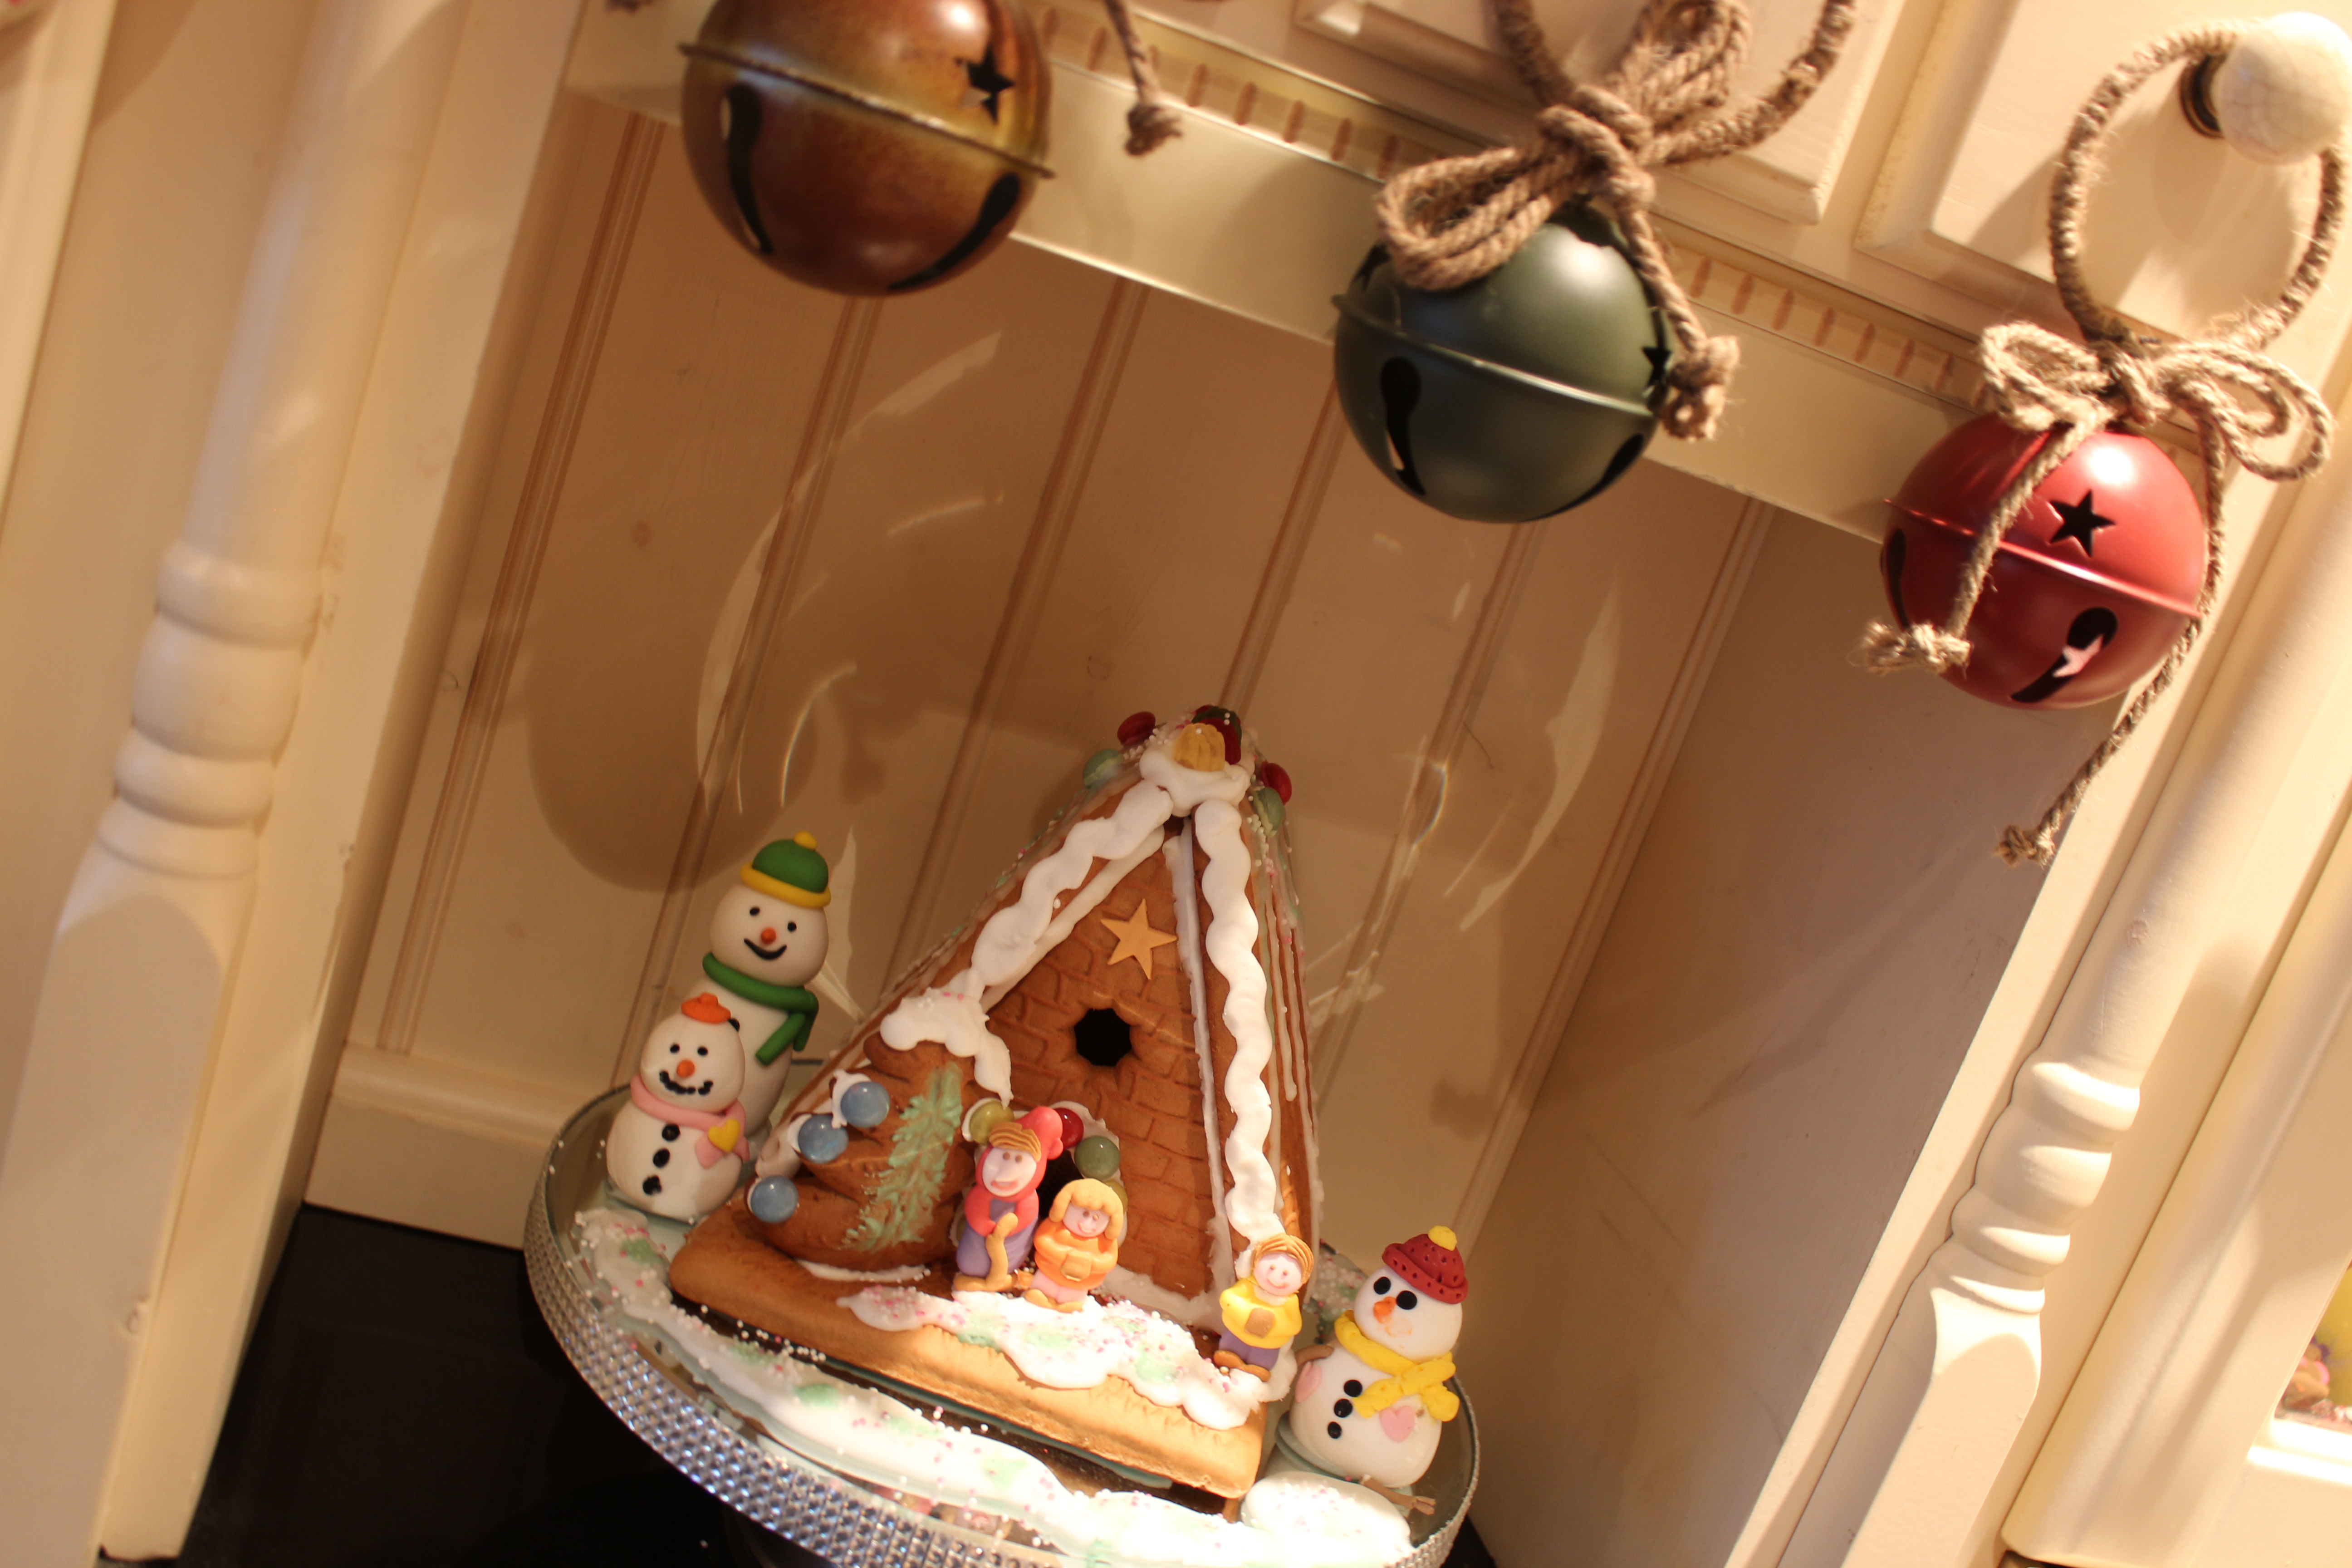
My snowman has taken up residence at The Wright’s Gingerbread Masterpiece alongside the snowmen the Kids recently made. Just the Hubby left to add his!
Top Tips:
Don’t use too much water. The smallest amount will be sufficient. As the paste dries it will naturally stick together anyway.
If not working with/using the paste quickly – keep it wrapped in cling-film or in an airtight tub. Otherwise it will dry out too quickly and crack.
The model can be placed onto a small board to dry separately (like the pug in the photo above) or place directly on the cake to dry.
Do not store the model in an airtight container as this will soften the icing. A cardboard box is best – air needs to circulate.
Sugarpaste models will last a long time – so store carefully and use year after year! But don’t eat them if keeping this long!
Any questions please ask…
If you do give it a go – please feel free to post your pictures on my Facebook page – I’d love to see your handywork!

Thanks, Jo! If I had been “winging it” I never would have thought of some of the techniques you used, such as using a stick, using water, or making little depressions for the eyes first, etc. That’s why it’s best to learn from a pro like you 🙂
I’m far from an expert 😉 but I’ve picked up tips along the way. Hope they help…
Can I ask – Where did you buy the Tylo powder from? I’ve seen it used on TV programmes but didn’t know where to buy it. I like the snowmen and the pug is very cute. We are making gingerbread tomorrow to give as gifts but I may try a snowman too if we get time. Thanks for these recipes!
Good luck with the gingerbread. Tylo powder will be at specialist cake-decorating shops/stalls. But also somewhere like Hobbycraft may stock it? Of course it’ll be available on the web but Christmas deliveries may be a problem now!