I’m not sure whether the word ‘pasty’ is one that would be recognised internationally, but for anyone living in the UK, it is probably most well-known for its Cornish roots.
Pasties are different from pies, but how really I couldn’t say for sure. All I know is I wouldn’t walk along the English coast eating a pie, but I would a pasty!
Pasties originally were made with beef, I believe, but as time moves on so does taste. Anything goes now. So mine are chicken and mushroom – because, well, why not?
Regular readers will know I don’t believe that slow-cookers should only be used when preparing the whole of a meal. My cookers get used for all sorts of things, including simply keeping gravy warm when waiting to serve.
Therefore the first part of this very simple recipe to create your very own homemade pasties is actually from a recipe I posted a while back.
Simple Slow Cooked Chicken and Mushroom Pie Recipe
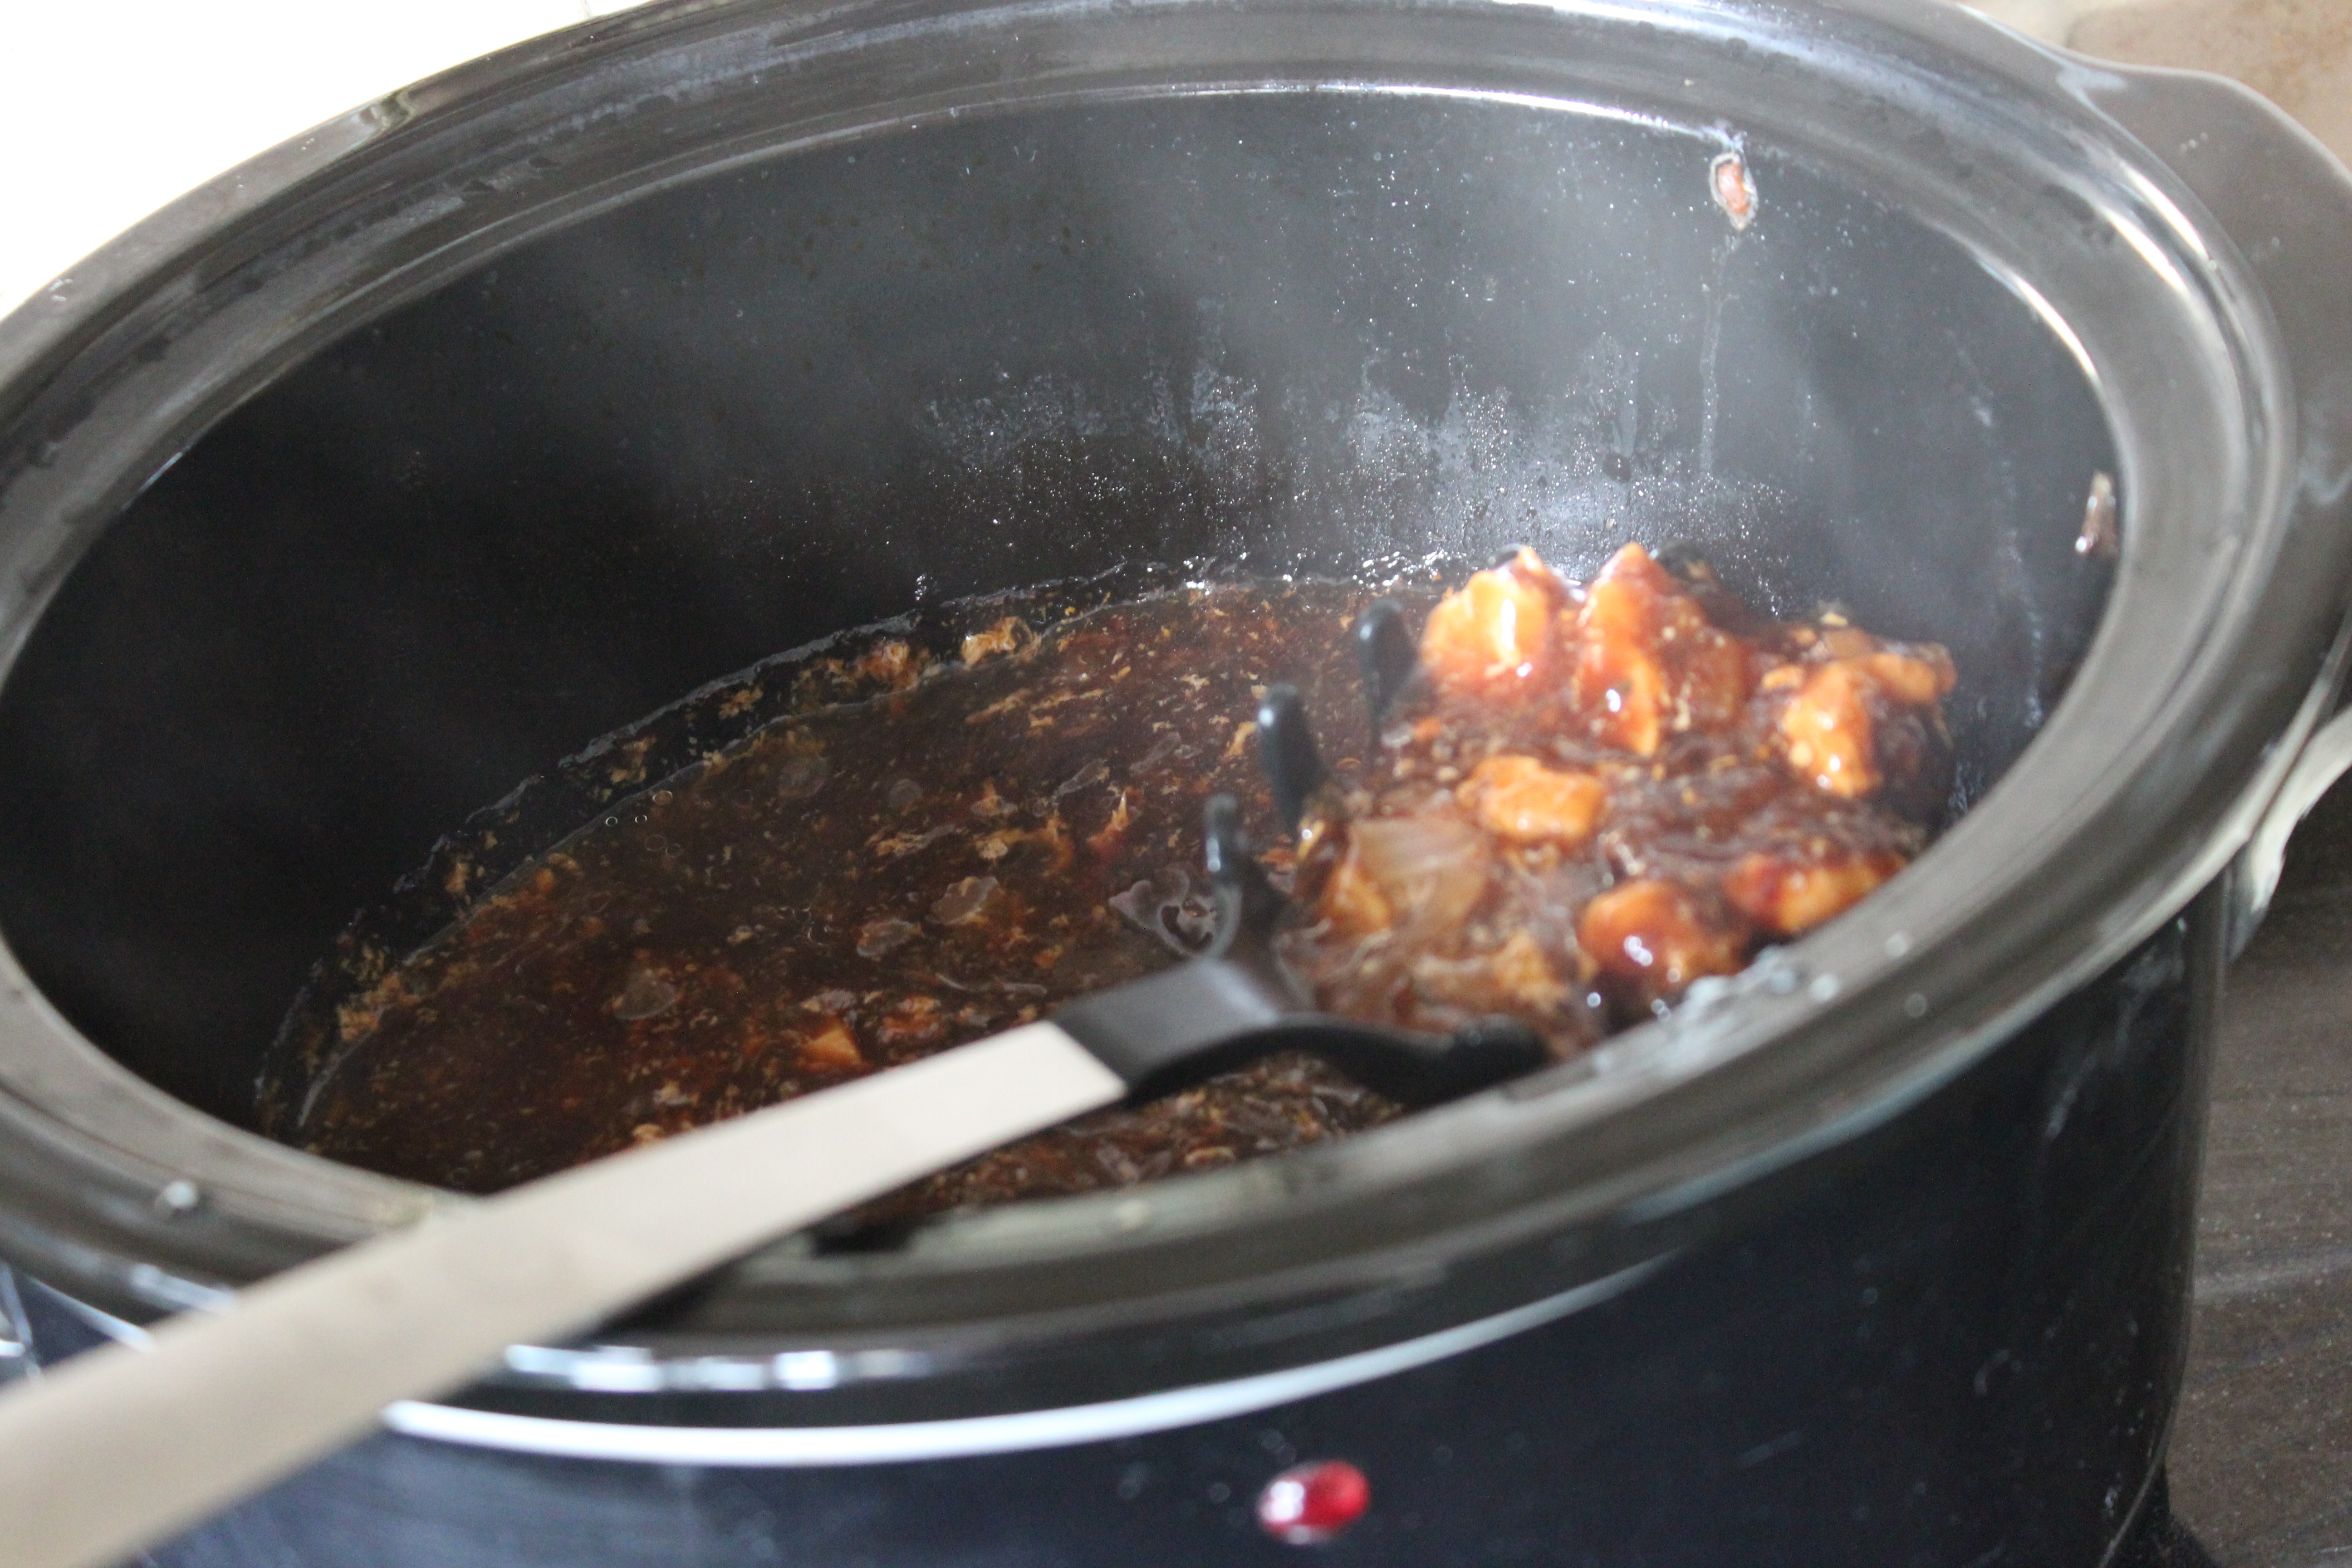
Follow the above recipe to the part where you spoon the contents of the slow-cooker into a ovenproof dish. You may wish to make the gravy slightly thicker as it is to be placed on top of pastry, and it needs to be rather sticky. Use a spoon to remove the mixture that will drain excess liquid away.
Once you have your mixture for the inside of the pasty, follow these really simple steps.
1. Preheat your oven to high (whatever temperature you’d cook pastry on – or what it suggests on the pastry wrapper). Yes Guys… were using ready rolled! 😉
2. Lightly grease a large baking tray
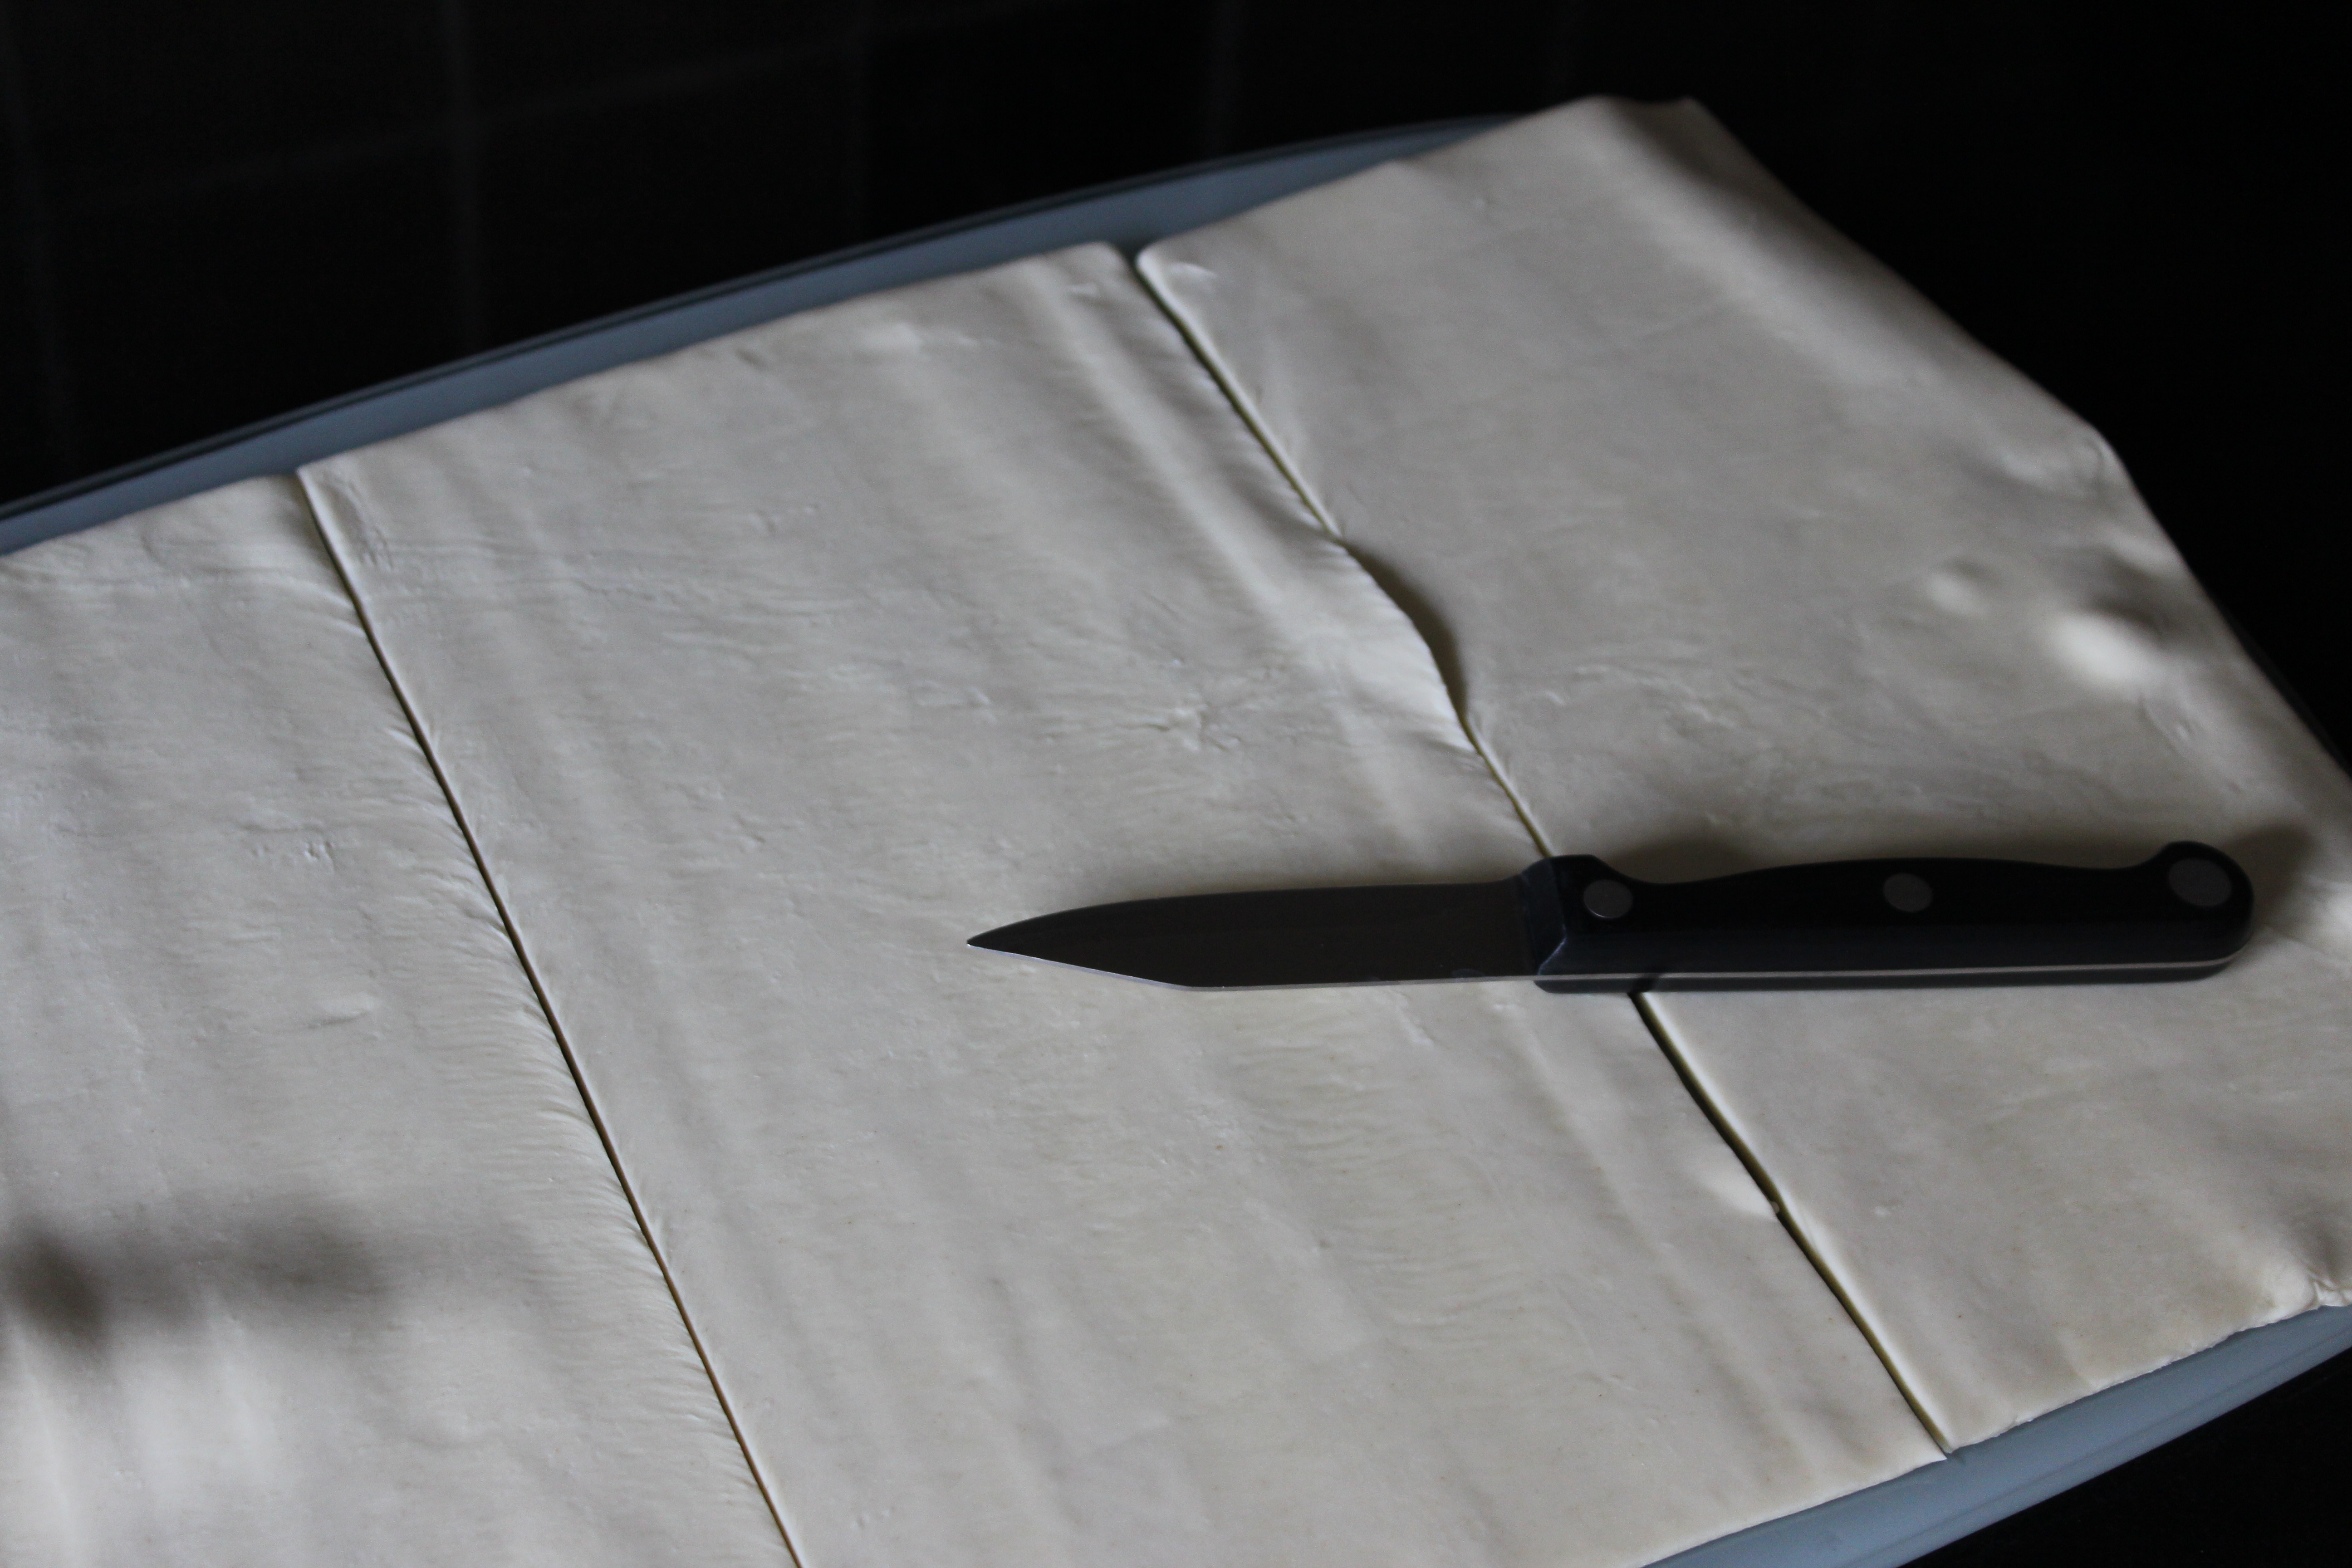
3. Place your puff pastry (or shortcrust if you prefer) ready rolled sheet on top and cut into equal rectangles. The 375 gram sheets I buy will make 3. The Kids share the third one. However you may wish to make 2 large, or 4 small, it will all depend on the dimensions of your pastry.
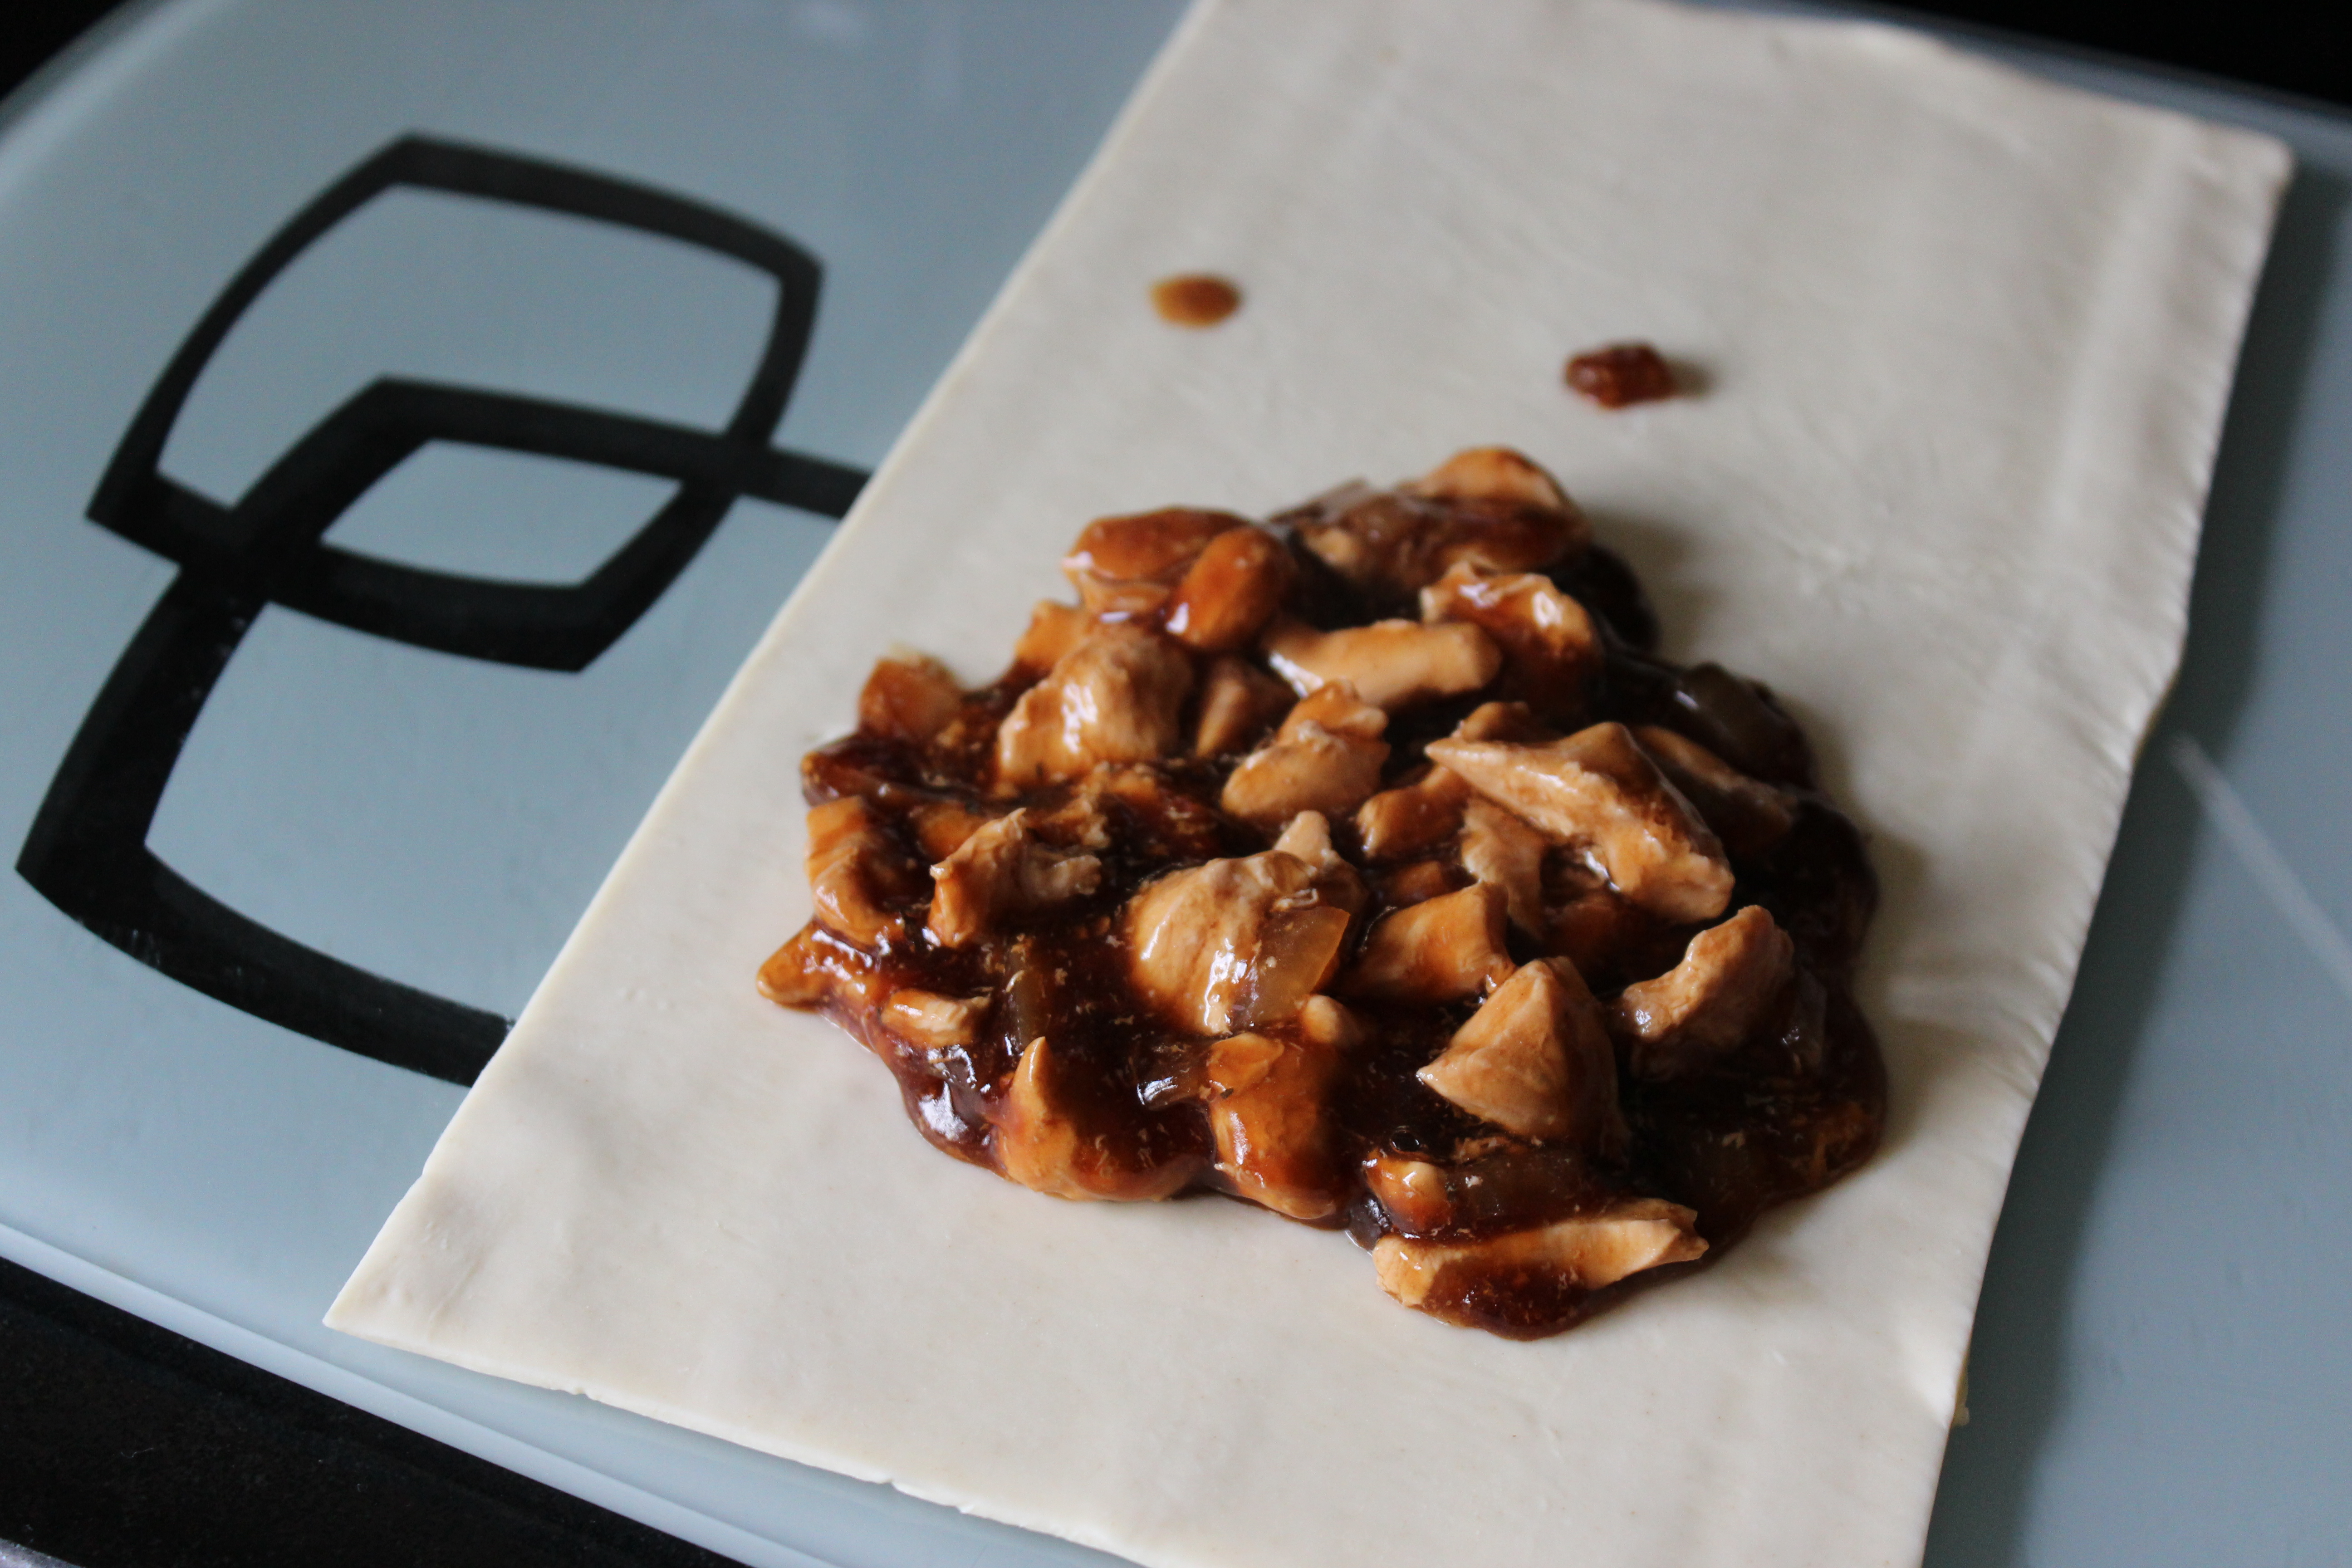
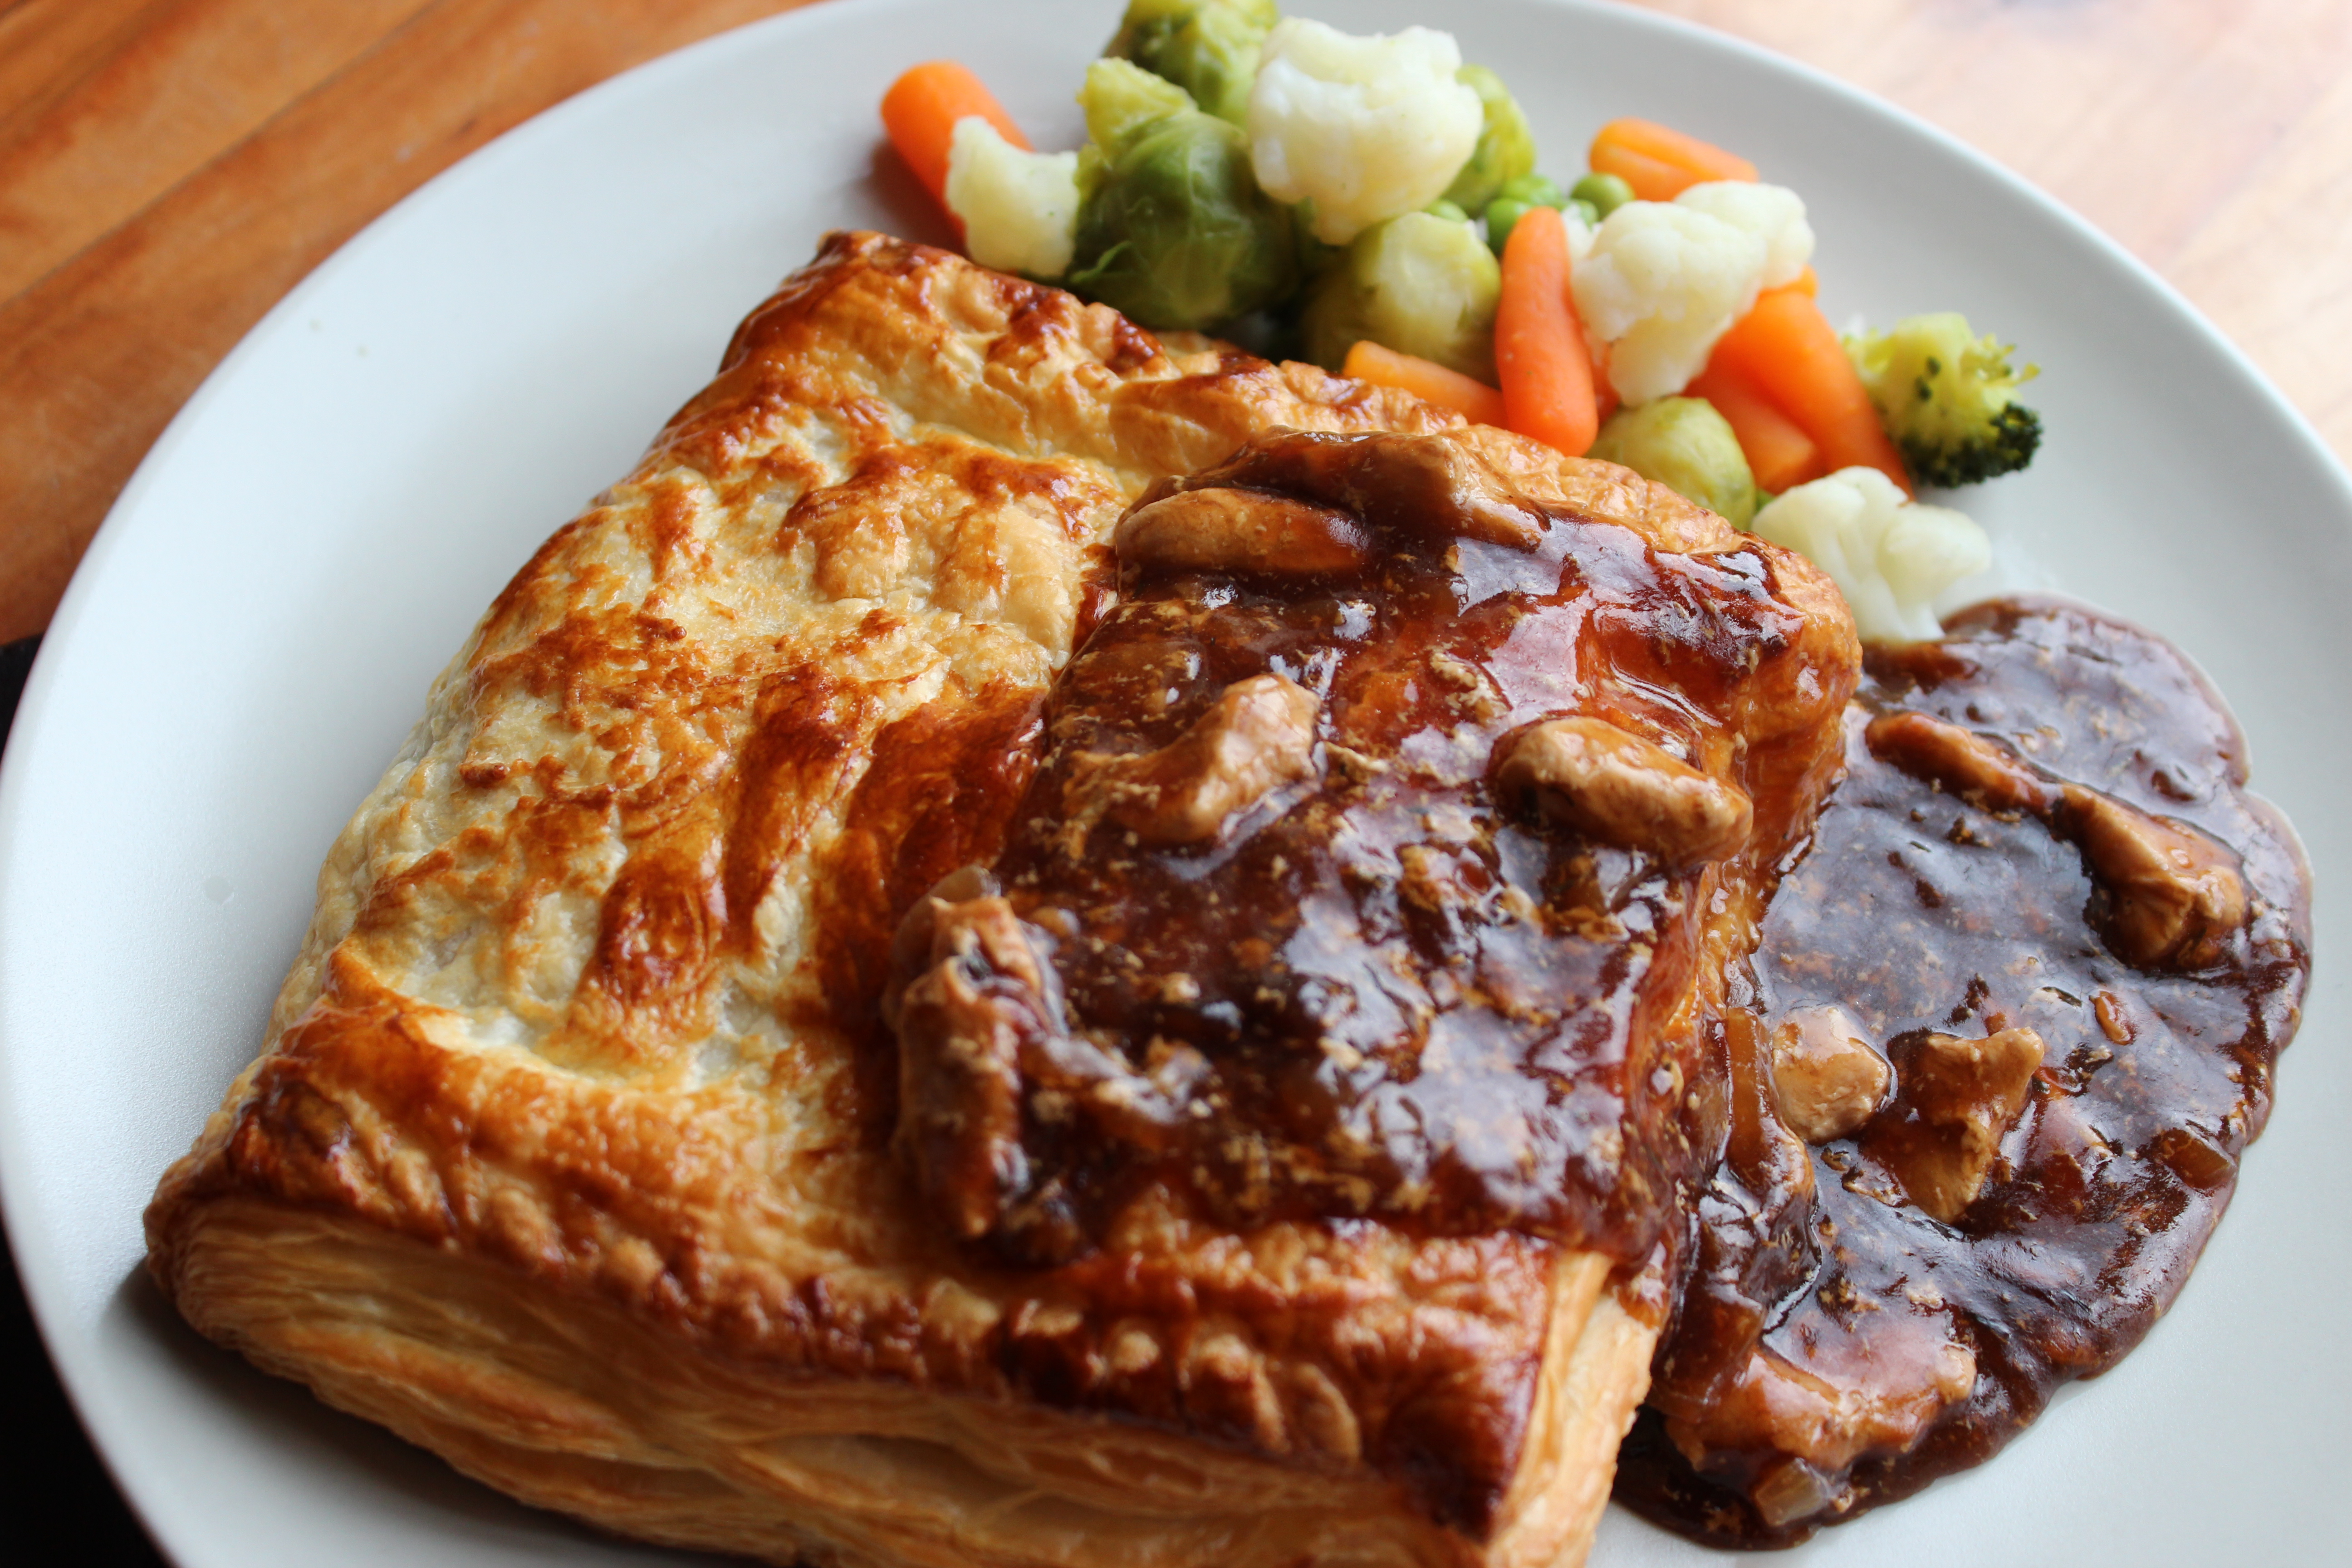
4. Spoon in some mixture into the centre of the bottom half, taking care to keep well within the edges. Stack high rather than spread wide. You probably won’t use all of the slow cooked mixture inside the pasties. I keep some back and pour over to make a hearty and substantial meal. Alternatively if the pasties will be eaten ‘dry’ save the mixture and freeze for your next batch.
5. In a cup or jug beat 1 egg. Spread some egg all around the edge of each cut piece of pastry (with a fingertip). Then fold the top half of the pastry over itself.
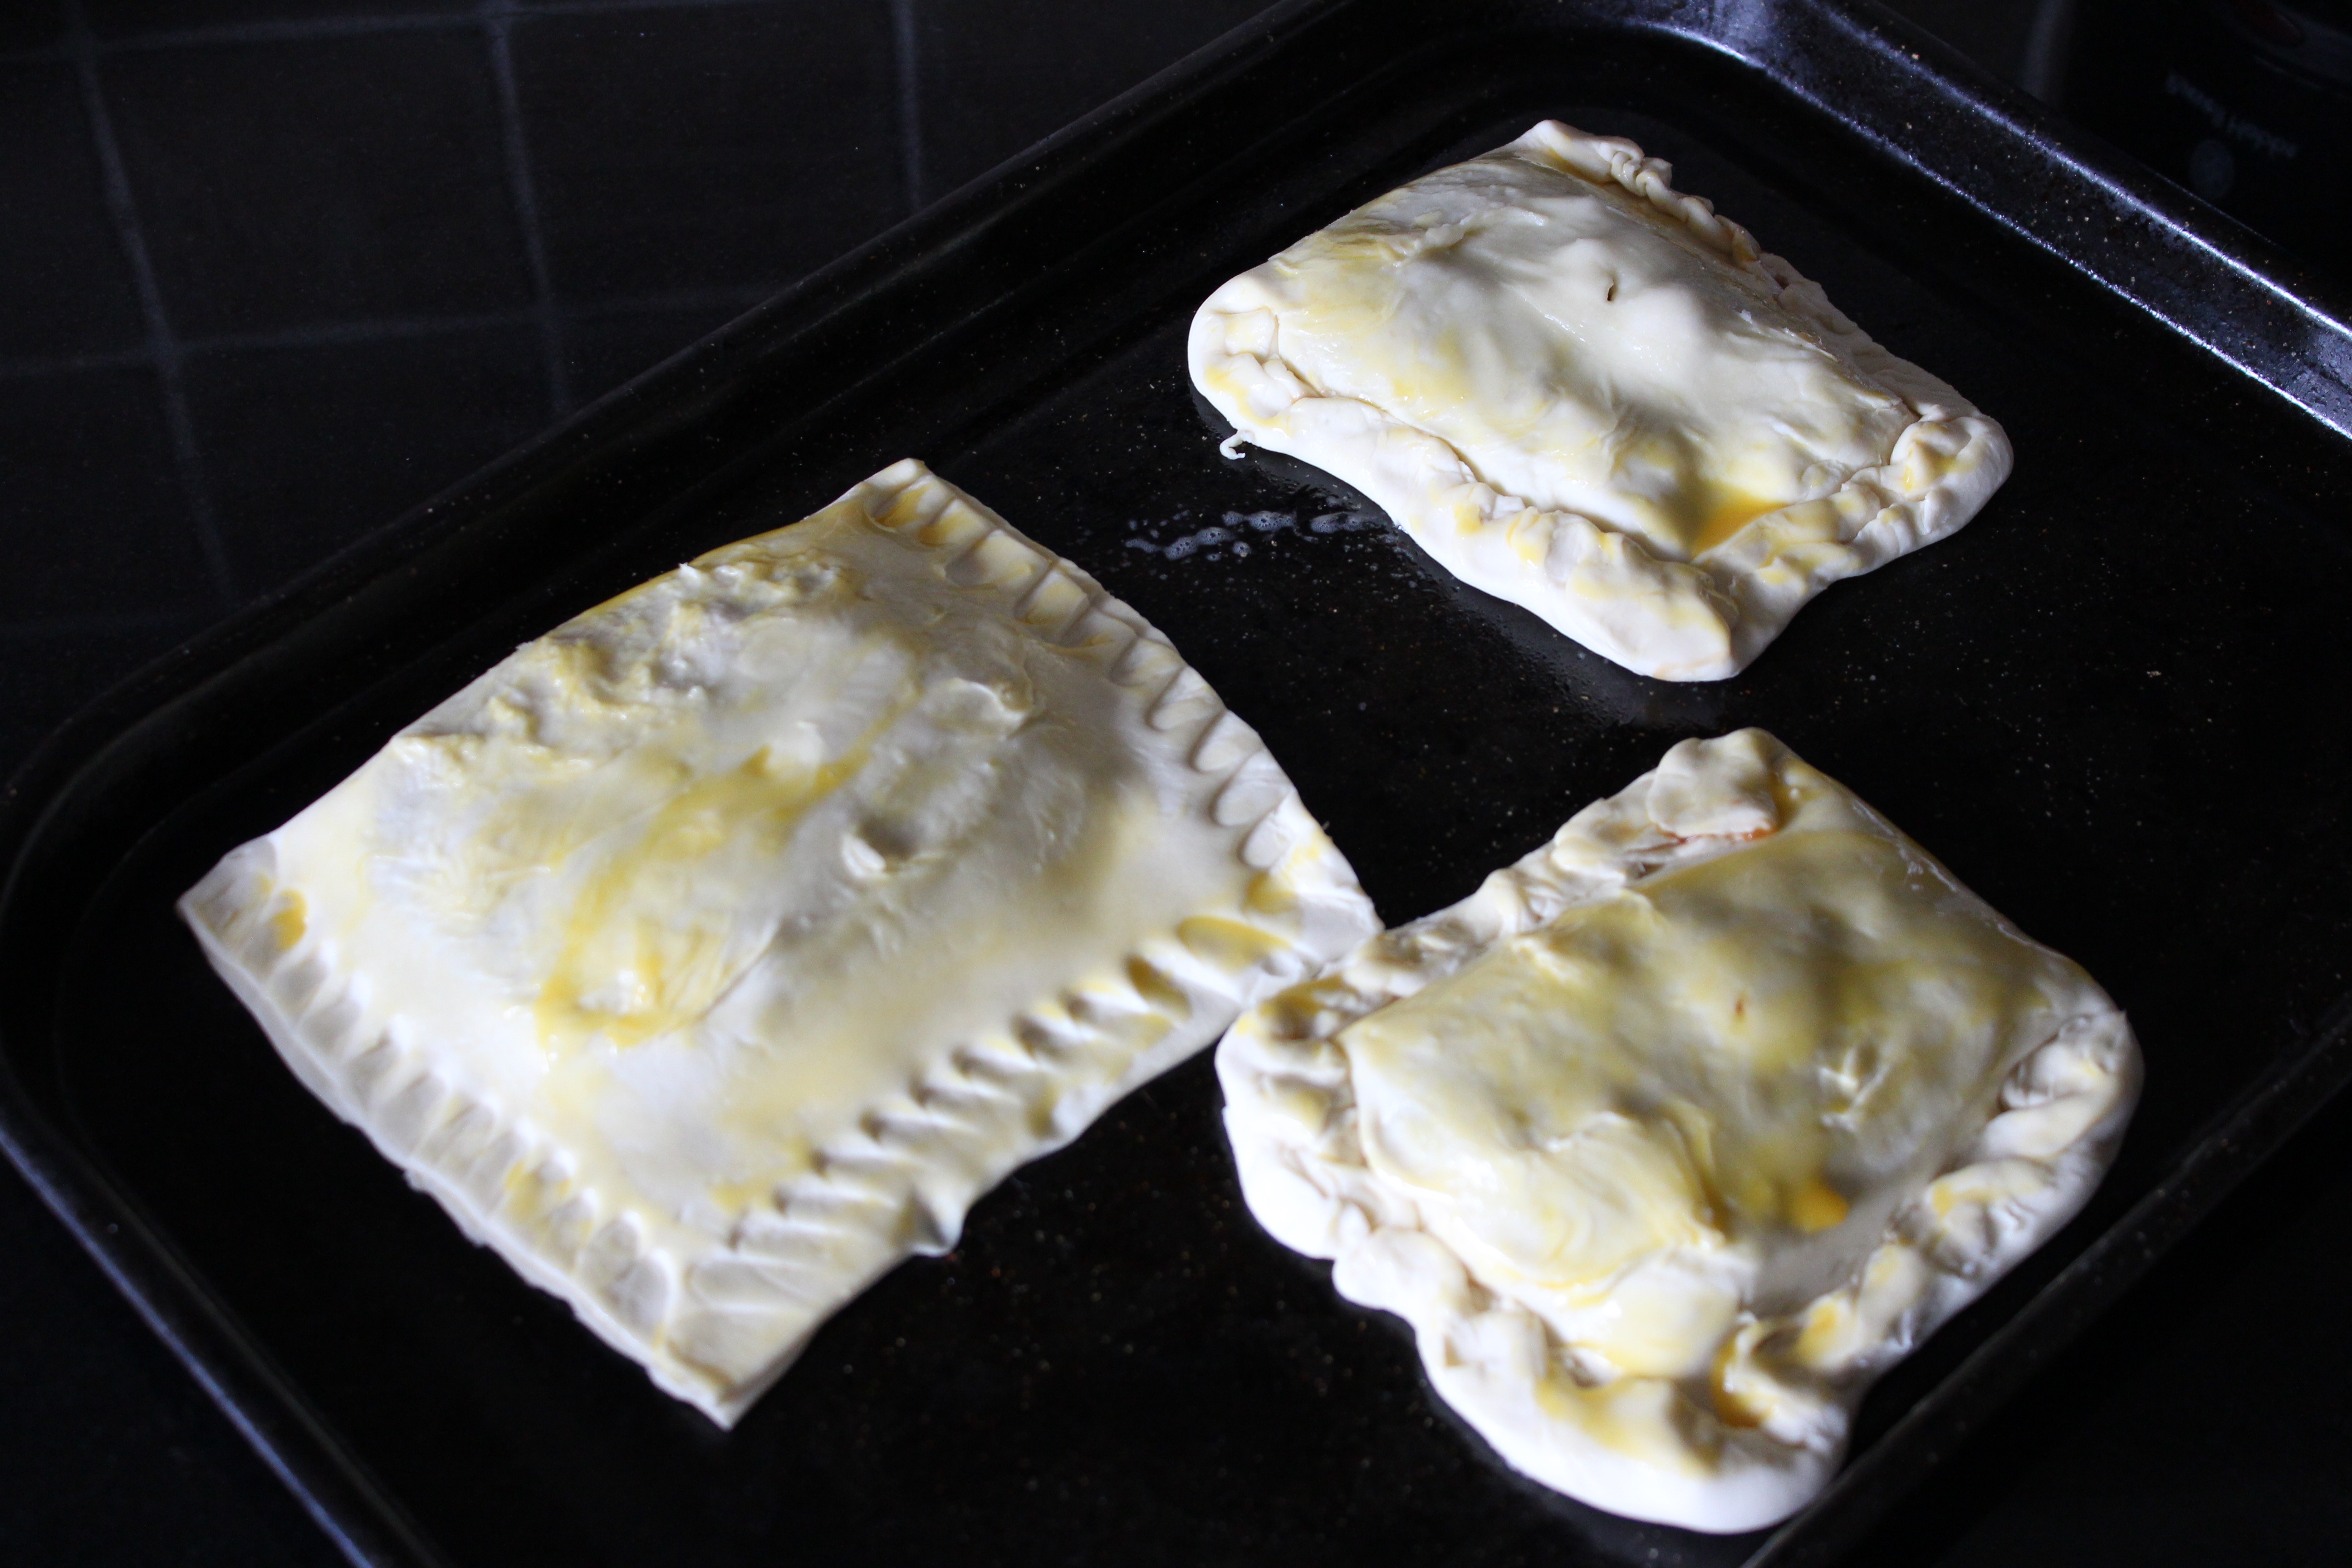
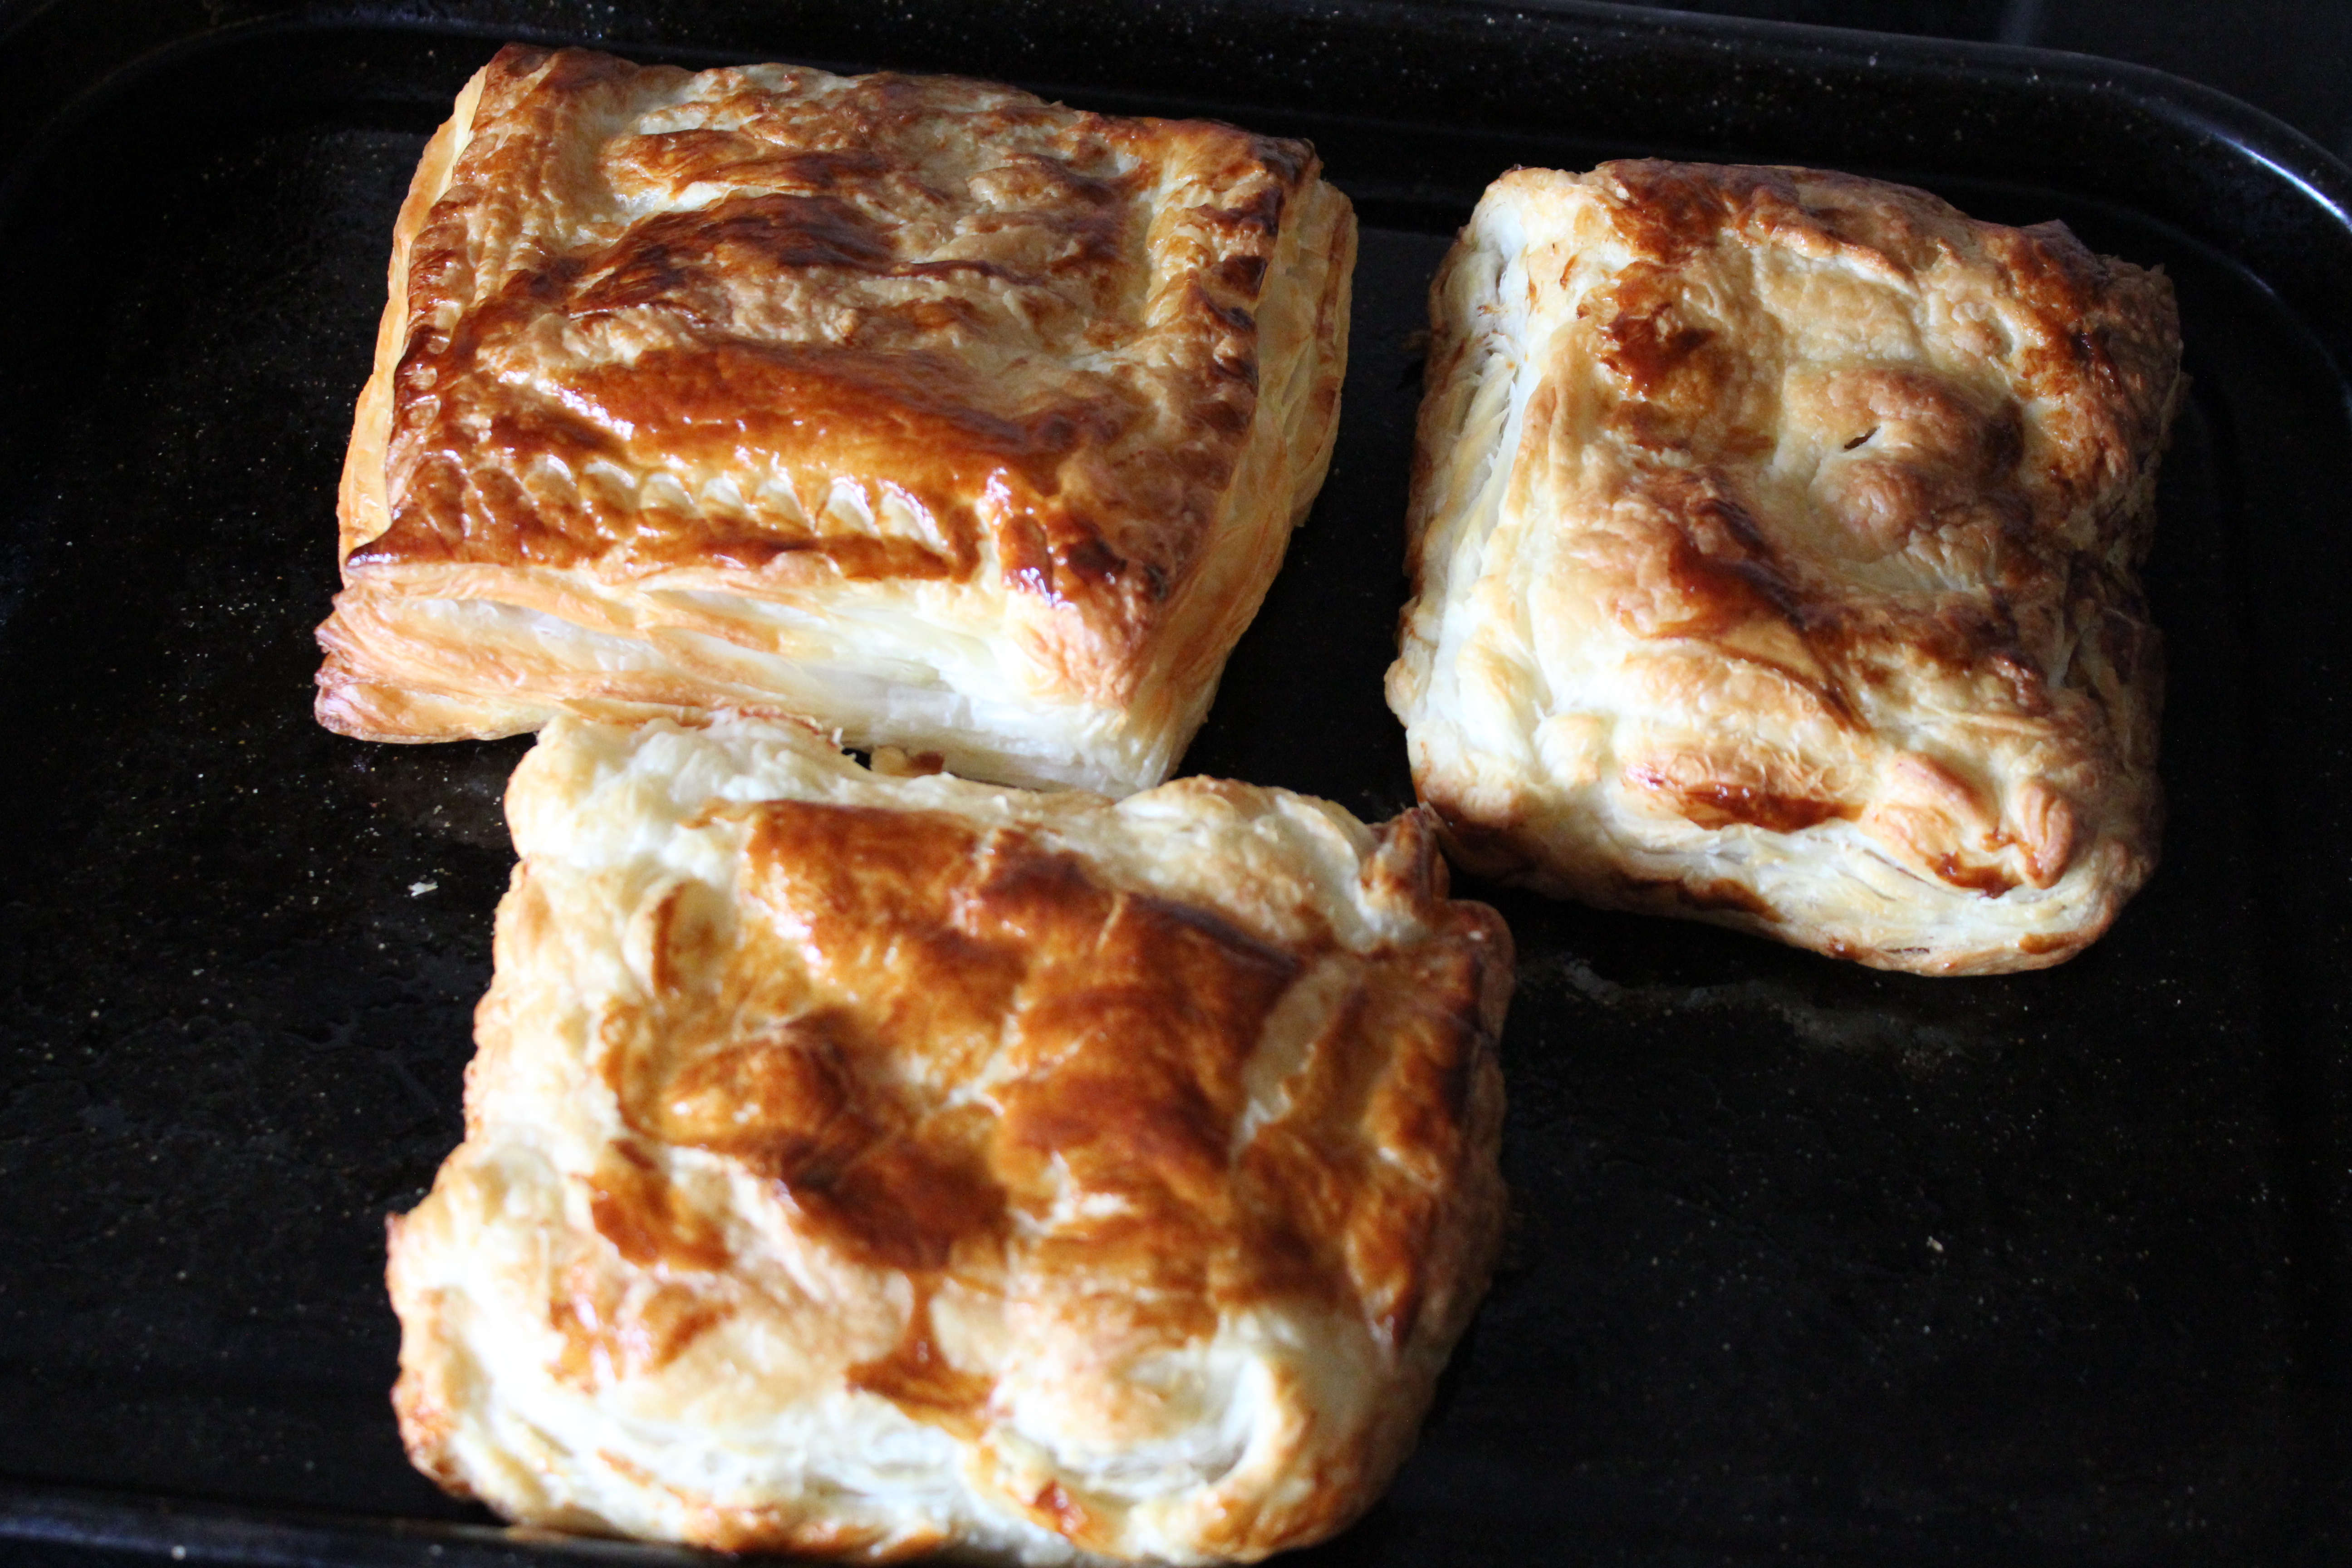
6. Press the edges down with the edge of a blunt knife to seal. put a small air hole in the centre of the top (to let some steam escape). Brush each pasty with the beaten egg to glaze. (In the photo above I tried to twist the edges on 2 of them , it didn’t work out so well – I now stick to pressing down as in top left example!)
7. Place in your oven for 15-20 minutes, until risen and golden in colour.
8. Serve and enjoy!
*Don’t forget that as tempting as it may be to lift the lid and have a stir or a sniff of the lovely aroma, that every time you do it will increase cooking time by 20 minutes. Reduce the need to stir by always ensuring that you have stirred well when adding everything initially.
** Please note that I am not a qualified nutritionist or professional cook. My recipes are what I put together at home and all amounts etc… are approximate. What I write is my own experience of cooking the recipe. Ovens and ingredients do vary – just go with it, have fun and apply common sense at all times! Practise makes perfect!
If you do try it out please share your thoughts below, or should you have any questions feel free to ask!

I never thought of making square pasties: brilliant idea with no waste. Will try some tomorrow
Thanks Hugh…I’m all for no waste! The sheet of pastry I buy cuts easily into 3 with no off cuts…
I never thought of making square pasties: brilliant idea with no waste. Will try some tomorrow
Thanks Hugh…I’m all for no waste! The sheet of pastry I buy cuts easily into 3 with no off cuts…